|
<< Click to Display Table of Contents >> Quick guide to creating a transcription |
  
|
|
<< Click to Display Table of Contents >> Quick guide to creating a transcription |
  
|
 Insert source material Insert the material that contains speech. This can be sound files or video files. |
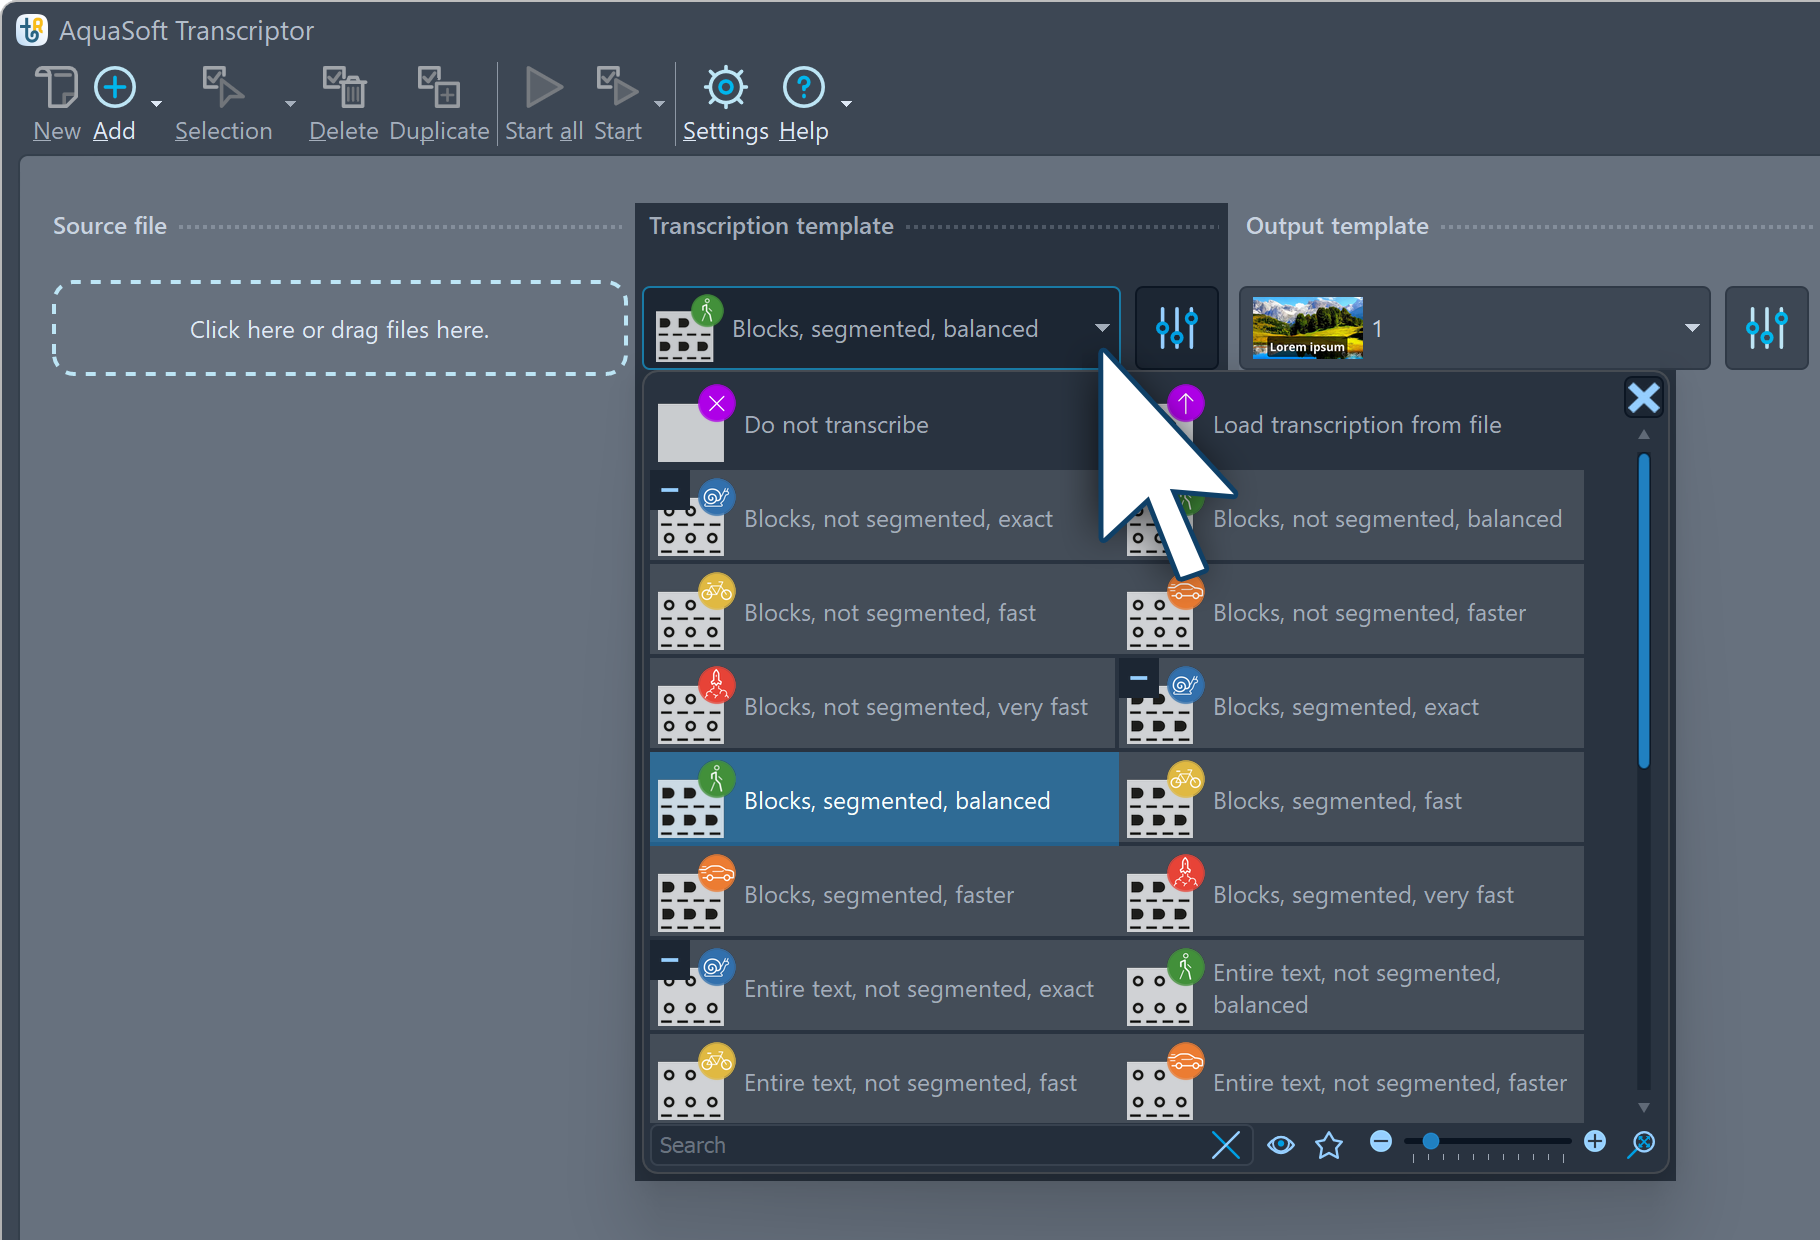
 Select transcription template The transcription template specifies the settings with which the language is to be analyzed and the text generated. Select this from the drop-down menu. The symbols on the templates (snail, pedestrian, bicycle, car, rocket) indicate how quickly the transcription is performed. You can also select which segmentation is generated for the texts. When you move the mouse over the symbols, you will see detailed information on the specifications. The settings button to the right of the transcription template menu offers further setting options. You can find more information in the Transcription template chapter. Select a fast template for testing, e.g. Blocks segmented, very fast.
|
3. Select an output template
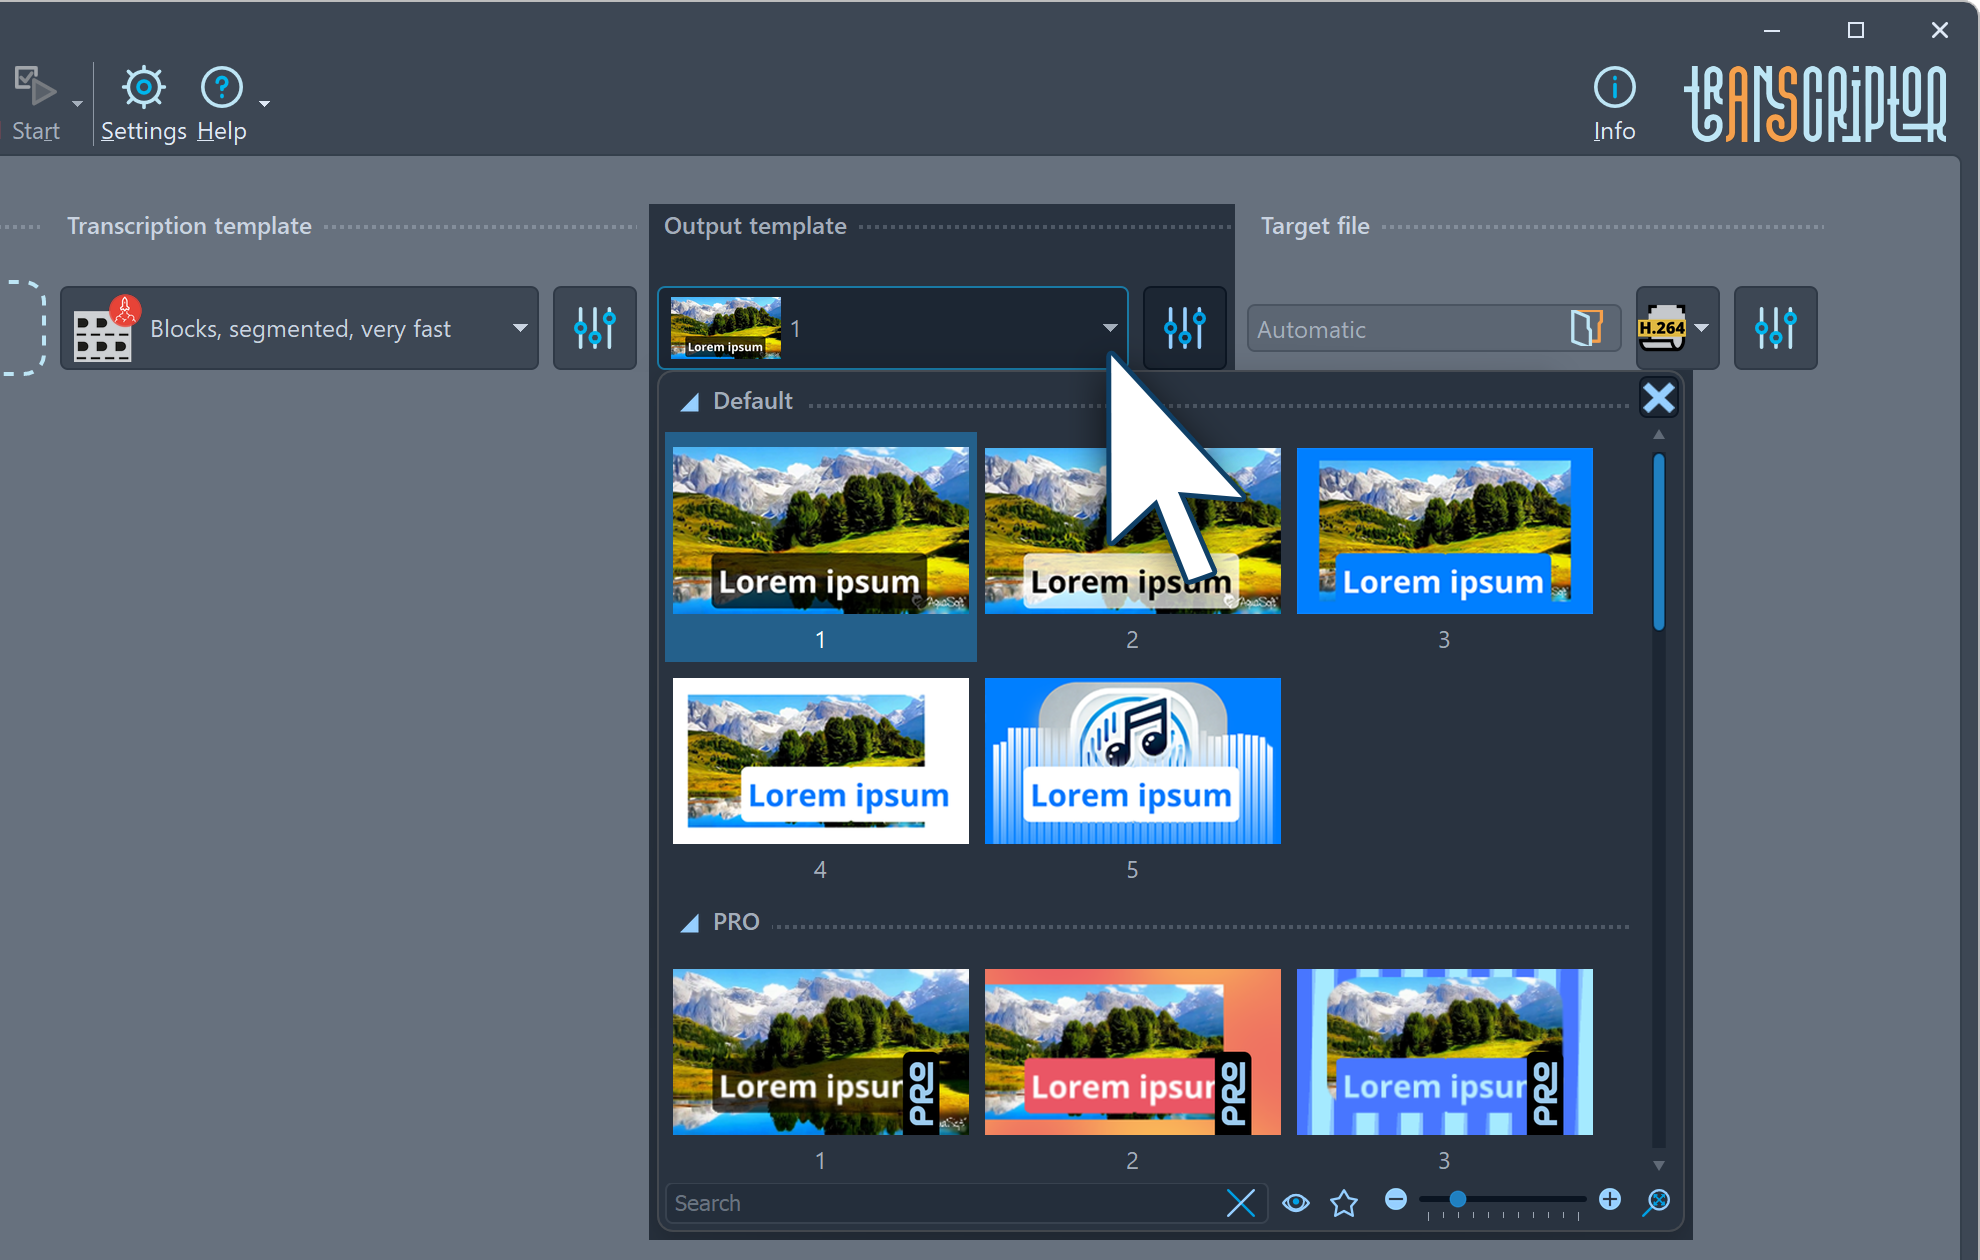
 Select output template With the output template, you decide how your source material is displayed in combination with the transcription. The first templates are simple variants where you can, for example, display your video source material with subtitles only. The other templates become more and more complex and allow logos or additional effects, for example. You can use the Settings button to the right of the output template drop-down menu to modify the properties of the templates in detail. You can also see a preview of the selected settings here. You can find more information in the chapter Output template. To test, select a simple variant, e.g. template 1. In the settings, you can then change the font color or have the text appear with a colored background, among other things.
|
 Settings for target file If you leave the setting "Automatic", a name is automatically assigned and the file is saved in the folder that is stored in the user directories in the Program settings. Alternatively, you can use the folder icon to select where the result should be saved. If necessary, enter a name for the target file yourself. You can use the drop-down menu to select the type of target file. Video files (e.g. *.mp4, *.mov), subtitle files (*.srt) or text files (*.txt) can be created. Move the mouse over the symbols to obtain further information on the templates. You can make further export settings using the Settings button. You can find more information in the Output chapter. To test, select the H.264 video template, which creates an mp4 video file that can be played on many devices and platforms without any problems. |
 Start transcription When you start the AI-supported transcription for the first time, the necessary software is downloaded once (online connection required) and saved on your computer (approx. 400 MB). It is then permanently available in the program. After starting, the start buttons in the toolbar change and you can pause or cancel the creation of the target file here. If several jobs have been started, they are calculated one after the other. A progress bar appears on the job. |
 Transcription result If the output was successful, the link to the target file appears. Click on the link to check the result in the standard application for this file type. Click on the More ... button opens a dialog in which you can play the result via Open file or by double-clicking on the preview image. You also have the option of opening the project in AquaSoft Stages or Video Vision. More on this in the chapter Edit project file. |
The video "Create automatic subtitles" gives you an overview of the structure and functionality of the program.