Simple movement shots


|
Simple movement shots |
|
Your images learn to walk. With a few clicks your images wander over the screen. Simply follow these instructions and you will be quickly and comfortably introduced to the colorful, moving world of AquaSoft ® SlideShow. Create a new slide show
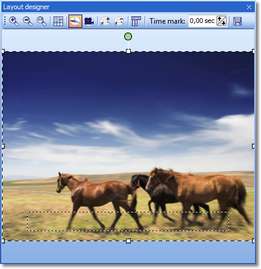
Click on the image in the Image List or on the Timeline, so that the image is displayed in the Layout Designer.
In this example we would like to explain how you can arrange for an image to fly onto the screen from outside. For that purpose, we have to enlarge the invisible area with
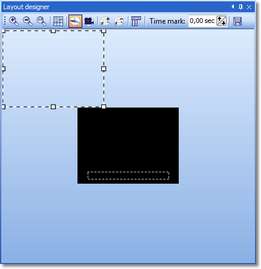
Now move the image into the invisible area.
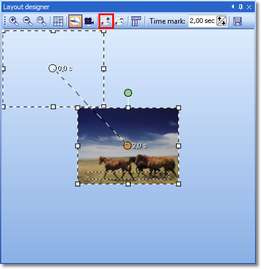
Now insert a new movement marker with
Play back the show. You will see that the image now "flies onto" the screen from the top left-hand corner. Increase the timestamp at the 2nd movement marker and movement becomes slower. In order to be sure that the image arrives in the center of the screen and also the size of the image is not changed, retrieve the Manual entry once via
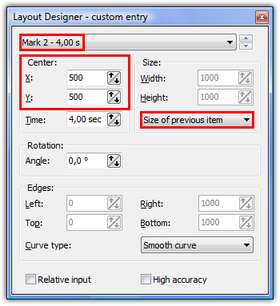
Select Marker 2 and enter 500/500 in the center Also set the Size of previous item. so that the size of the image is not accidentally altered during the path. The manual entry assumes a system of co-ordinates in which the Layout Designer is 1000x1000 units wide. Therefore, in order to center our image, enter 500 at X (the horizontal position of the midpoint) and at Y (the vertical position of the midpoint), i.e. half of the respective total extent. You can also use negative numbers. These then refer to the invisible area.
|
| Copyright © AquaSoft ® 1999-2009 www.dvd-photoshow.com |