|
You already learned about movement paths in chapter Text animations.
You can apply movement paths to the following SlideShow objects:
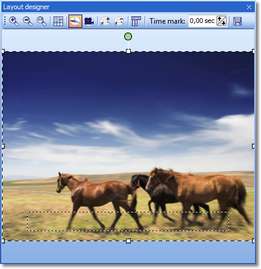
Insert an image which you would like to animate with a movement path.
Then click on the image in the Image List or on the Timeline. In the Layout Designer the tools for the movement path are now activated.

|
This is the icon for switching, in the Layout Designer, into the mode for movement paths.
|

|
Using this icon, switch into the mode for camera pans and zoom.
|

|
Use this button to insert new movement markers. The course of the movement is established on the basis of these points.
|

|
To remove movement markers that have been set, the latter must be selected in the Layout Designer and can then be removed with this button.
|

|
You can use this to open a further menu for the movement markers.
|
|
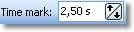
The chronological course of a path is established with timestamps. You can thereby determine how quickly the sequence should occur. That is clarified in an example below.
|

|
You custom movement paths can be saved and reused. This function is only available in SlideShow Studio.
|
|


