Collage


|
Collage |
|
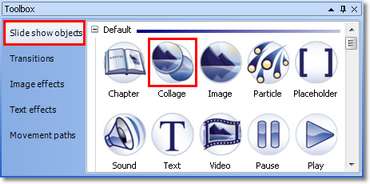
In only a few steps, you can create beautiful collages. Double-click the “Collage” object from the “Toolbox”.
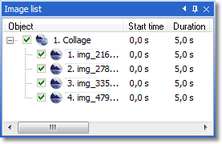
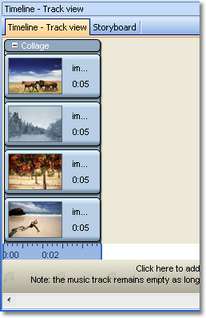
In this way a “collage” is inserted into your slide show. Click this “collage" in the “Image List” or on the “Timeline” and you will see in the “Layout Designer” that the “collage” is empty at the moment. In order to fill it in, just double-click the “Image” object from the “Toolbox”.
In the dialog which now appears, simply select all images to be used for your collage. These are inserted into the collage, since they were selected in the “Image List” and on the “Timeline”. If you click
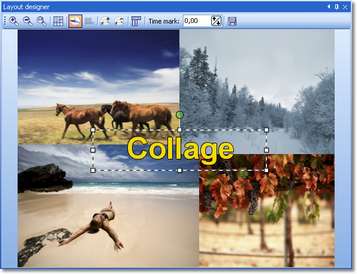
Now simply click on the individual images and drag/maximize/minimize them as you please, until you are happy with the result. You can reduce the images using the “positioning framework” in the “Layout Designer”.
Now insert a “Text” from the “Toolbox” and position it as you please.
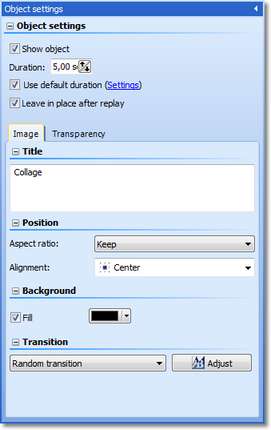
Now you have a finished “collage”, consisting of your “images” and a “text”. The images can also overlap. Likewise you can create an “image within image” effect by not reducing the size of the first image. If you select the “Collage” object, you can change “Object settings” of the “collage”. You can determine a “transition” and change the exposure time.
All “images” and “texts” within a “collage” are not independently animated. For this you need the “Chapter” object. As you can see, putting together a decent collage is achieved quickly and easily.
|
| Copyright © AquaSoft ® 1999-2009 www.dvd-photoshow.com |