|
<< Click to Display Table of Contents >> Color reduction |
  
|
|
<< Click to Display Table of Contents >> Color reduction |
  
|
 Color reduction The Color reduction effect reduces the number of colors in a photo or video. You can find the effect in theToolbox under the Objects tab in the Live effects section. |
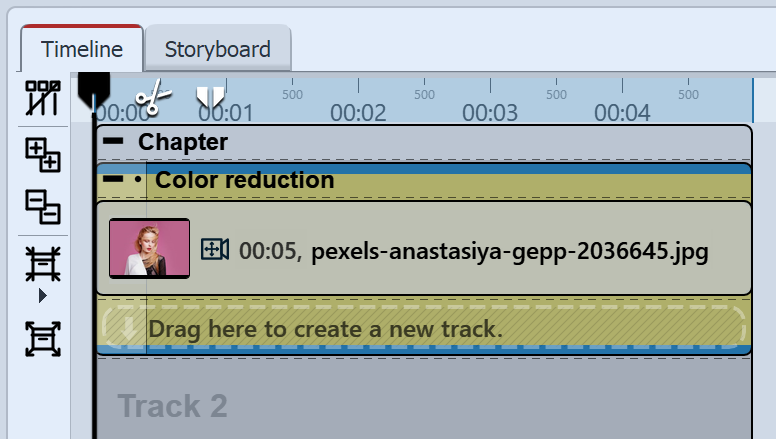
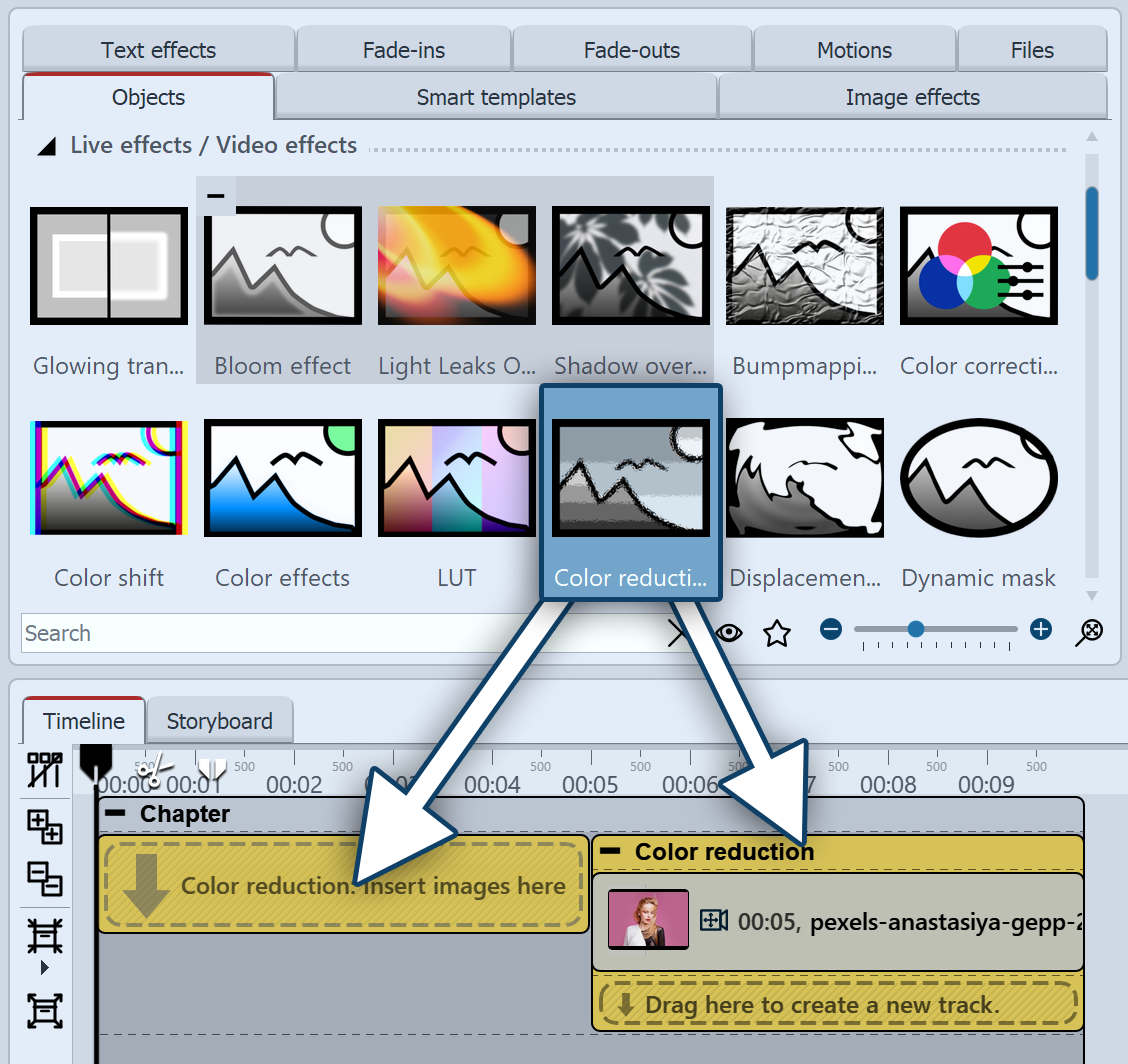 Insert "Color reduction" To use the effect, you can drag it directly onto an image in the Timeline. You can also drag the effect to the Timeline and later insert one or more images into the effect. After you insert the image, a colored frame with the title of the effect appears around the small preview image in the Timeline. When you click the colored frame, you can specify the settings for the effect in the Properties area. |
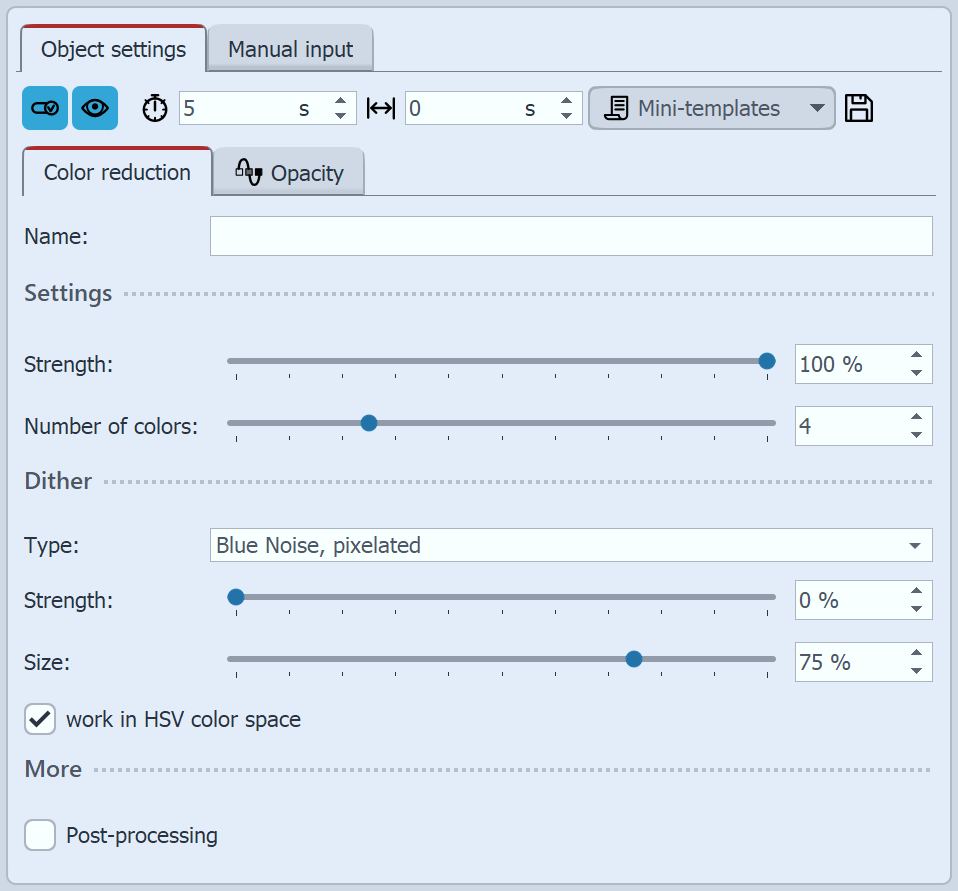 Settings for "Color reduction" In the Settings area you can now define the settings of the effect. Under Strength you can specify the opacity with which the effect is applied to your images or videos. With the dithering settings you choose with which method(White Noise, Blue Noise) and how coarse or fine the color transitions are drawn. Decide whether to work in HSV color space or RGB color space. To animate the effect, you can, among other things, animate the Strength or the Number of colors over the effect duration with curves. You activate the curve mode at the right edge of the effect. In the Mini-templates section you can find different preset variants of the effect. On the thumbnails in the gallery you can see how each template works. Click the desired template to apply it to your image or video. |
 Color reduction with image Step 1: Color reduction effectPaste the image into the Color reduction effect and crop the aspect ratio if necessary. Select the frame of the effect in the Timeline to make the effect settings. Carefully lower the value for Number of colors and observe the image in the Layout designer. For this example, the value should be lowered until the background is almost white and the main subject is only dimly visible in red and black (value in the Number of Colors example = 0.938). Collapse the effect in the Timeline when you are done. |
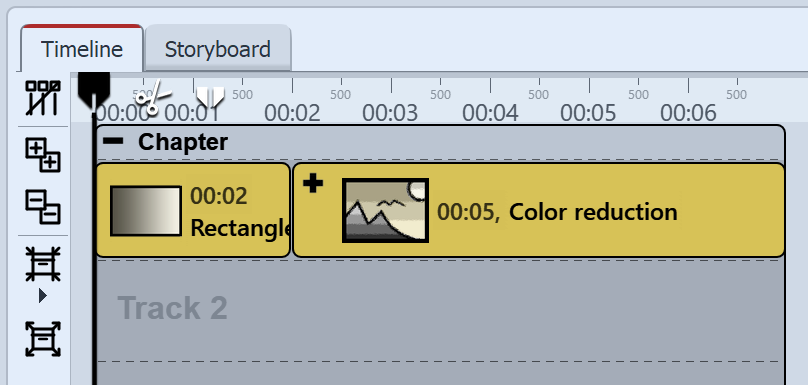 Rectangle before "Color reduction" Step 2: Dynamic rectangle shapeTo better see the next step, insert the Dynamic rectangle shape in front of the effect. It serves as a white background color. |
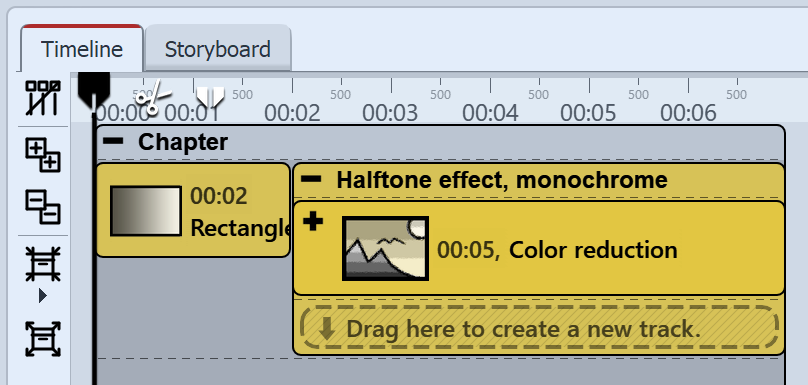 Effect "Color reduction" in "Halftone effect, monochrome" Step 3: Halftone effect, single colorDrag the Halftone, monochrome effect from the Toolbox to the Timeline. Set the Color reduction effect to the Halftone , monochrome effect. Select the Halftone effect frame in the Timeline to change its settings. In the Halftone effect, choose red #FF0000FF as the color and activate Invert. Lower the granularity, for example to 8%. Collapse the effect in the Timeline when you are done. |
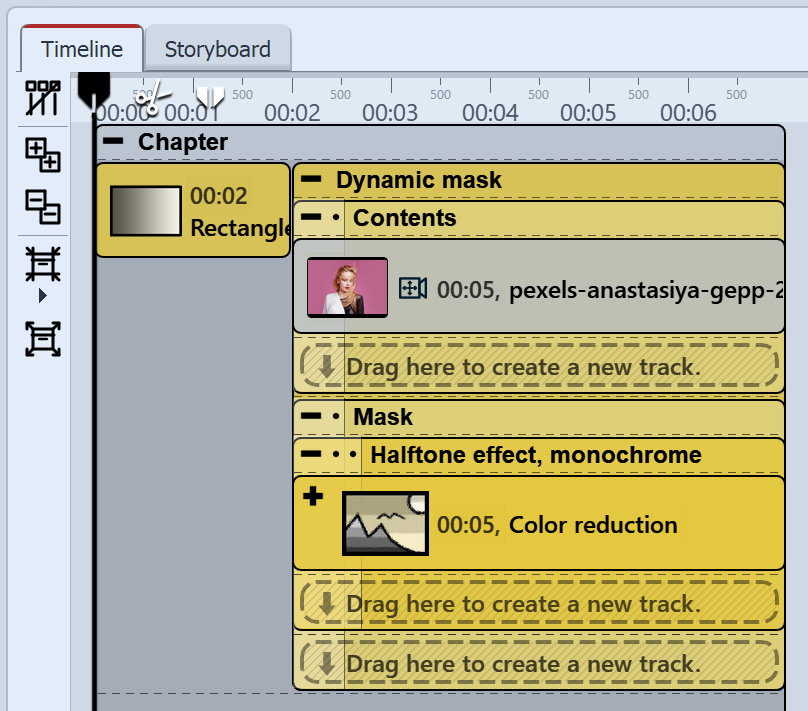 Filled "Dynamic mask" effect Step 4: Dynamic mask effectDrag the Dynamic mask effect from the Toolbox to the Timeline. Set the Halftone, monochrome effect to the Mask track. In the content track, once again insert the original image. Select the frame of the Mask effect in the Timeline to activate the red channel in the properties. Your motif now appears on a white background. If you want a different background color for your PopArt motif, you can adjust the color in the Rectangle shape properties. |
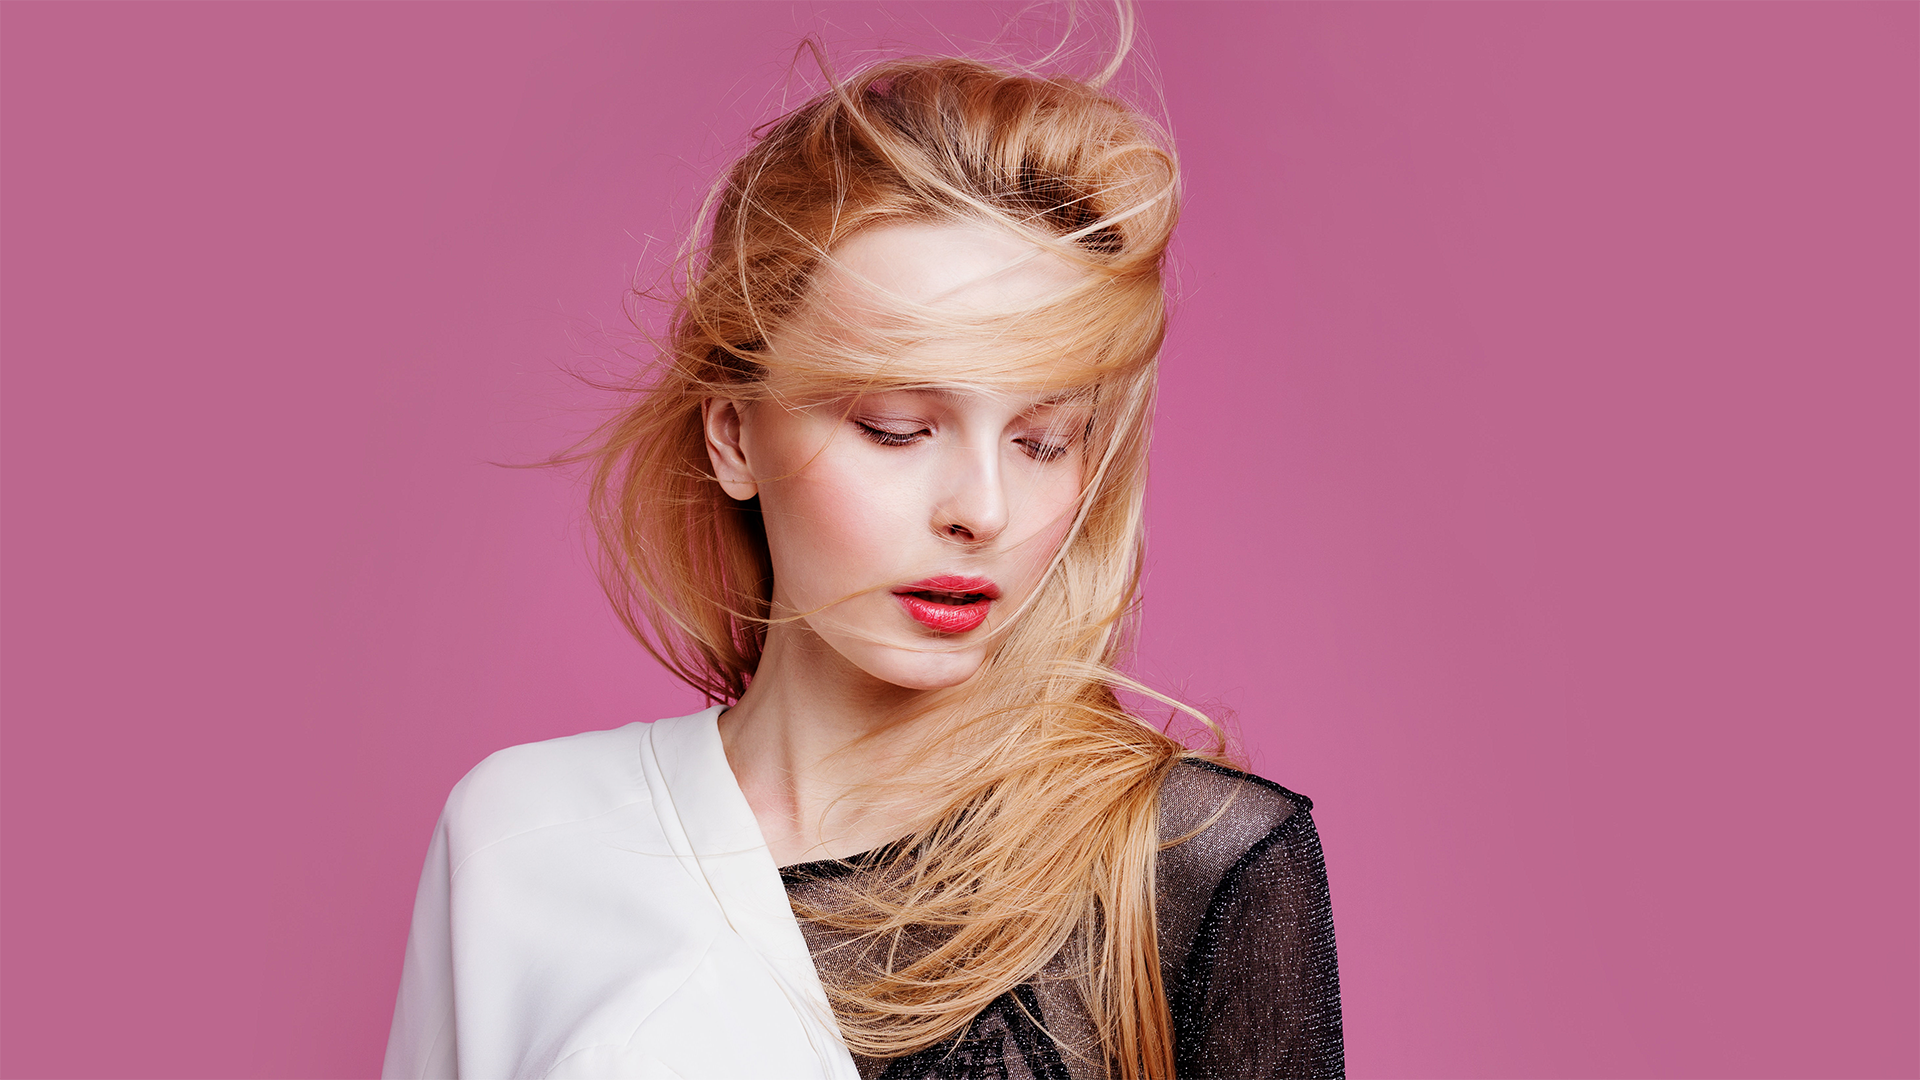 Original image without effect |
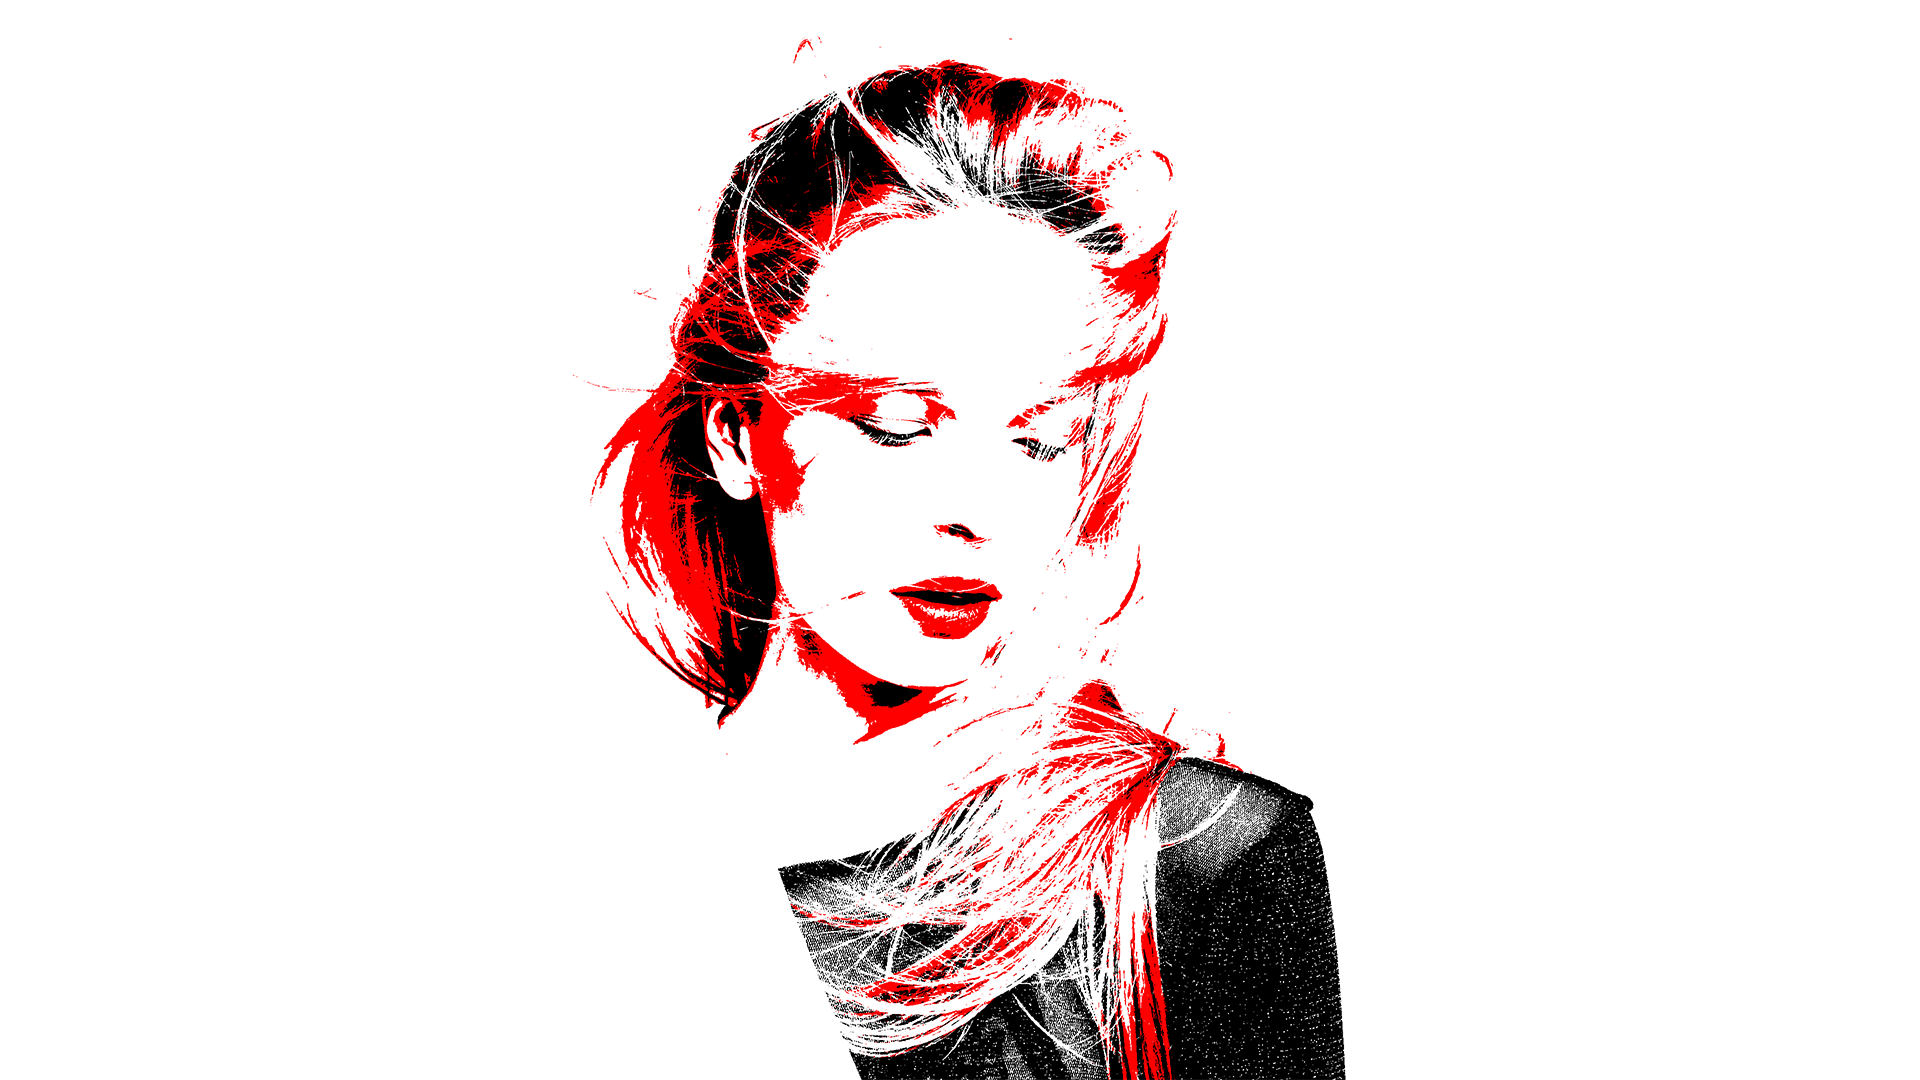 Image with effect "Color reduction" (Step 1) |
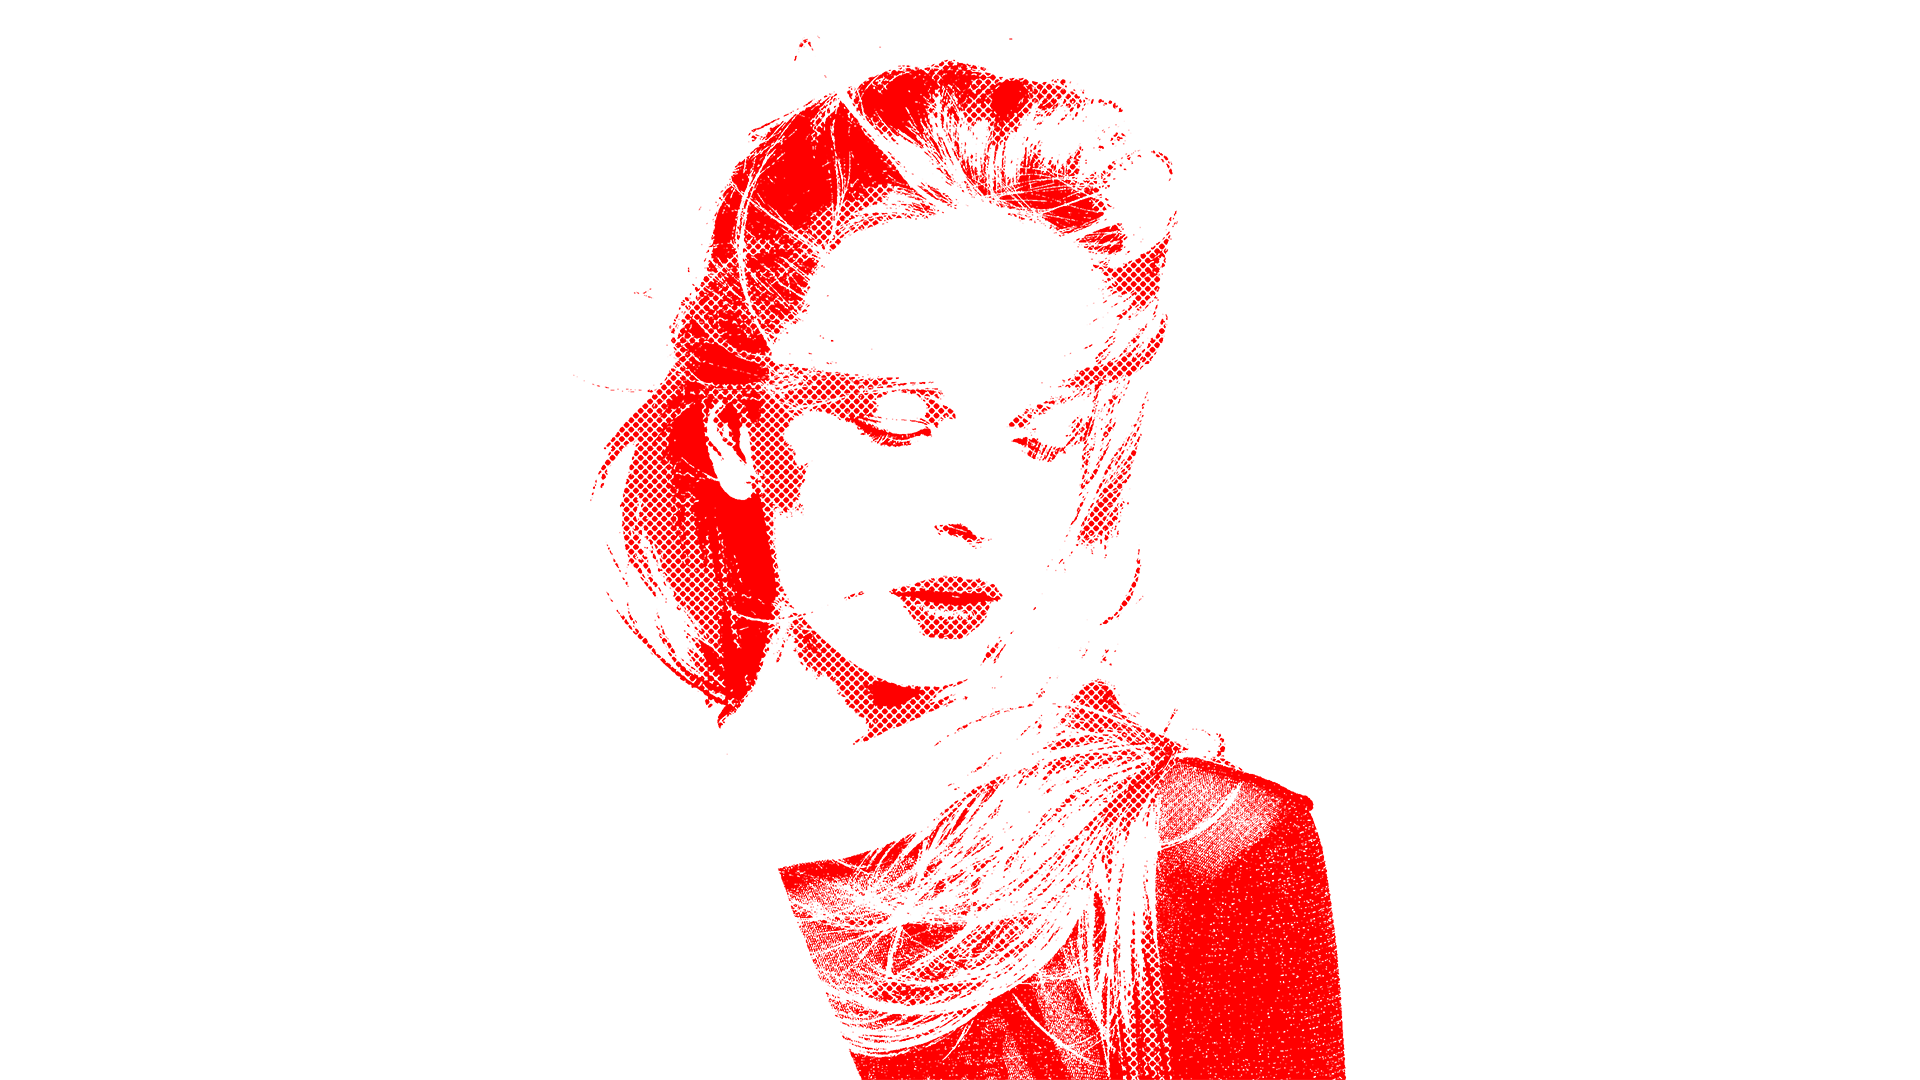 With "Halftone, monochrome" (Step 3) |
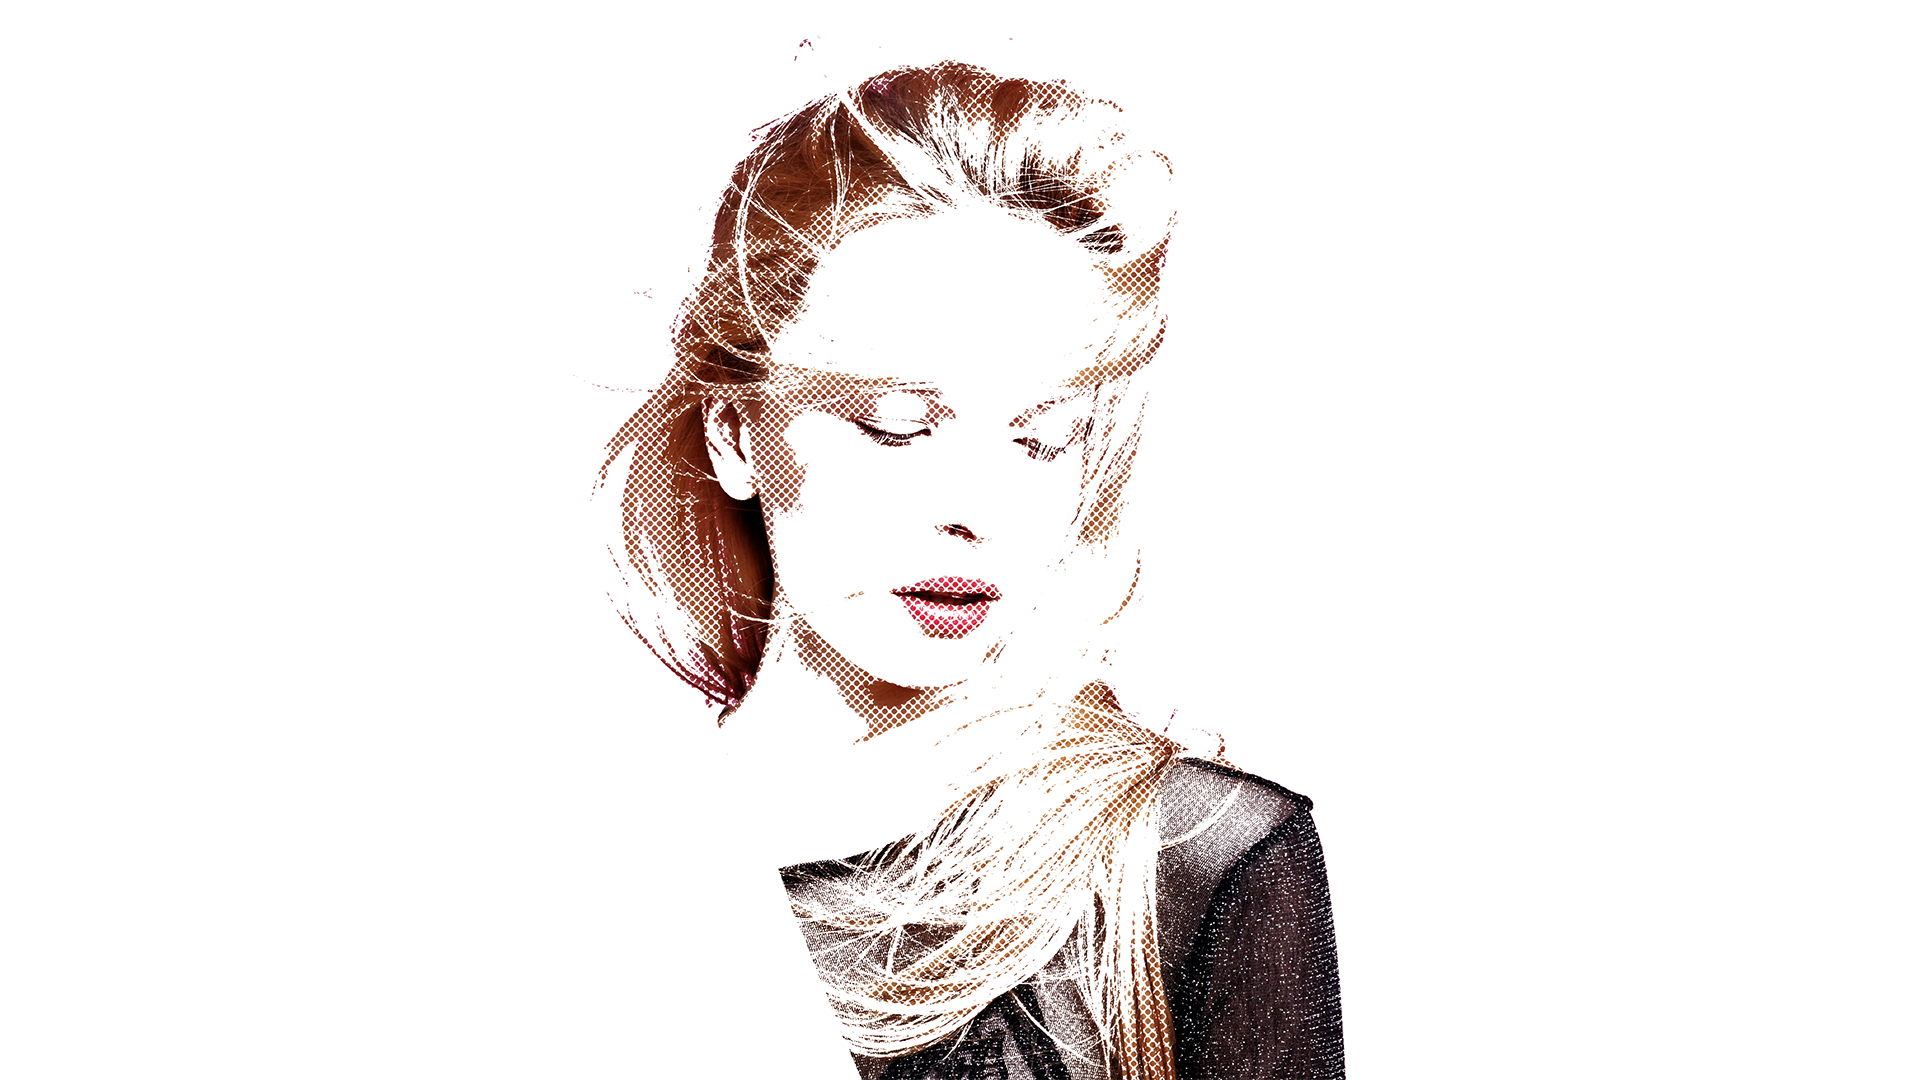 Finished design with "Mask" effect (Step 4) |