|
<< Click to Display Table of Contents >> Insert decorated path |
  
|
|
<< Click to Display Table of Contents >> Insert decorated path |
  
|
 Decorated path The Decorated path objects are located in the Toolbox. The Decorated Path can be used in conjunction with a map or placed on any other background. |
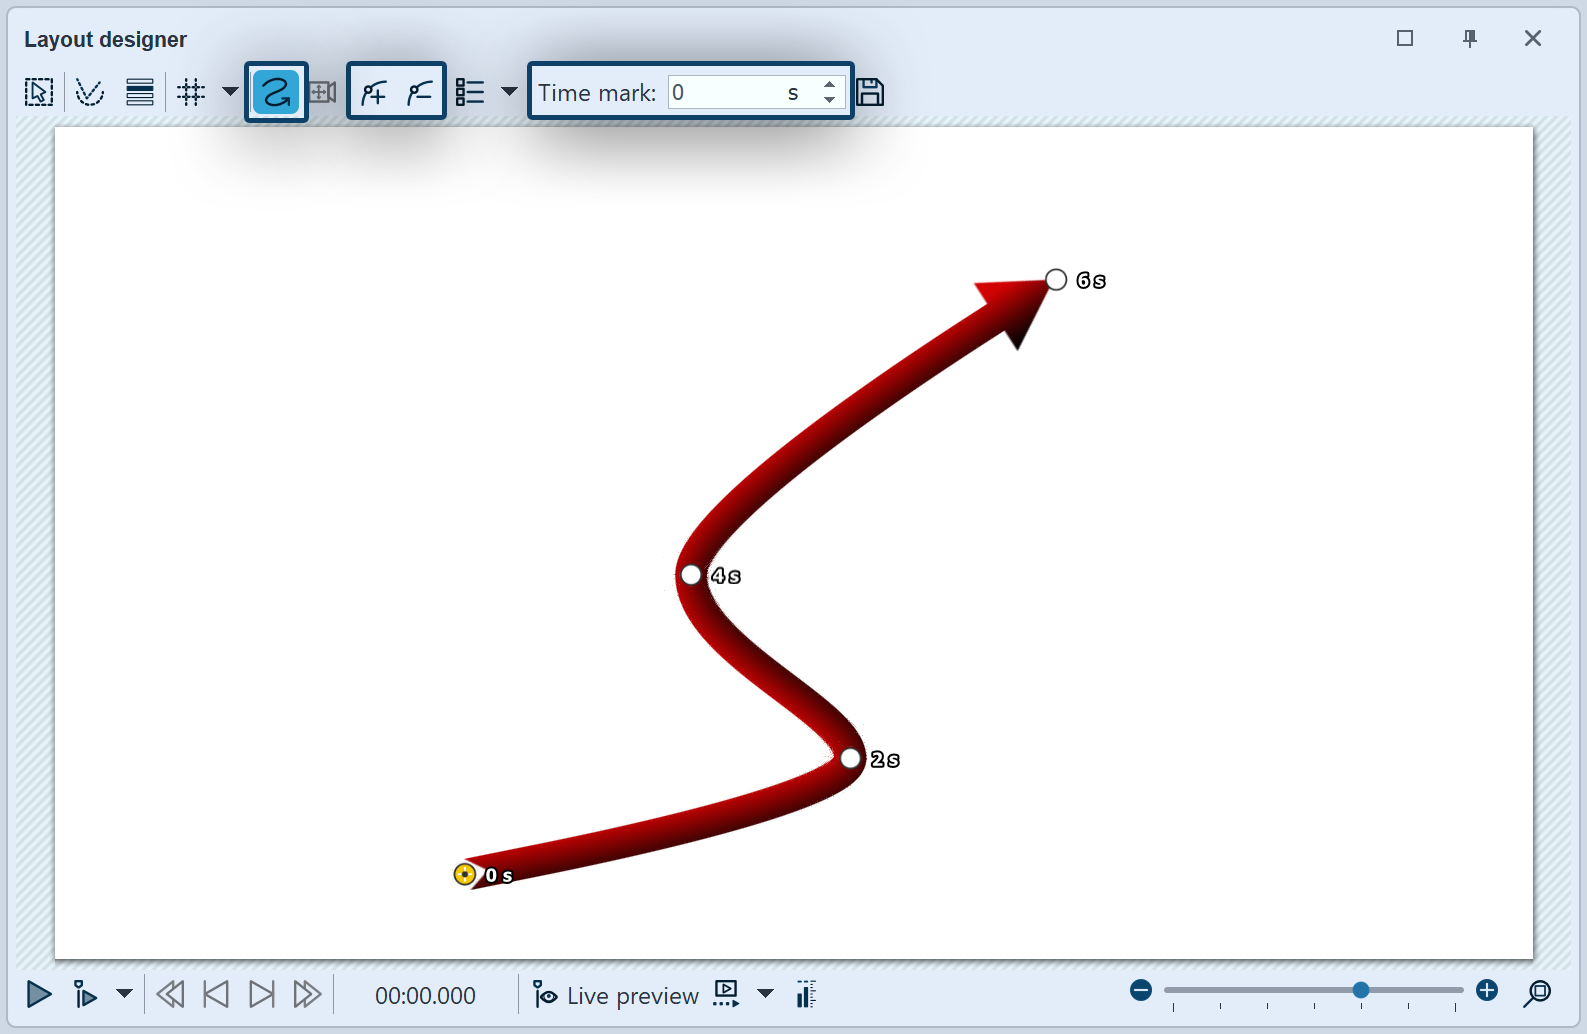 Path with Motion marks After you have dragged the object from the Toolbox into the Timeline, a red, curved path appears in the Layout designer. To easily reach or adjust individual marks, we recommend using AquaSoft Video Vision and Stages the additional use of Manual input. |
 Line with movement markers and individual time distribution You can remove motion marks by clicking on them and pressing the Del key or by clicking on the square Minus symbol in the Layout designer. If you would like to insert a new motion mark, press the square Plus symbol or use the Insert key. You can change the position of the motion marks by holding down the mouse button and moving them in the Layout designer. For routes with individual time distribution, use the Time mark field to specify how much time the line needs to get from one mark to the next. Define your route in the Layout designer using the motion markers. |
|
You can also make a route that was initially created with individual time distribution run evenly in terms of time. To do this, right-click in the Layout designer and select Edit path and then Equalize in the menu that opens. This will set all time markers so that the time interval between the movement markers is appropriate to the spatial distance. Users of AquaSoft Video Vision and Stages can select the path setting Time distribution: Evenly via Manual input. It is then no longer necessary to balance the path. |
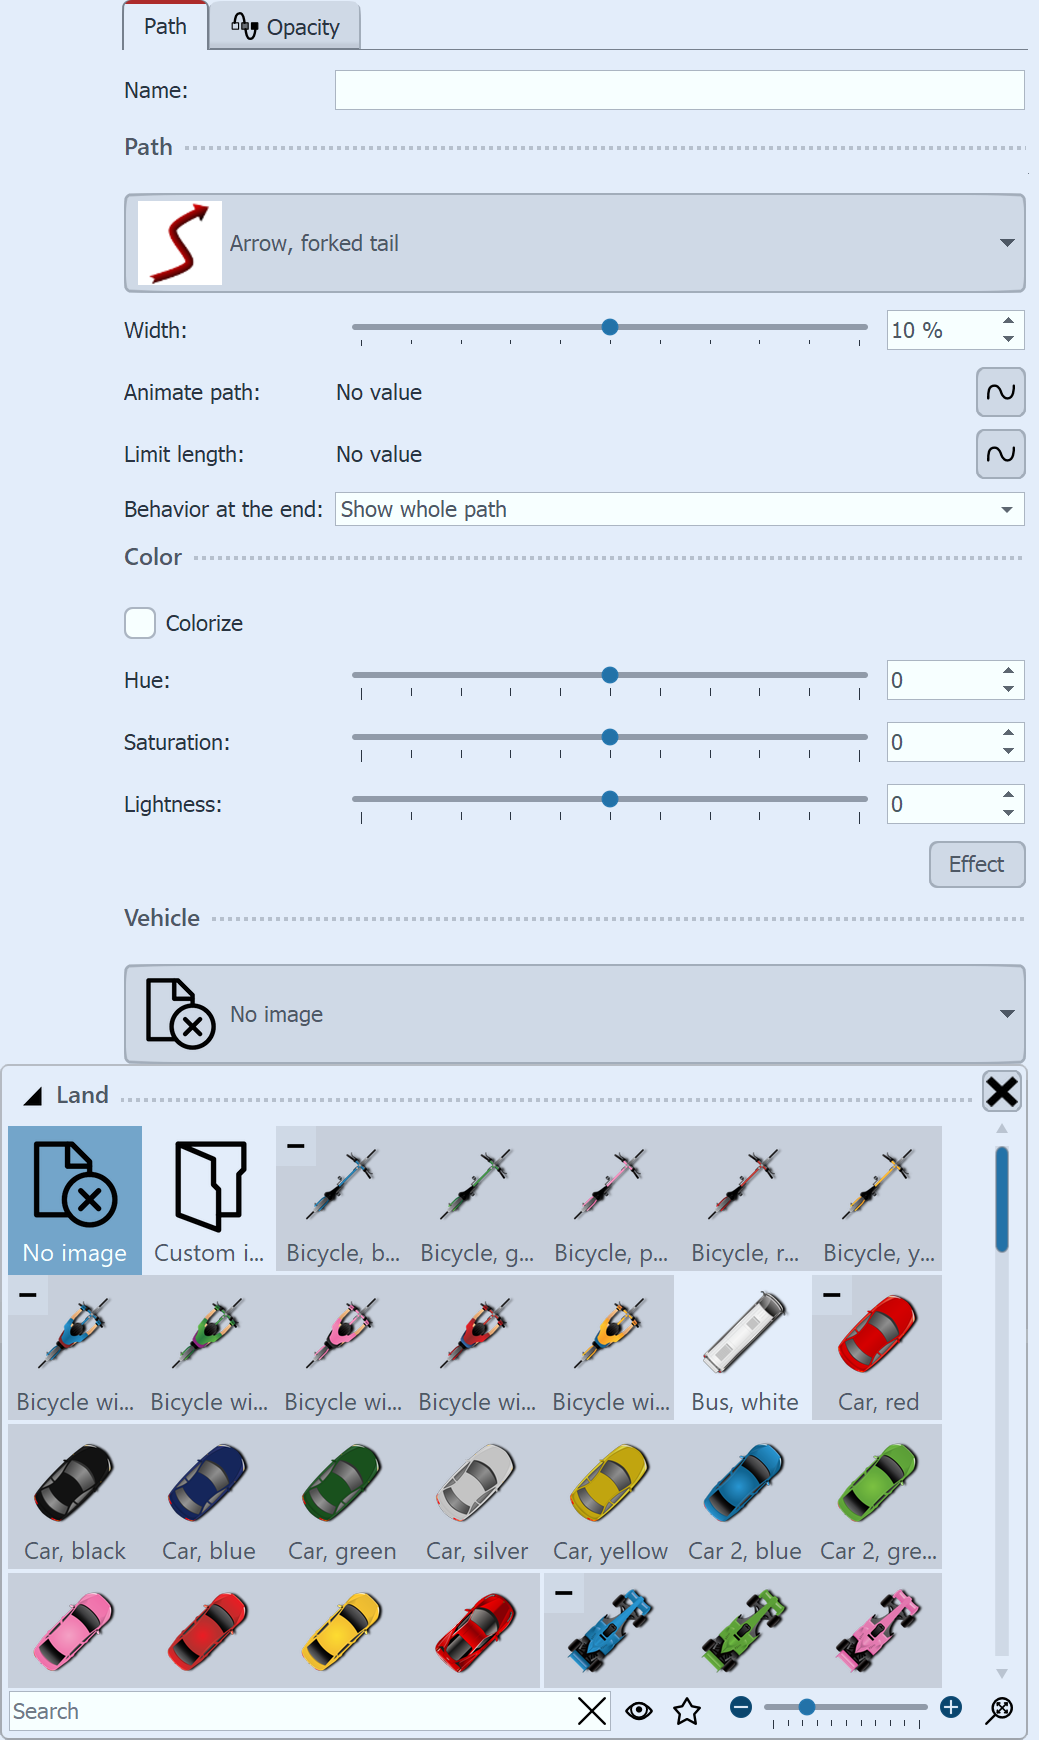 Settings for the Decorated path In the Properties window you can now decide on a variety of settings for the Decorated path. If required, assign a name for a better overview of the project, especially when working with multiple paths. Under Path you can specify the style of the path, and the Width can be changed individually. The Width is given in the standard coordinates of the Layout designer, meaning that 1,000 corresponds to 100 % of the screen. In this case, the shorter side of the screen (ii.e. usually the height). Paths that consist of irregular patterns/color sections can be played with Animate path so that the path pattern appears animated. With Limit length "No value" (or value=0 s), the path is shown with its entire length during the runtime, without a running end. If the path should only have a certain length and not show the entire distance between the starting point and end point, a time can be entered here for the length. (The time input refers to the time of the movement markers or their time difference). You can use the Behavior at the end to determine whether the path should continue to Show the whole path after the animation has finished or whether it should be shortened, i.e. the path is retracted towards the end point. (For a complete shortening, the display duration of the path object may need to be increased). If you activate the checkbox under Colorize, you can color the path under Hue. A vehicle can be placed at the top of the line, which you select in the Vehicle section. These are sorted in the gallery according to land, air and water vehicles. Select the desired vehicle with a click. You can also select your own graphic from your hard disk in the gallery under My picture. Double-click on Custom image and select a file. This should be a png file with a transparent background. You can also adjust the vehicle width to suit your requirements. The vehicle can be given an image effect using the Effect button. |
|
Adding marks increases the duration of the route. To change the total duration, users of AquaSoft Video Vision and Stages right-click a mark in the Layout designer and select Edit path/Adjust duration. The duration can also be changed by selecting the path object in the Timeline and selecting Intelligent scaling in the properties. |
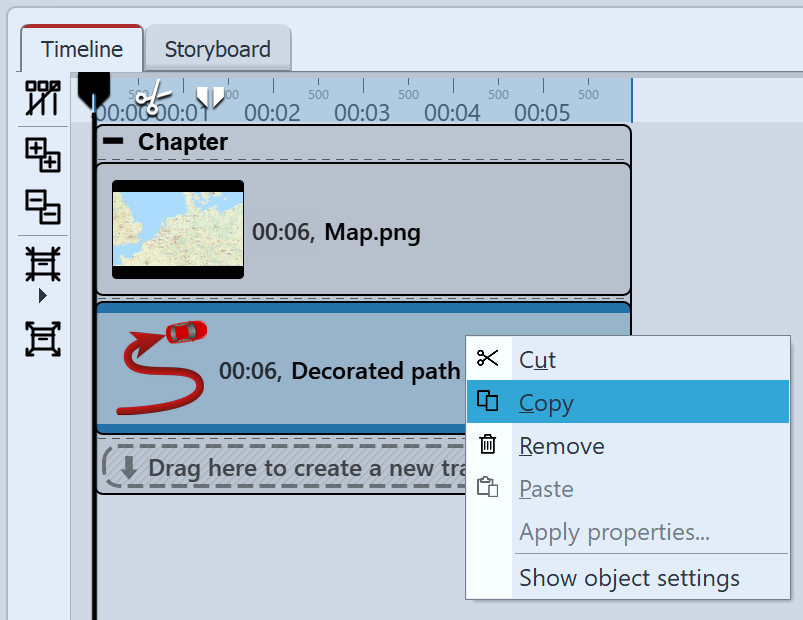 Copy Decorated path Drag the Map Animation object from the Toolbox into the Timeline. Select a map view in the Map Wizard. Now go to the Timeline. Open the object with the title Map Animation. Click on the object Decorated path. In the Properties window set the Width to a lower value, such as 20. Under Vehicle select bike. Now right click on the object Decorated path in the Timeline. In the Context Menu, choose Copy. Press Ctrl + v , to paste the Decorated path a second time. |
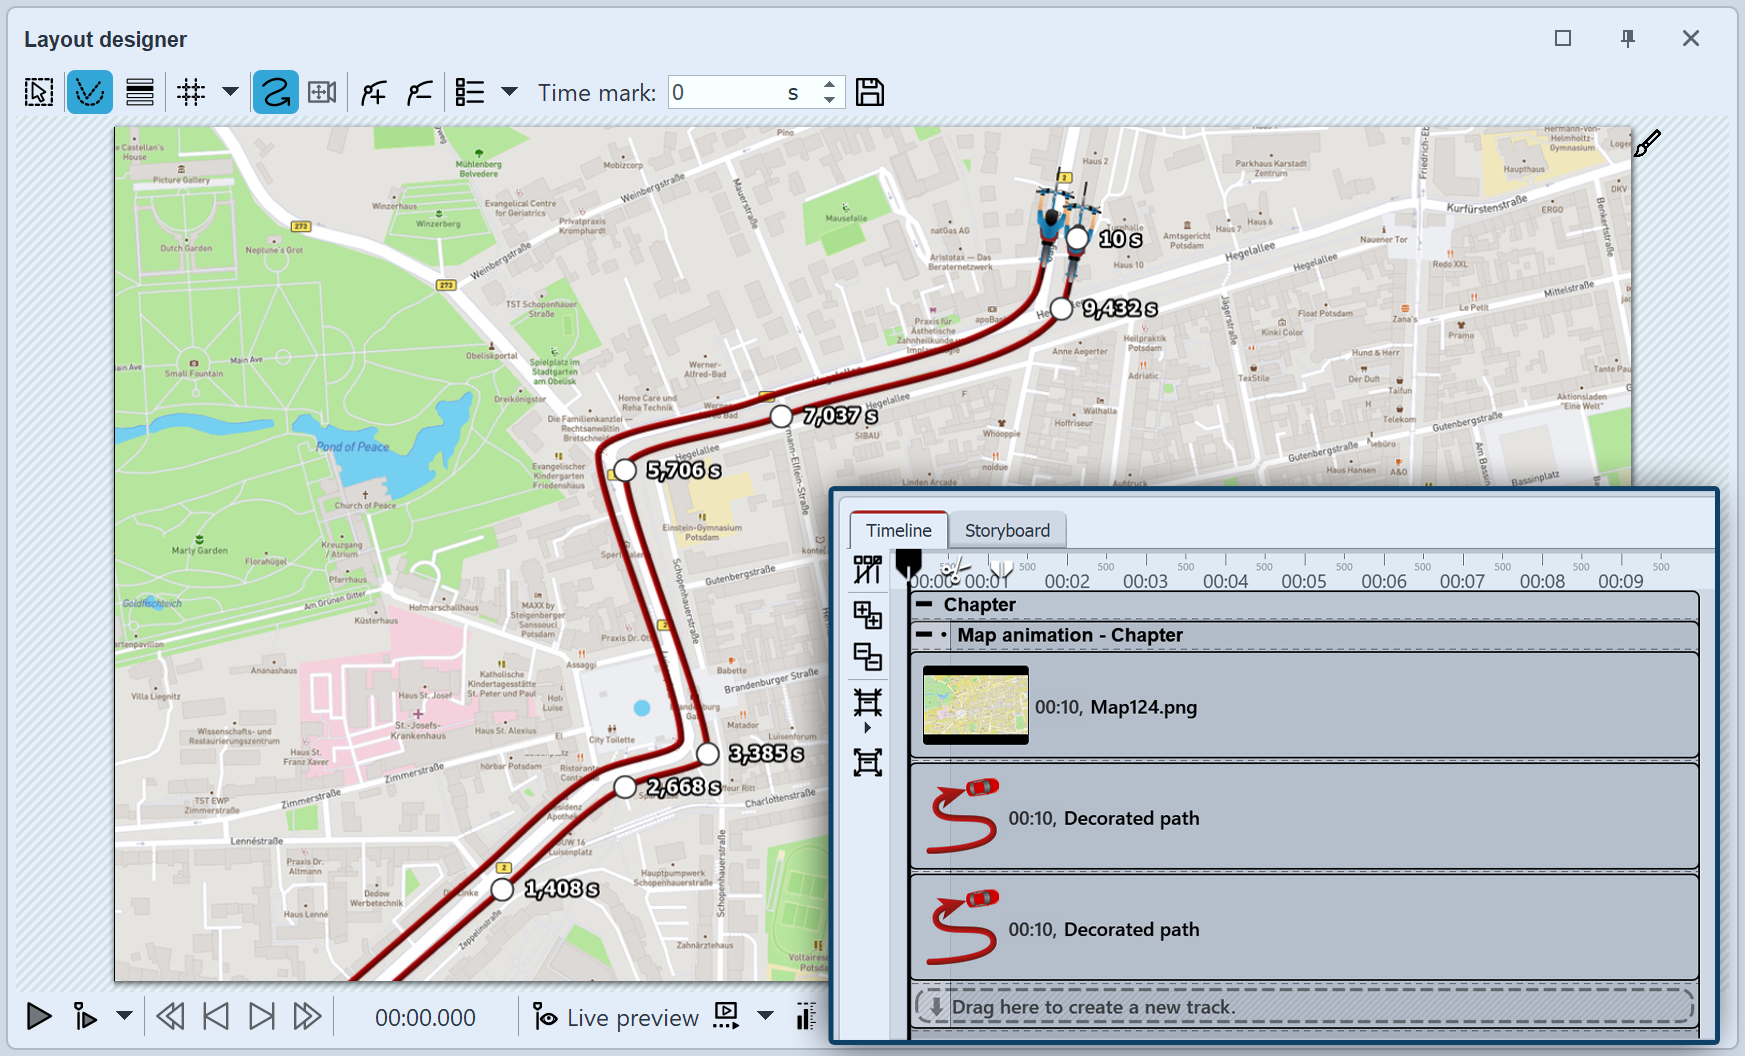 Set parallel Motion Marks Place the second Decorated path in the Timeline precisely underneath the first Decorated path so that the Objects are displayed at the same time. In the Layout designer place the Motion marks of the second line so that they are next to the first line. The easiest way to do this is to move all Motion marks simultaneously (in the Context Menu of the Layout designer choose Select All Markers or use Ctrl + A ). |
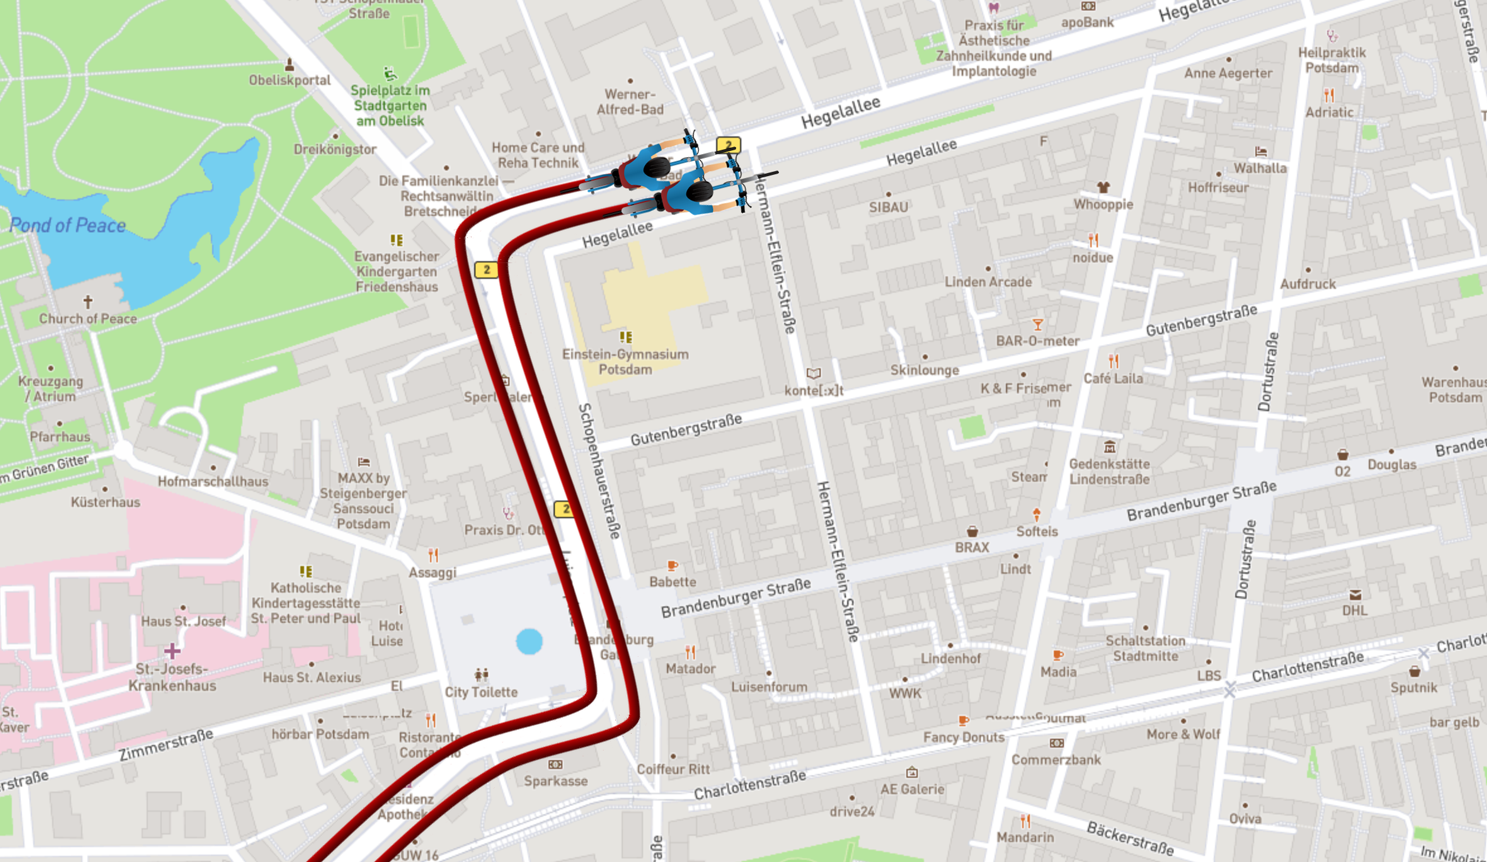 Two bicycles next to each other The result can be checked by pressing f7 . The preview will then start in the Layout designer. |
|
Decorated paths can be used not only on maps, but also as pattern animations on images or in titles. Be inspired by the mini-templates that you can call up in the properties for a selected path. |