Camera pans


|
Camera pans |
|
Create a new slide show
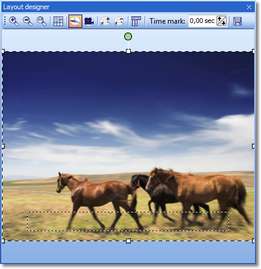
Click on it in the Image List or on the Timeline, so that the image is shown in the Layout Designer and the corresponding tools are enabled.
With camera pans the images must be enlarged beyond the visible area. For that purpose, reduce the display of the visible area with the
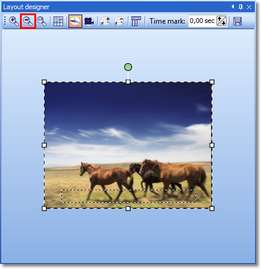
Now enlarge the image using the positioning frame until it looks similar to the image below.
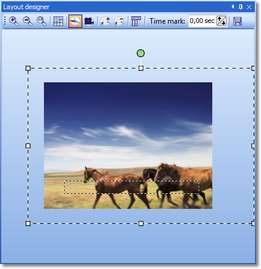
Then, with the
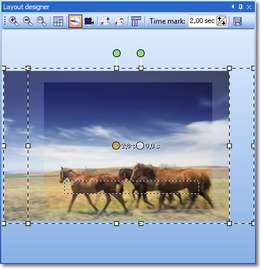
Increase the time at the second movement marker, so that the movement is carried out more slowly. Should you not wish to have any Transition at the beginning of the movement path, you can set None in the Object settings of the image. Then, with the right mouse button, retrieve the context menu at the 2nd movement marker marked. Now, in the latter, select Position frame/Use size of previous item. As a result, the size of the second movement marker is automatically adapted to the size of the previous one and can no longer be changed accidentally.
Now simply click
|
| Copyright © AquaSoft ® 1999-2009 www.dvd-photoshow.com |