|
<< Click to Display Table of Contents >> 2D camera pan |
  
|
|
<< Click to Display Table of Contents >> 2D camera pan |
  
|
 2D camera pan The content in the effect is panned automatically one after the other. The order in which the content is panned is determined by the Timeline track arrangement. The effect is already filled with placeholders and a background image (book). You can of course adapt the content and use the effect as a template for your own ideas. You can find the effect in the Toolbox under the Objects tab in the Object effects section. |
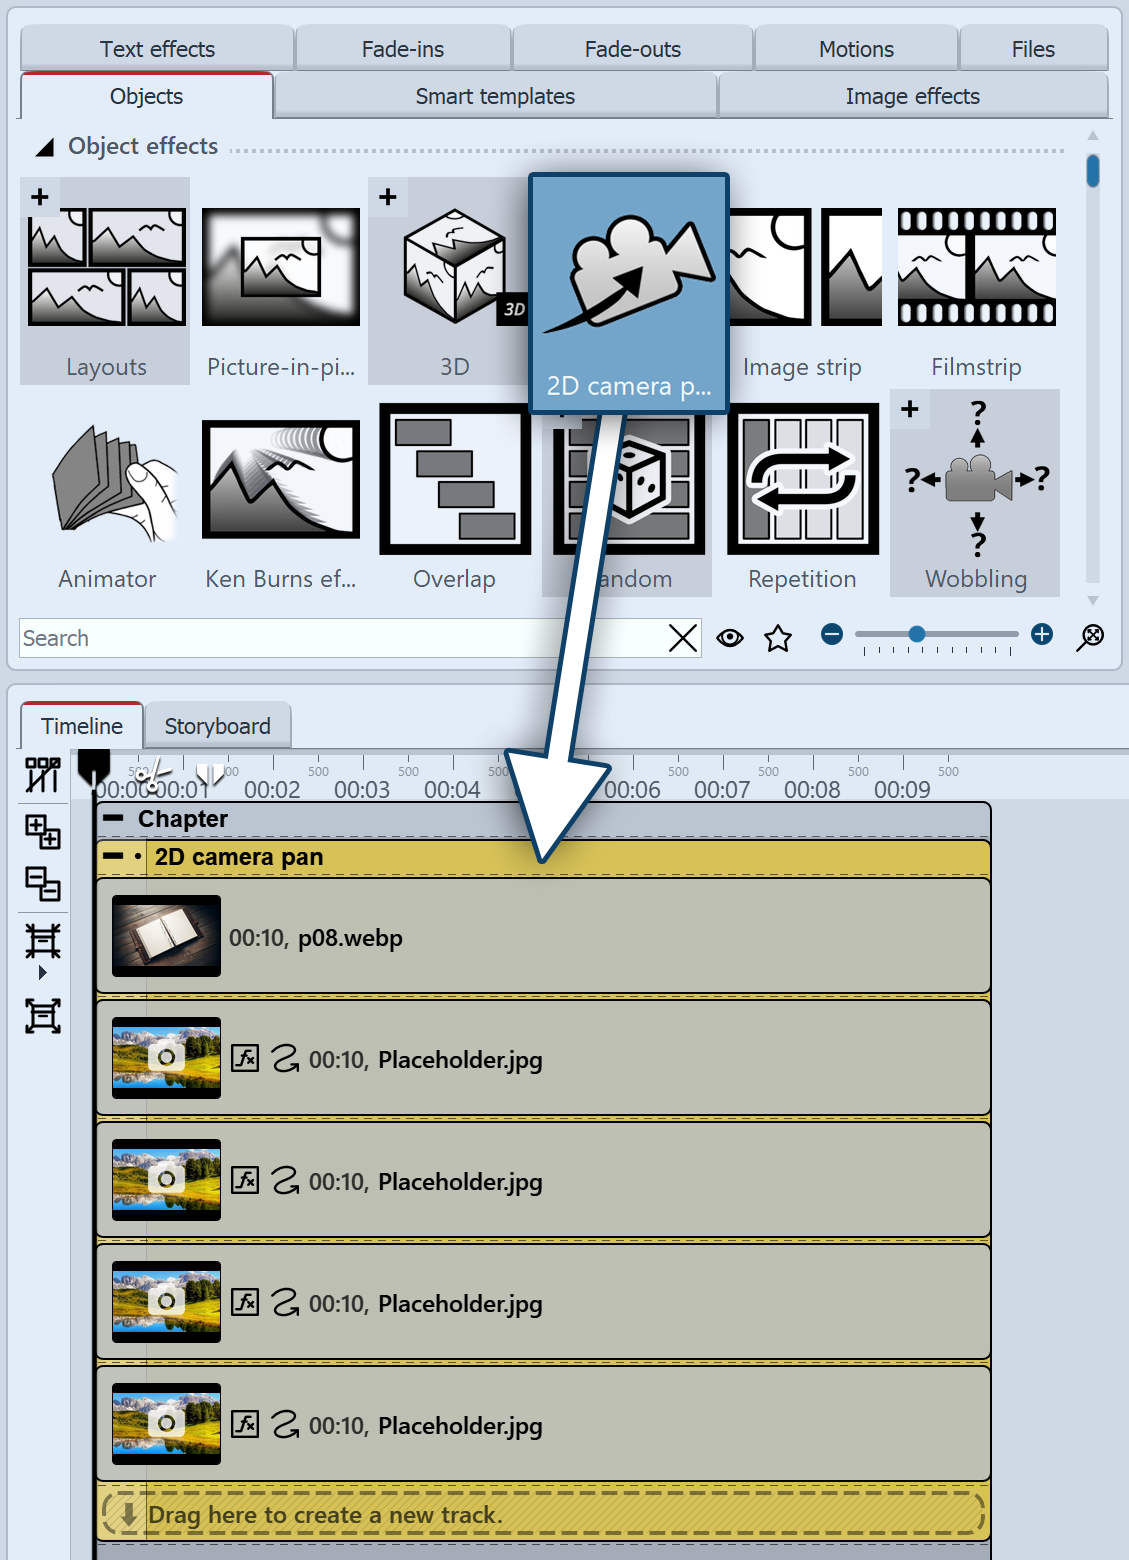 2D-Kameraschwenk einfügen Drag the effect from the Toolbox to the Timeline. In the Timeline you can see that the effect consists of several content tracks that are already filled with a background image and placeholder images. These placeholder contents are used for orientation and a better understanding of the effect. They can be removed or replaced with your own material. The objects are arranged one below the other in the effect. Each object inserted into the effect creates a camera panning station. To adjust the duration of the effect (and therefore the duration of all its content), select the 2D camera pan in the Timeline and increase the display duration in the properties. If you are working with Flexi-Collagen in the effect, please use Intelligent scaling in the properties. Enter the new duration there.
|
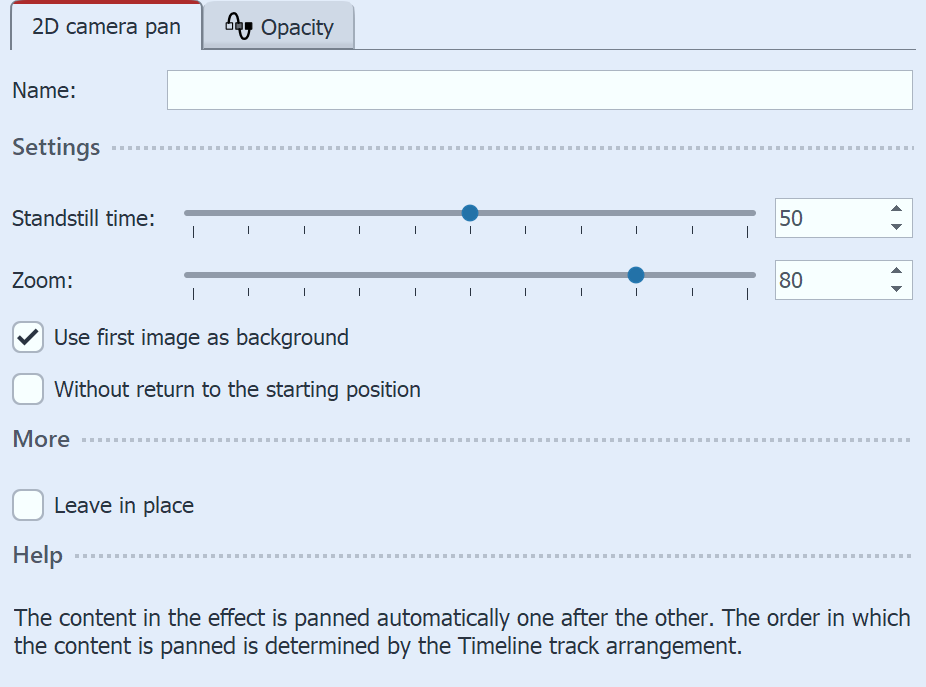 2D camera pan settings The longer the Standstill time, the longer the individual stations of the 2D camera pan are viewed and the faster the panning movement to the next station takes place. With a shorter Standstill time, there is less time to view the image, but the panning between the content is slower.Use the Zoom to set how close the camera moves to the content. Under Animation, you can select whether the 2D camera pan should run with or without pans at the beginning and end or with a pan only at the beginning or only at the end. If no check mark is set for Without return to the starting position, the camera zooms into the long shot during the panning between the individual stations so that the complete arrangement of the individual content is shown. If the check mark is set, the camera pans directly from station to station without showing the overall view in between.
|
|
To quickly distribute selected objects in the 2D space in Timeline, you will find a suitable scriptlet under Actions. |
The example sticks closely to the template of the effect. Instead of panning to four individual images, the second page of the book pans to a collage consisting of a photo, two graphics and text.
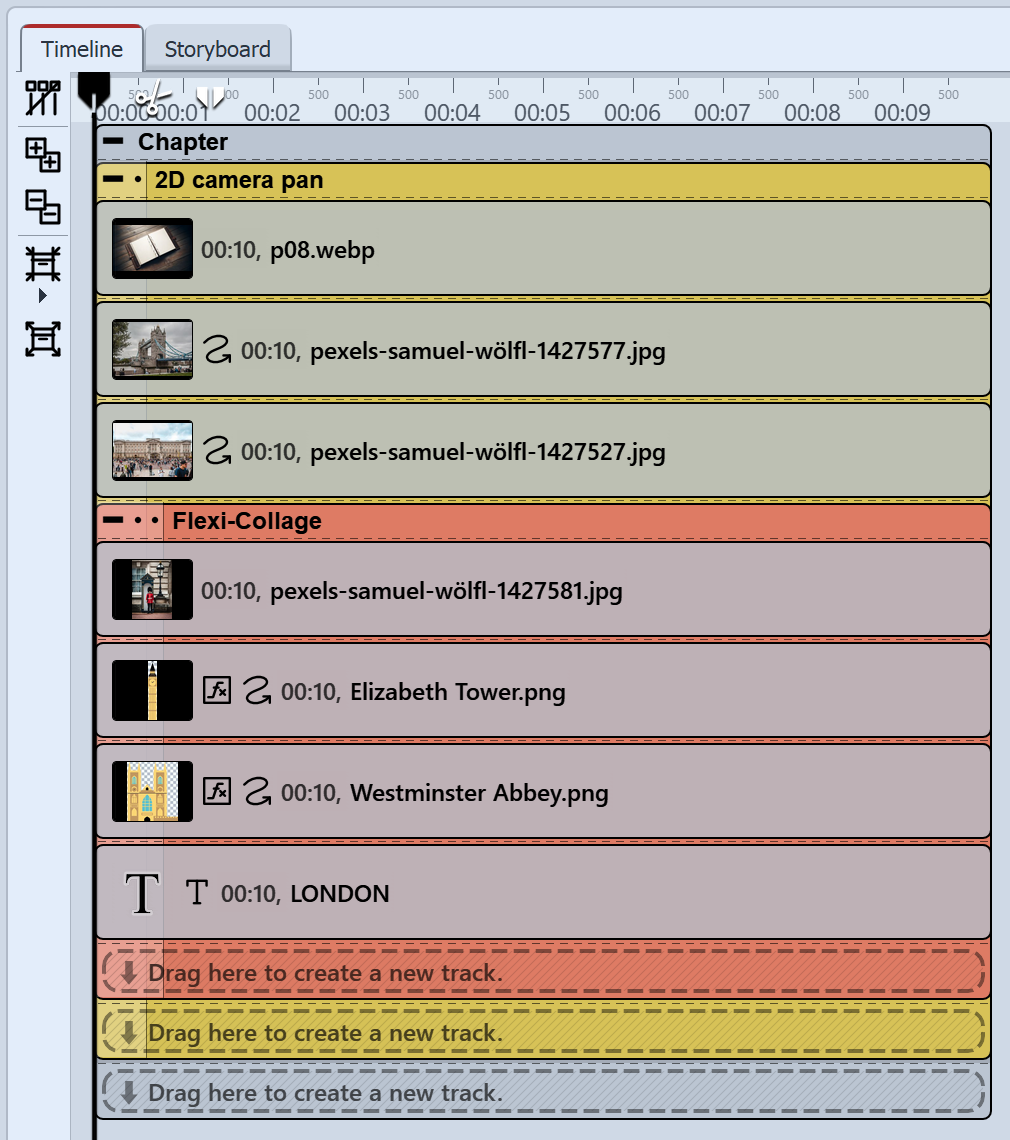 2D camera pan effect filled with images, graphics and text in the Timeline 1 Drag the 2D camera pan effect from the Toolbox to the Timeline. Click on the individual placeholder images to see their position in the layout designer. Replace the two images on the left-hand side of the book with your photos. If necessary, adjust the size of these images in the layout designer. On the right-hand side of the book, remove one image and replace the second with your material (in the example here, this is a portrait format photo).2 Select the portrait format photo and set the aspect ratio to Keep in its properties. In motion path mode, remove the reduction by clicking on the Minus icon to remove the existing motion mark. 3 The portrait format photo should now have text and graphics for decoration. |
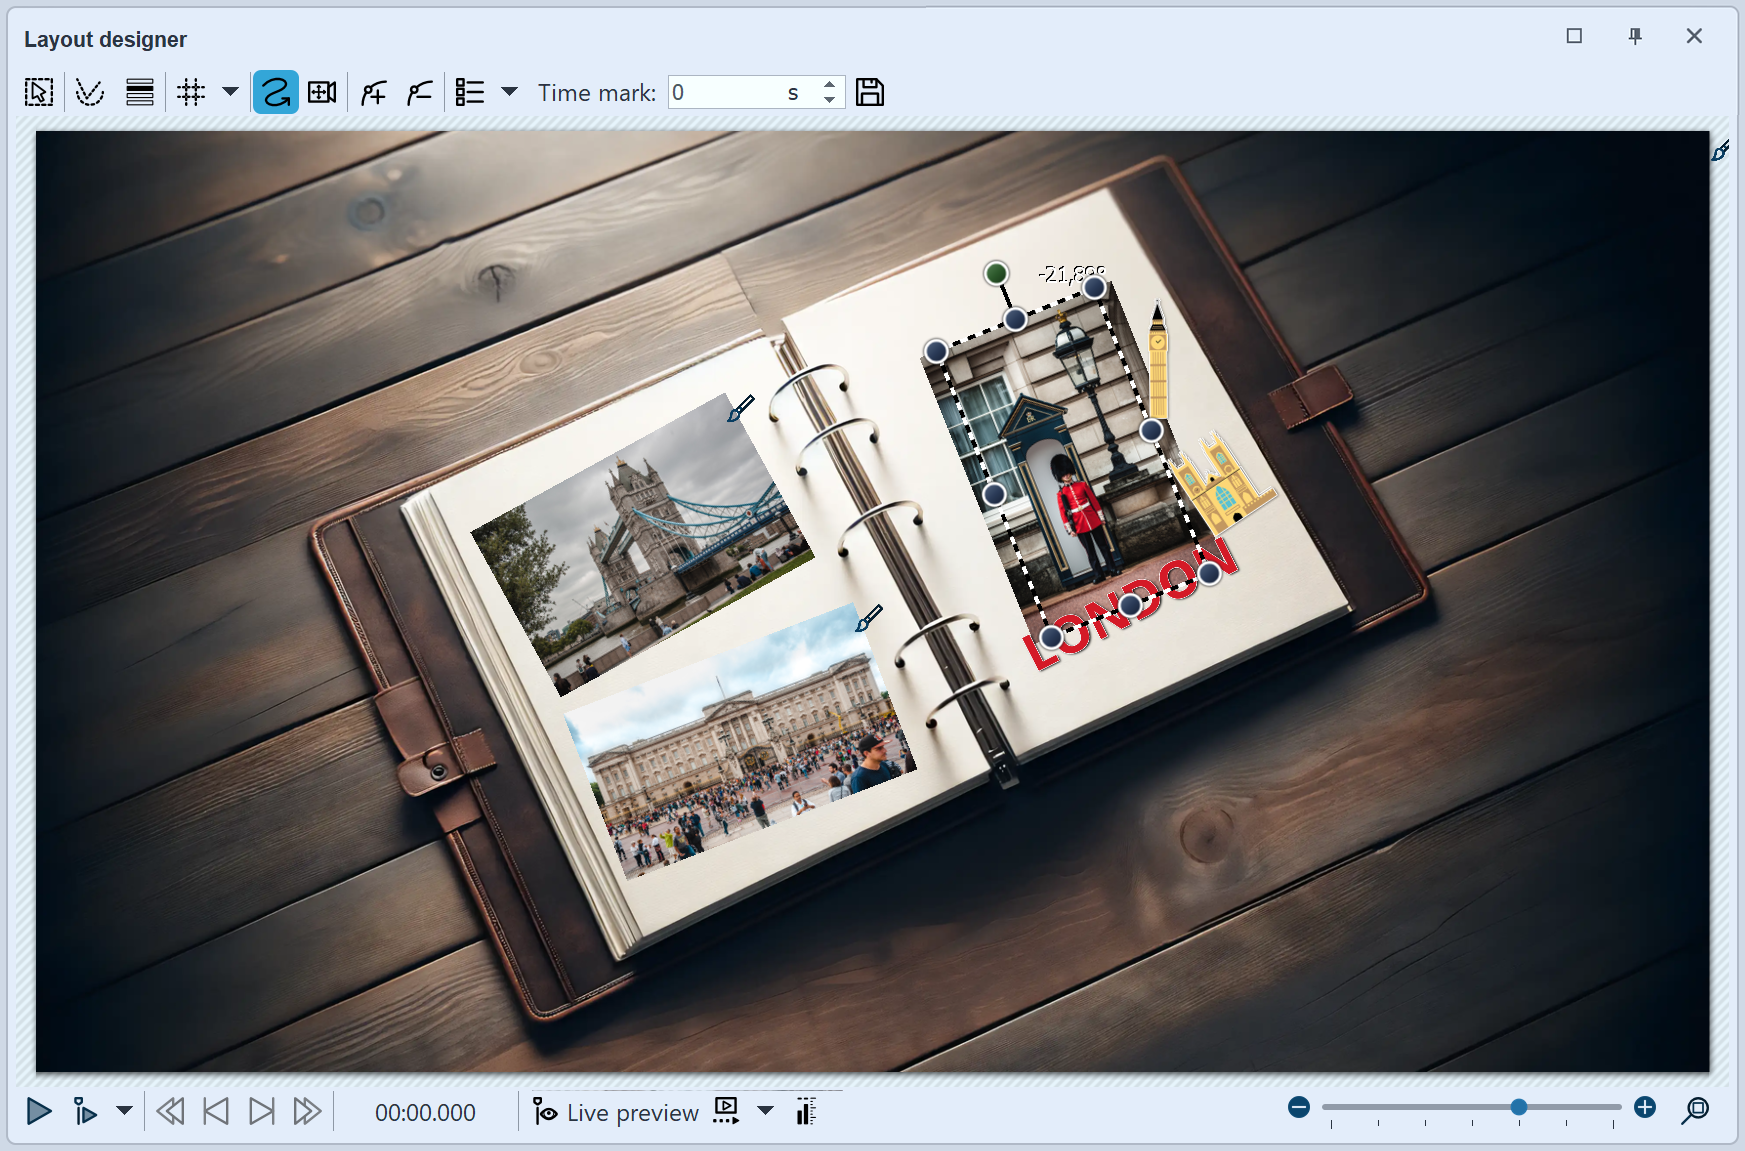 Cutting the Flexi-Collage for 2D camera panning in the layout designer 4 Select the Flexi-Collage in the Timeline. Then drag the dotted position frame of the Flexi-Collage at one of the four corners and place the collage on the right-hand page of the book by moving it. You can use the colored dot at the top of the positioning frame to Flexi-Collage rotate the collage. When the effect is played back, the two images and Flexi-Collage are gradually scrolled by the camera. |
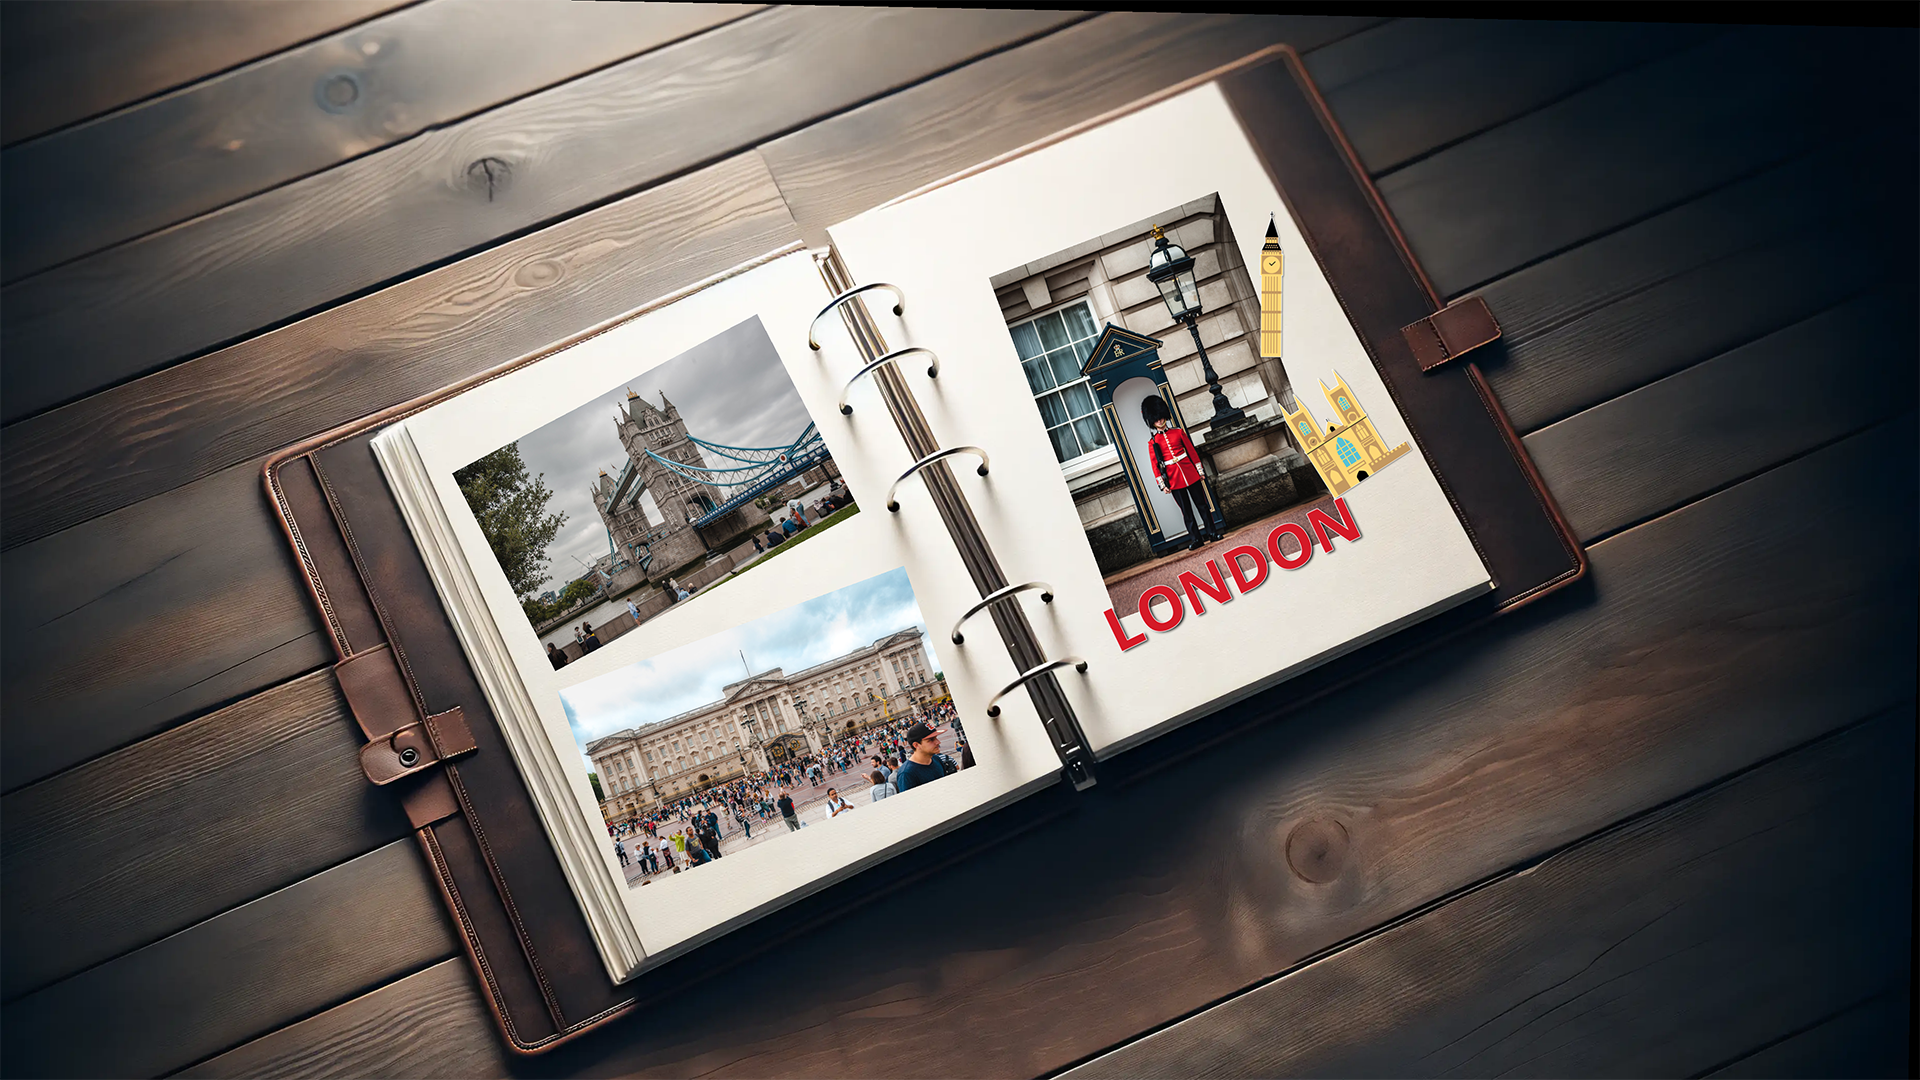 The 2D camera pan moves from the long shot ... 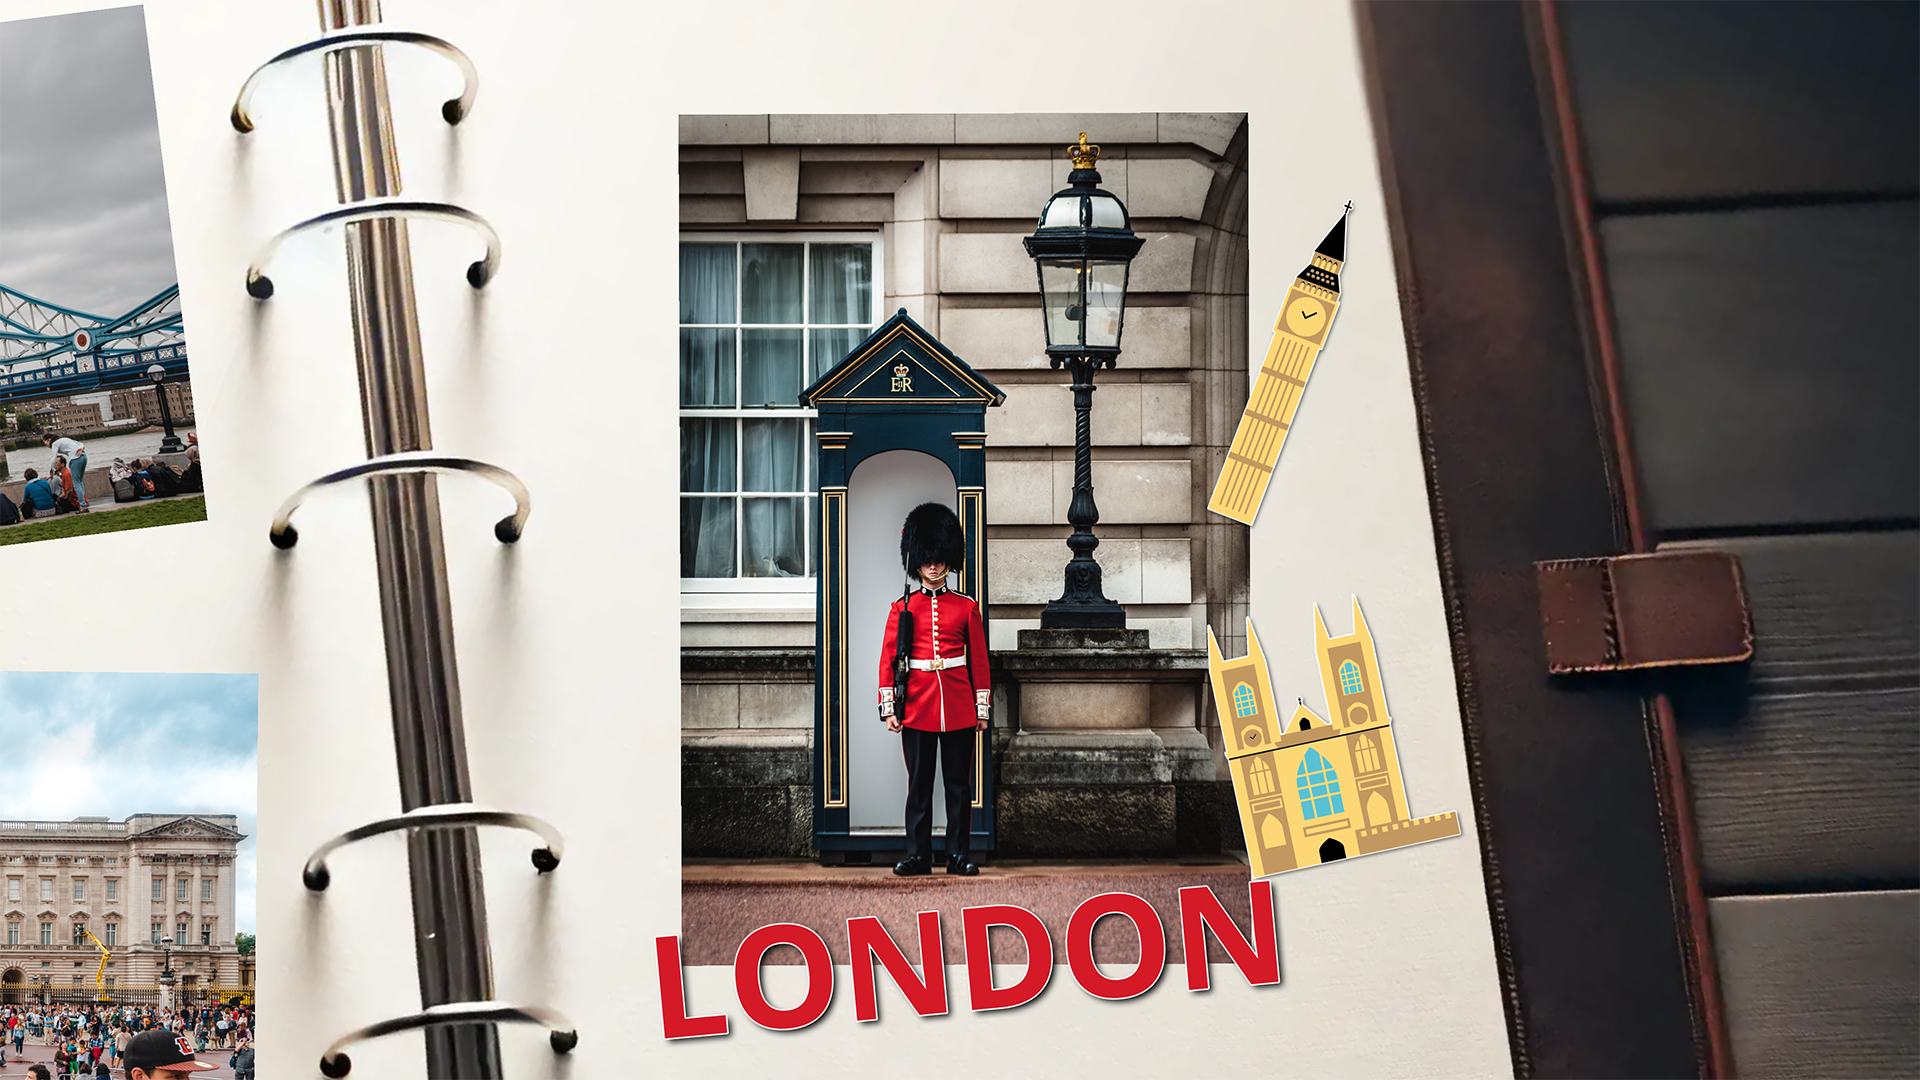 ... to a detail |
|
To find out more about 2D camera panning and how you can combine several of these effects to create a book page-turning animation, watch the video "2D camera panning". |