|
<< Click to Display Table of Contents >> The Toolbox |
  
|
|
<< Click to Display Table of Contents >> The Toolbox |
  
|
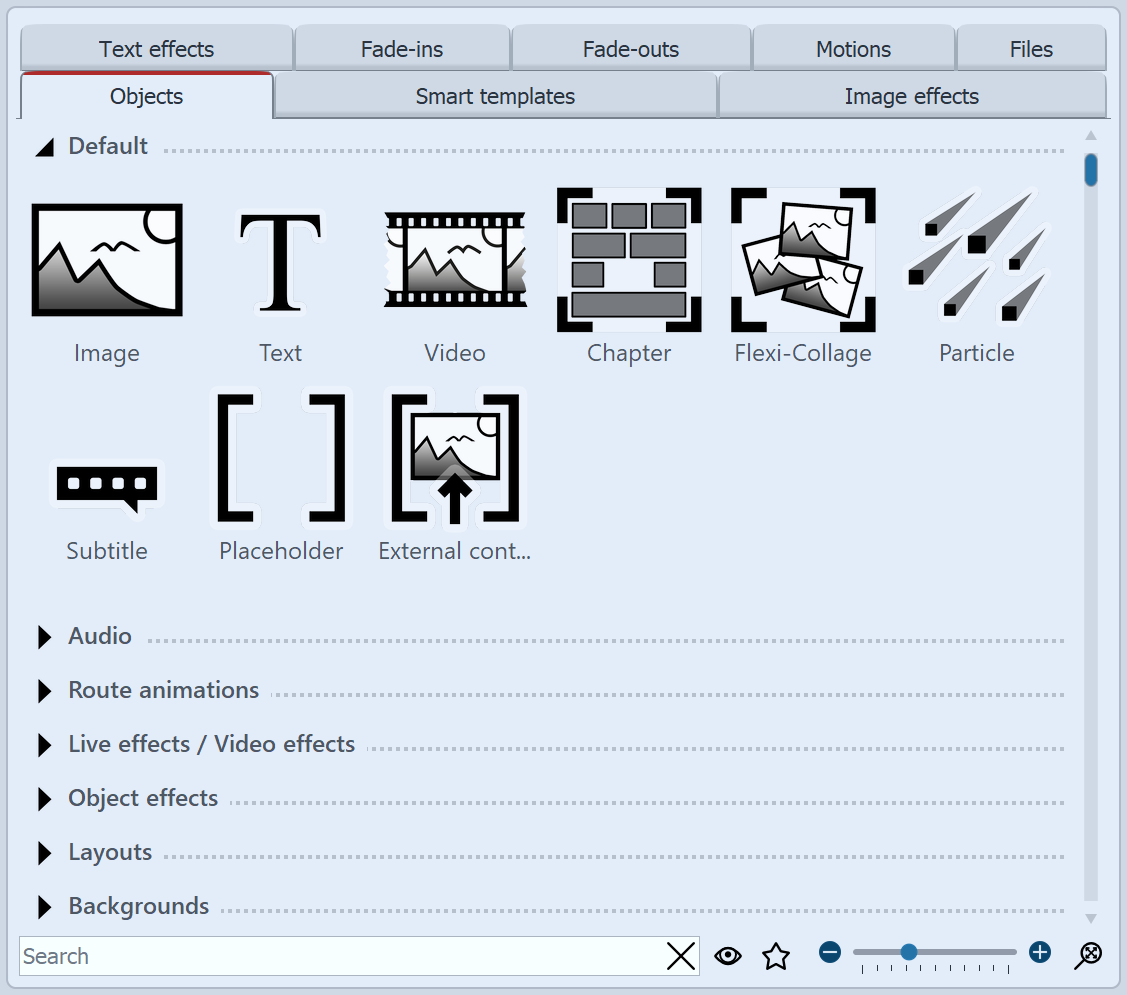
 Objects in the Toolbox You can find the Toolbox in the Default workspace on the left side. In the Toolbox you will find all objects that can be inserted into a project. You can click on them and drag them to the desired position in the Timeline, the Image list or also to the Layout designer by holding down the left mouse button. This process is called "drag and drop". Alternatively, you can also double-click on one of the objects, it will then (depending on the Program settings) be inserted into your project at the end or to the right of the currently selected object. Zoom in or out the icons using the slider located at the bottom right of the Toolbox or right-click in the Toolbox and select "Zoom in/out icons". Click on the magnifying glass in the corner to restore the default zoom of the Toolbox. In the Search field you can search for elements located in the currently opened Toolbox tab. |
The Toolbox has different areas that you can access via tabs. The sections in the areas can be expanded and collapsed using the triangles on the left edge. To expand or collapse all sections at once, right-click in the Toolbox and select the desired option.
The following is a brief overview of the individual areas of Toolbox. More detailed information can be found in the corresponding chapters of this manual.
Under the Objects tab you will find the most powerful and at the same time elementary tools.
Right in the first section you will find the Default objects, such as image, text, video and sound. These are the most important elements that will mostly make up your project.
•The Chapter object allows you to create as many tracks as you want - learn more about this in the Working with multiple tracks chapter.
•Furthermore, you will find the Flexi-Collage, the function of which is described in more detail in chapter Flexi-Collage chapter in more detail.
•Particles are explained in more detail in the chapter Creating a particle effect.
• VIDEO VISION STAGES The use of subtitles is explained in the Subtitles in different tracks chapter.
•The function of the placeholder is explained in the Placeholder chapter.
• STAGES To learn more about designing in 3D space, see the Creating 3D scenes chapter.
In the section Recording VIDEO VISION STAGES you will find the possibility to record comments and sounds with the Sound Wizard via sound recording object and thus insert them directly into a project.
Do you want to run a line, vehicle, or other object along a specific path? Or are you looking for maps to display your travel route in your presentation? Help yourself to the selection of possible designs in the Route animation section. The Animated paths and routes chapter gives you a glimpse of the vast design possibilities.
Under Live effects/Video effects you'll find effects that you can use to affect the appearance of your photos and videos. Read more about each effect and learn how to apply them in the Live effects chapter.
In the Object effects section you will find ready-made effects where you only need to insert images or videos. In the Object effects chapter, each of the effects is discussed individually so that you can easily understand and apply them.
Layouts let you quickly arrange photos and videos into collages. Learn more about these effects in the Layout and sublayouts chapter.
At the very bottom of Toolbox, in the Control section, you will find objects that allow you to control the presentation manually. Read more in the Automatic and manual sequence chapter to learn how to use the Pause object and the Play object.
|
In our video "Standard-Objekte in der Toolbox" you can learn more about the functions. |
In addition to the Objects area, the Toolbox offers you further tabs for which this manual provides instructions. To facilitate the overview, here is a selection of the chapters in which you will find explanations of the areas of Toolbox:
•To learn how to apply Image effects, see the Image effects chapter, and to learn how to create your own image effects, see the Image editor functions chapter.
•For information on how to use Text effects, see the Labeling an image chapter. Read more about creating and saving your own text effects in the Saving your own templates chapter.
•For information on Fade-ins and Fade-outs, see the Assign transition chapter.
•For detailed help on Motion, see the Motion paths chapter.
•You can get to know the Smart templates better in the Smart templates chapter.
•The Files tab opens the File Browser. From there you can easily insert images and videos into your project.
|
If you right-click on a file in the file browser, you will see the context menu, which you also know from Windows. Here you can, for example, open the file in an external program for editing. |
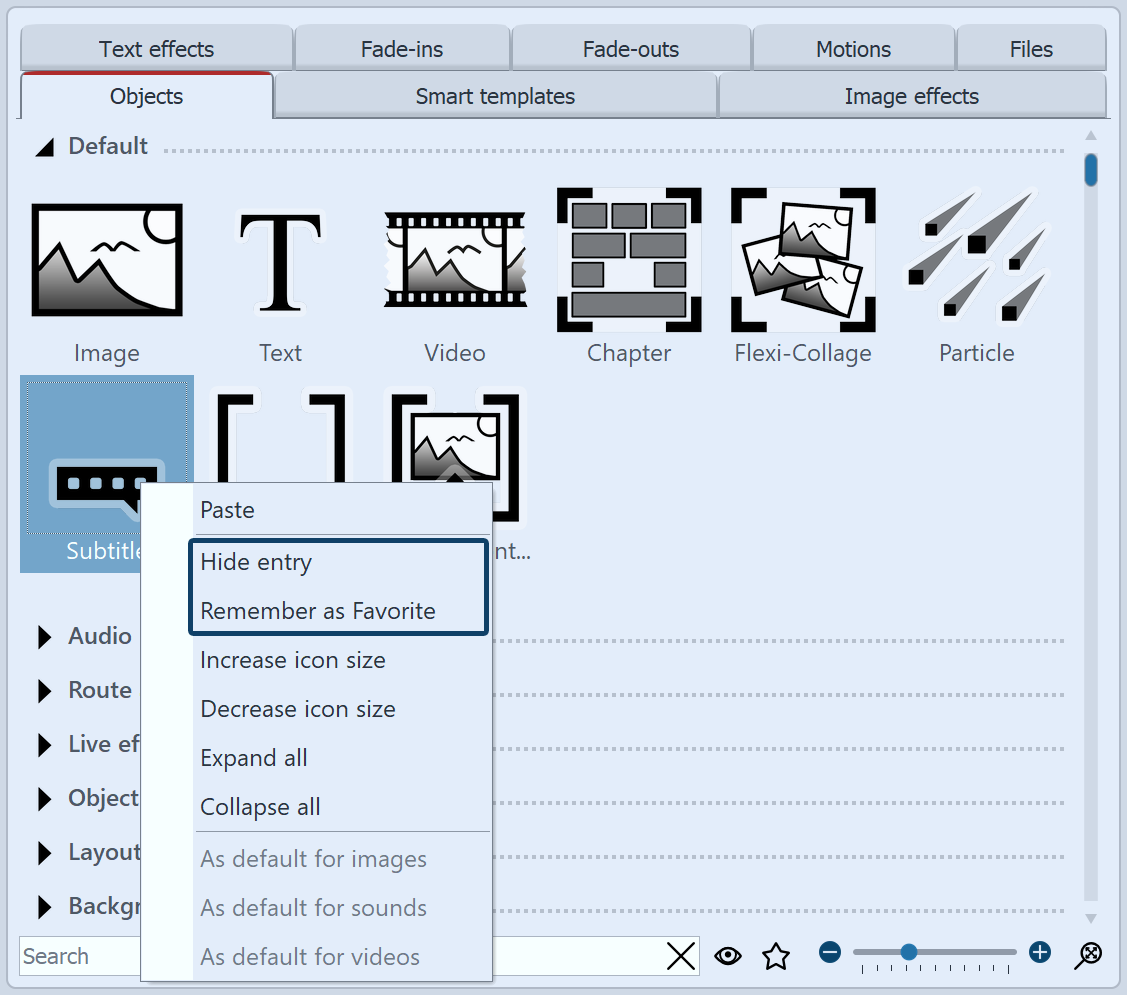
 Toolbox - Hide elements/Set as favorite For a better overview, you can hide elements of Toolbox that are not needed or mark frequently used ones as favorites. To hide a Toolbox element, right-click it and choose Hide entry. To highlight a Toolbox element, right-click it and select Remember as favorite. If you want to see hidden elements in the Toolbox, click on the eye icon at the bottom of the Toolbox. To make an element that is not displayed visible again, right-click on it again and select Show entry. To display only (previously) favorited elements in the Toolbox, click on the star icon at the bottom of the Toolbox. You can remove an object marked as a favorite by right-clicking it and select Remove from favorites. |