|
<< Click to Display Table of Contents >> Panoramas |
  
|
|
<< Click to Display Table of Contents >> Panoramas |
  
|
The zoom & camera panning tool is a great way to let your audience enjoy the view of a panorama.
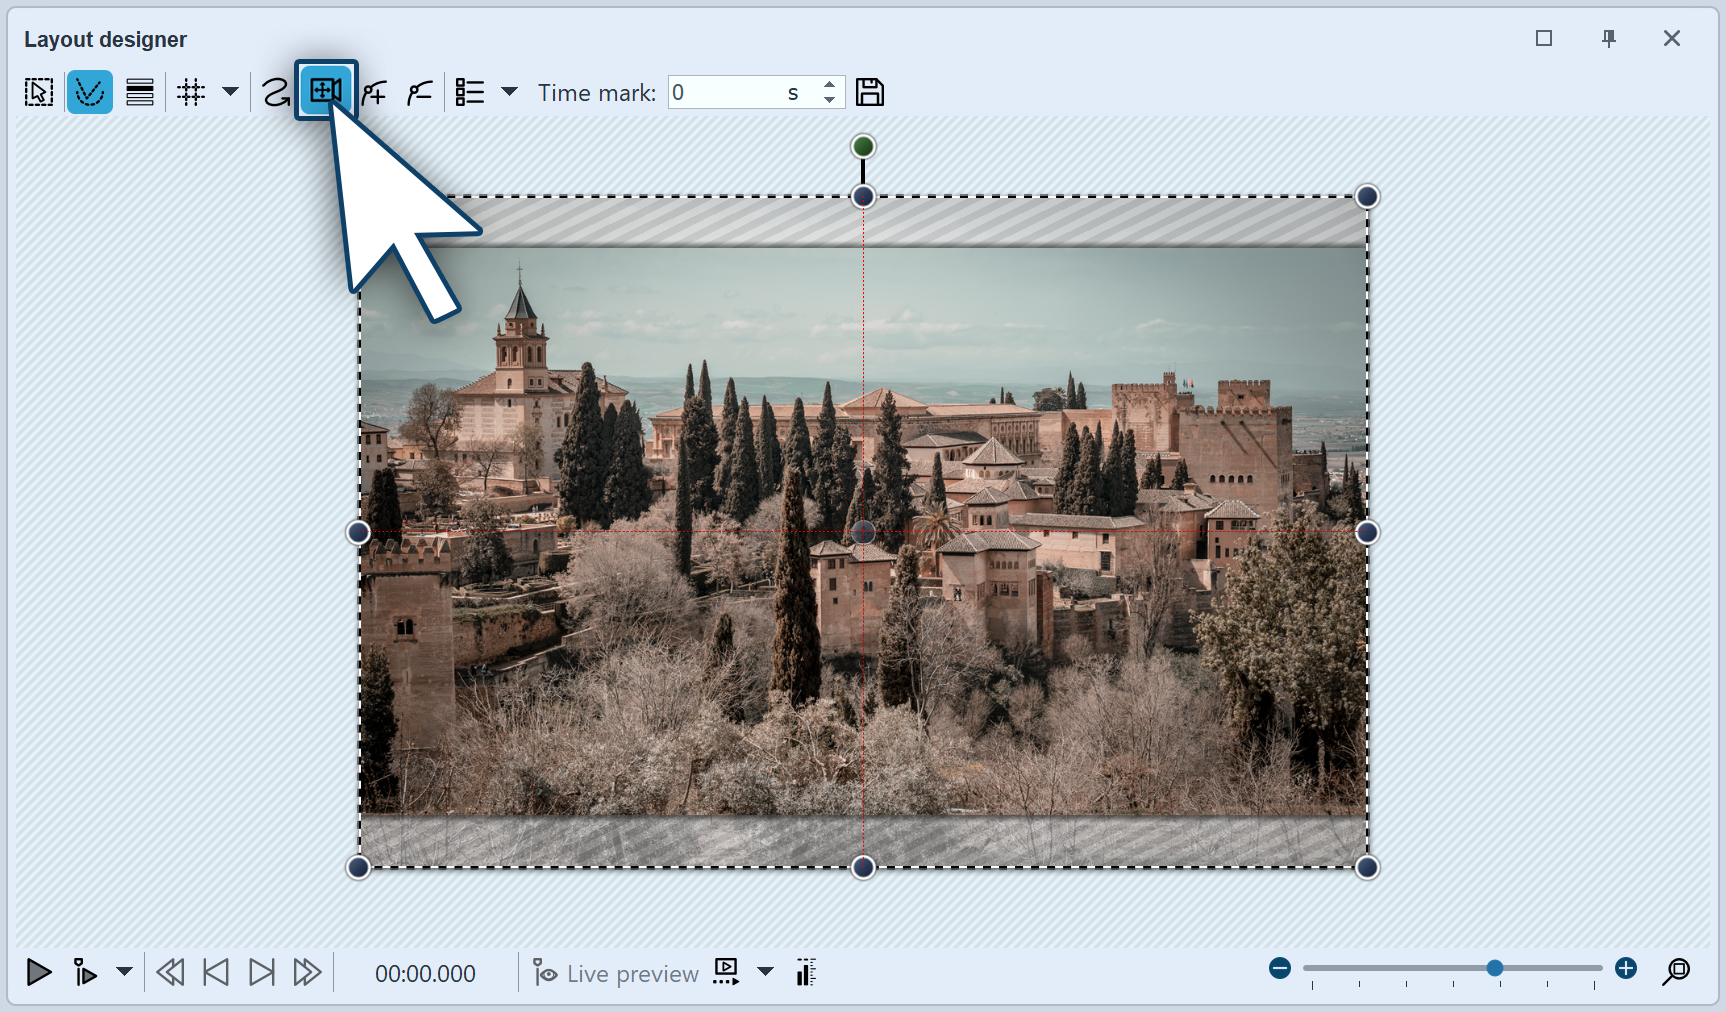
 Panoramic image in the layout designer First of all, add an image which you would like to pan across. It need not necessarily be a panoramic image. The panoramic motion can also be used for normal images. In order to activate the zoom & camera panning tool, click on the icon in the Layout designer. |
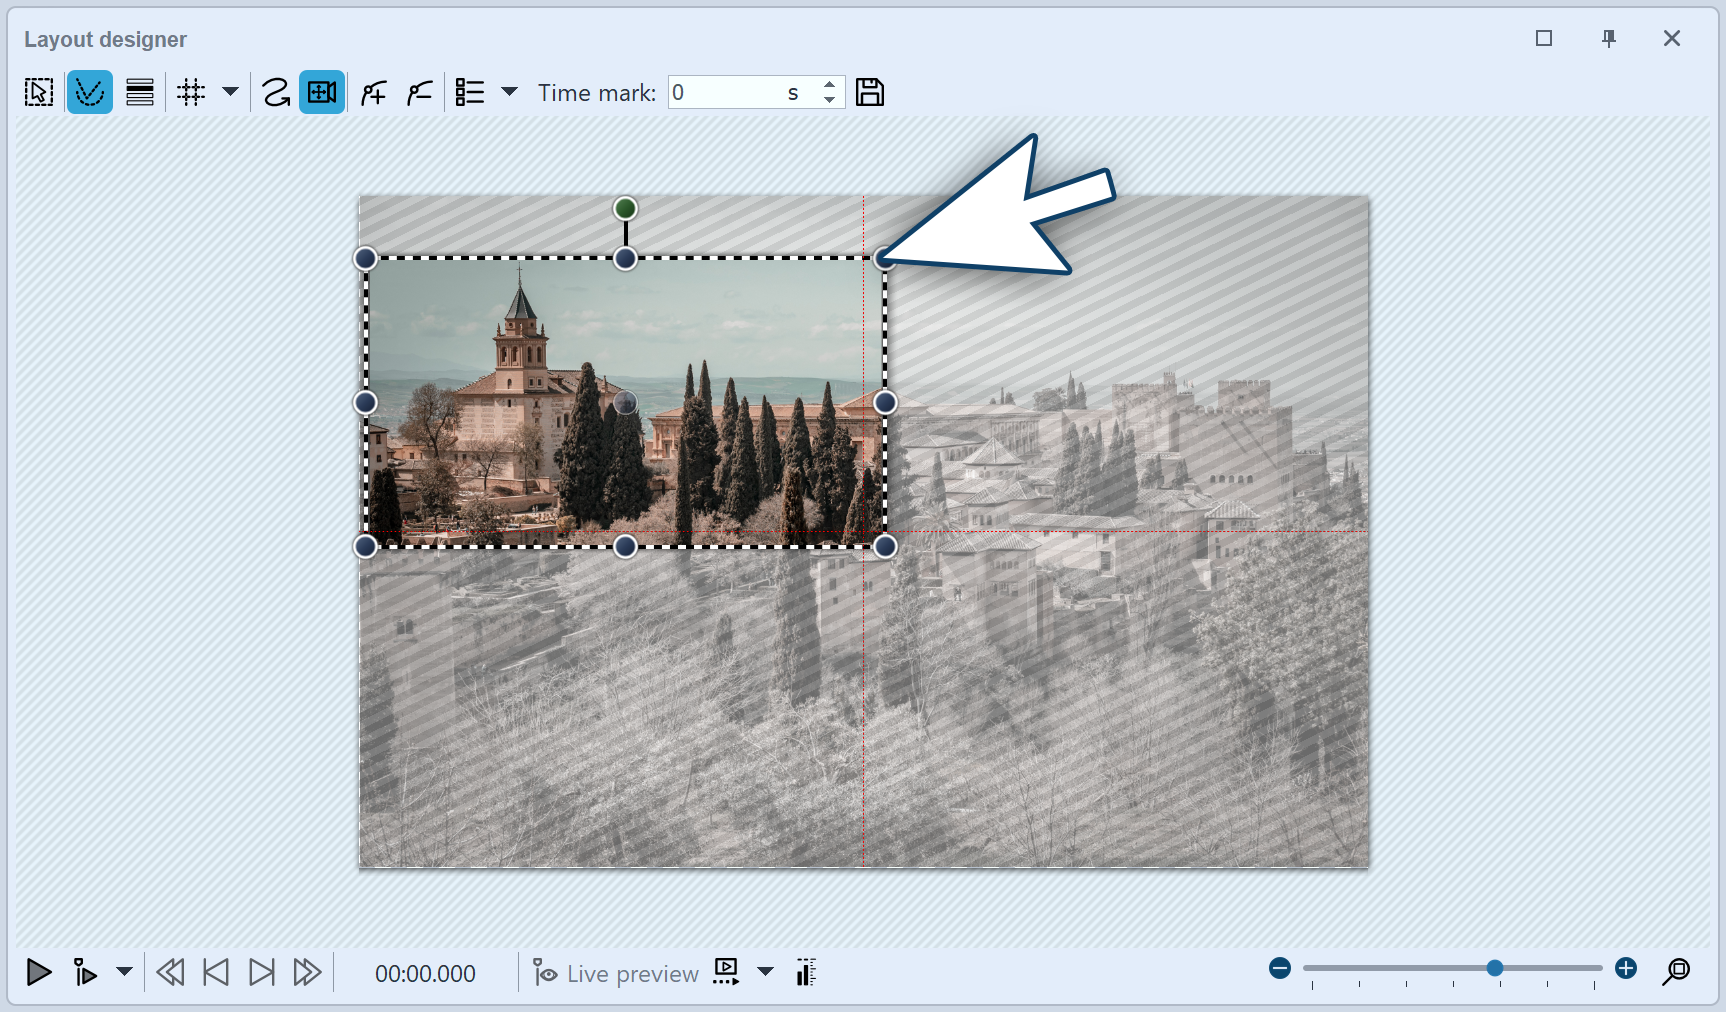
 An image detail that does not match the aspect ration of Diashow. As soon as the zoom & camera panning tool is enabled, the image will be surrounded by a dotted frame. At the edges and corners you will find drag points which you can use to rescale the image. Now drag the frame a little smaller, as in the example image opposite. Parts of the image that are shaded are not displayed during playback. Make sure that the dashed frame does not extend outside the image. Now position the dashed frame at the point where you want the panorama ride to begin. In the example, the panorama travel should go from left to right. The first motion marker must therefore be positioned on the left. |
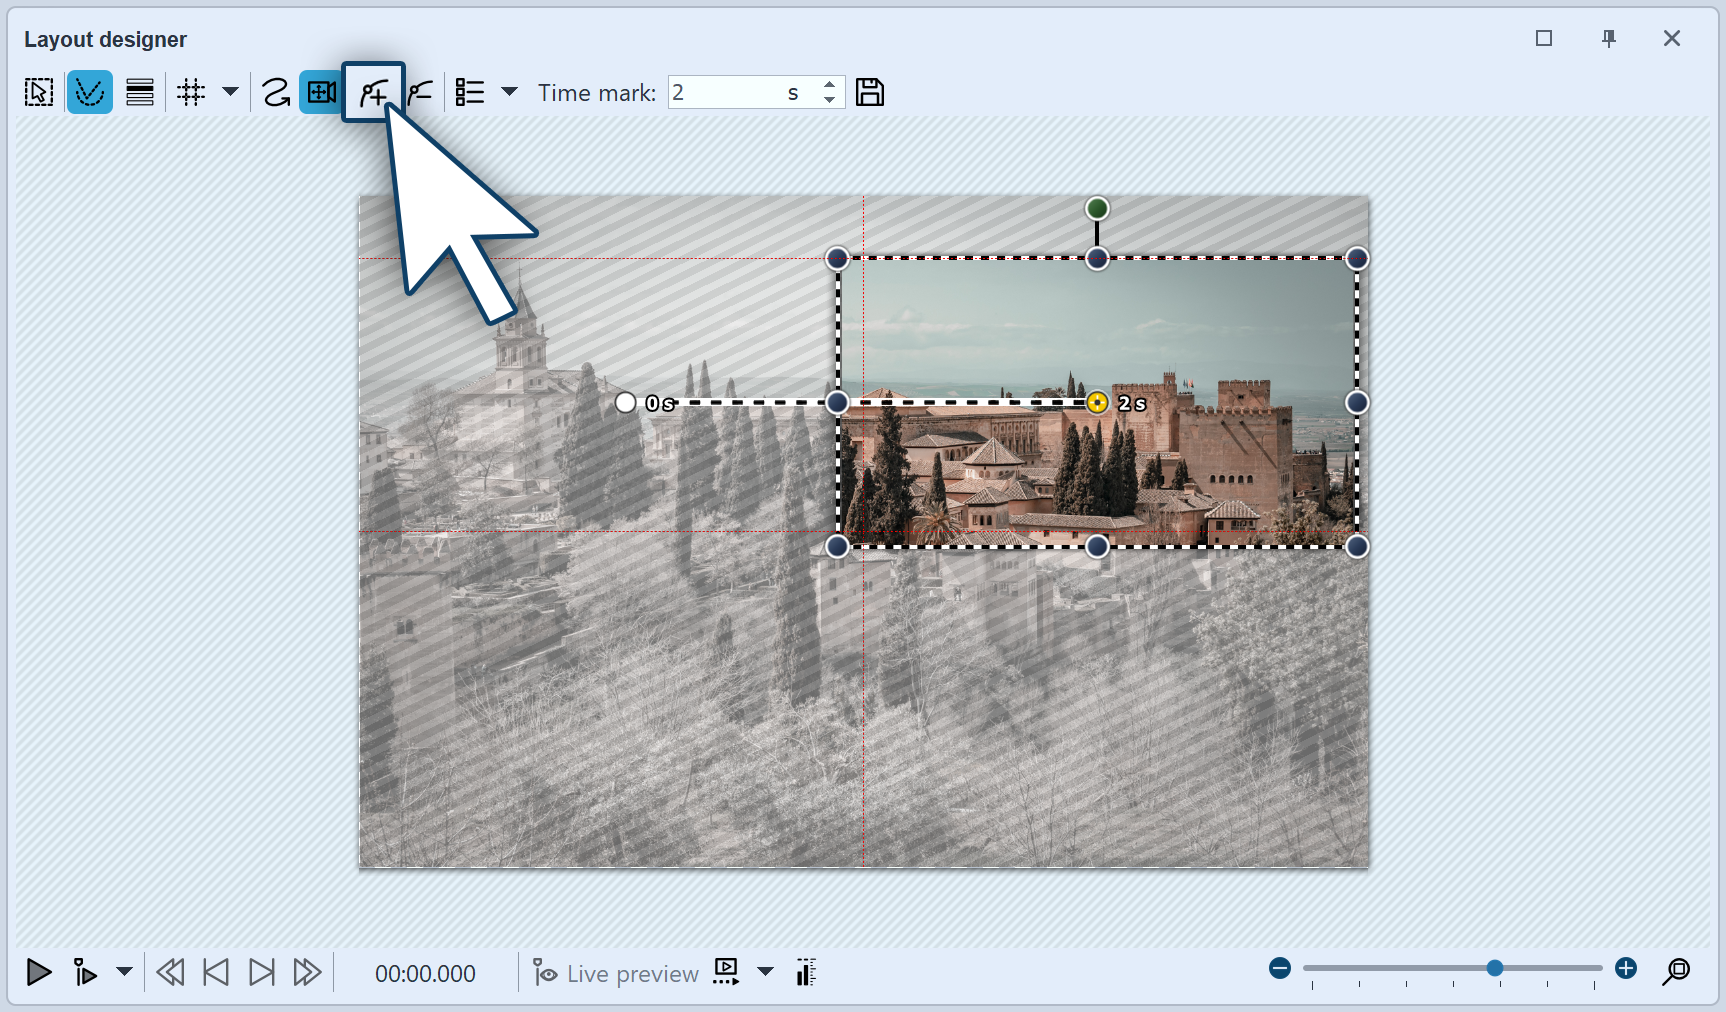
 The detail fits the aspect ratio To specify the point to which the camera should pan, insert a new motion marker using the square plus icon. Now position the frame on the right side of the image. The frame must not extend beyond the edge of the image into the non-visible area. If it did, this part of the frame content would later be displayed in black. On the other hand, it is not problematic if the frames of the first and second motion markers overlap slightly. |
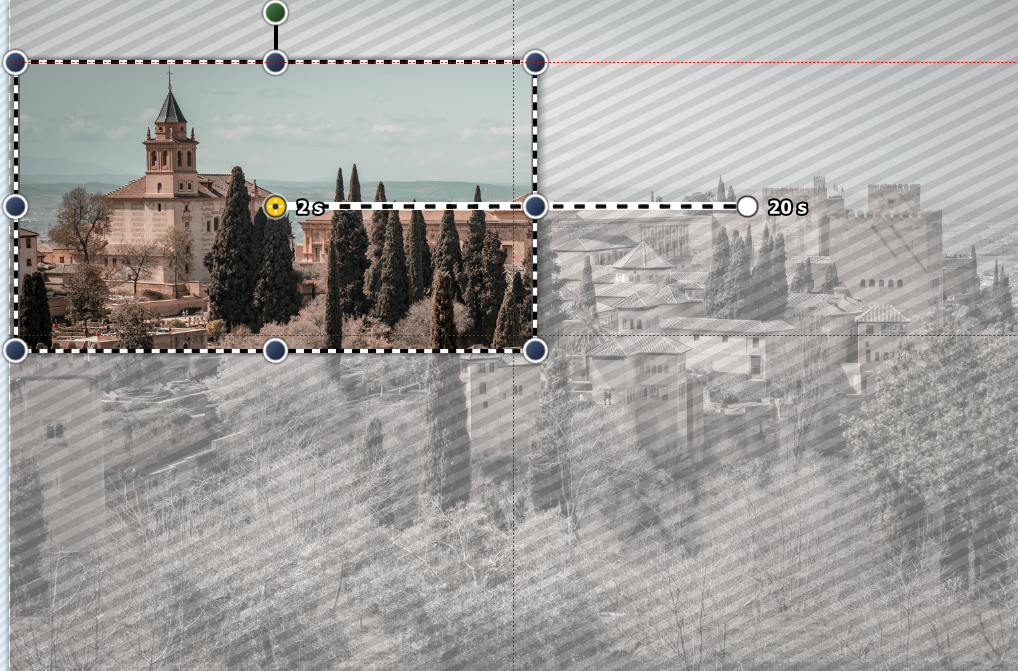
 Inserting new motion markers Since there are only two motion marks in thepanoramic drive in the example , the drive takes only two seconds. That's a bit fast, because the viewer should have enough time to let the panoramic ride sink in. Also, the image is usually faded in, which means it takes two seconds to be fully visible. So, to give the viewer enough time to look at it, the panoramic pan should start only after two seconds. The movement from the first to the last marker should be slow. Click the first marker and enter a value of two seconds under Time marker. Click on the second marker and enter a higher value, e.g. 20 seconds. It always depends on how far apart the two movement marks are or how large they are. Sometimes a higher value makes more sense. It is best to try it out for yourself. |
It is possible that your panorama will be jerky when playing. Generally, simple errors can be easily eliminated. If one pays attention to the following things, nothing will stand i the way of a successful panorama:
• The pan should not be too fast. The smaller the image section, the slower the panning should be.
•The image detail which is selected should not be too small.
•Watch out that the bit rate and frame rate are not set too low. With 30 fps and a bit rate of 20,000, you can achieve good results.
•Where possible, use a discreet fade in, such as alpha blending.