|
<< Click to Display Table of Contents >> Creating the Ken Burns effect manually |
  
|
|
<< Click to Display Table of Contents >> Creating the Ken Burns effect manually |
  
|
If you also want to know how to use the Ken Burns effect in AquaSoft Stages on your photos and videos, read the following.
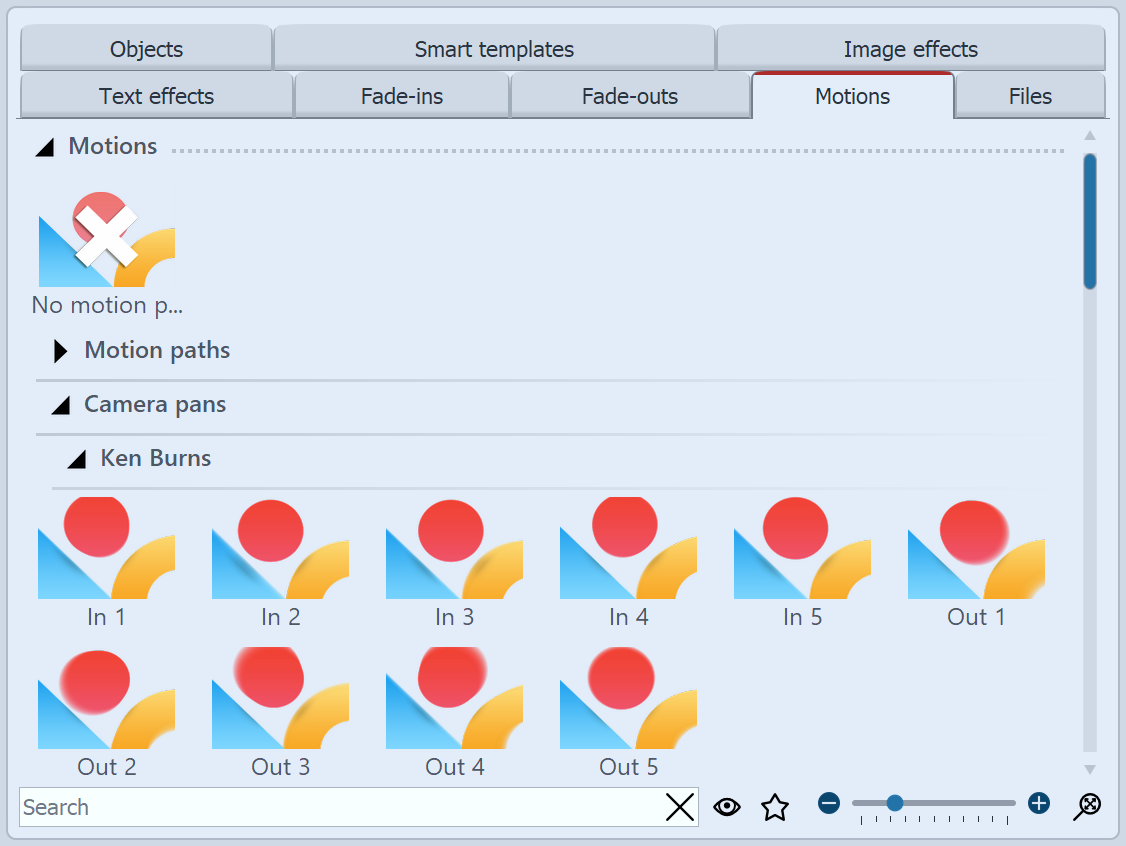
 Ken Burns effects in the Toolbox First, start with an empty project and add a few images. Go to the Toolbox and there select the tab motion paths. To the left, under the Toolbox you can enter the term “Ken Burns” into the search field so that only the Ken Burns effects are displayed. Click on the effect in the Toolbox and observe the icon. You will see a small preview of the effect. |
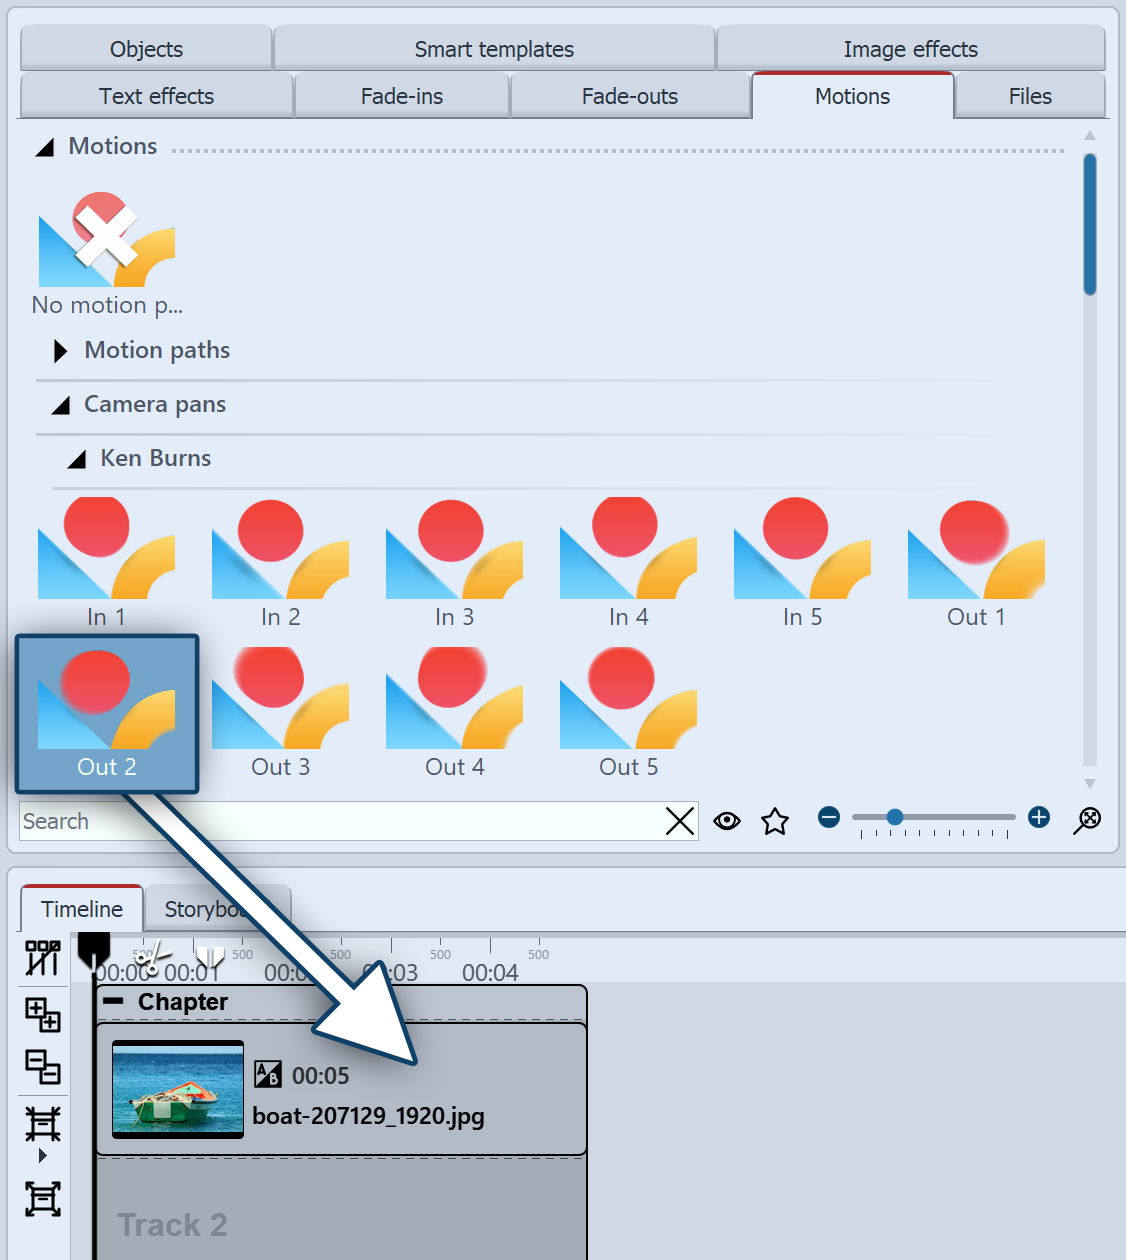
2 Applying the Ken Burns effectDrag the desired Ken Burns effect onto the image in the Timeline.  The effect will be dragged onto the image You can also highlight the image in the Timeline and then right click on the Ken Burns effect in the Toolbox. Select apply in the context menu to transfer the effect to the selected image. If you wish to apply a Ken Burns effect to multiple, or all images, mark the relevant images in this way. Selecting all images: Selecting specific images: Now right click on a Ken Burns effect in the Toolbox and choose the option apply from the context menu, or double click on the effect in the Toolbox. |
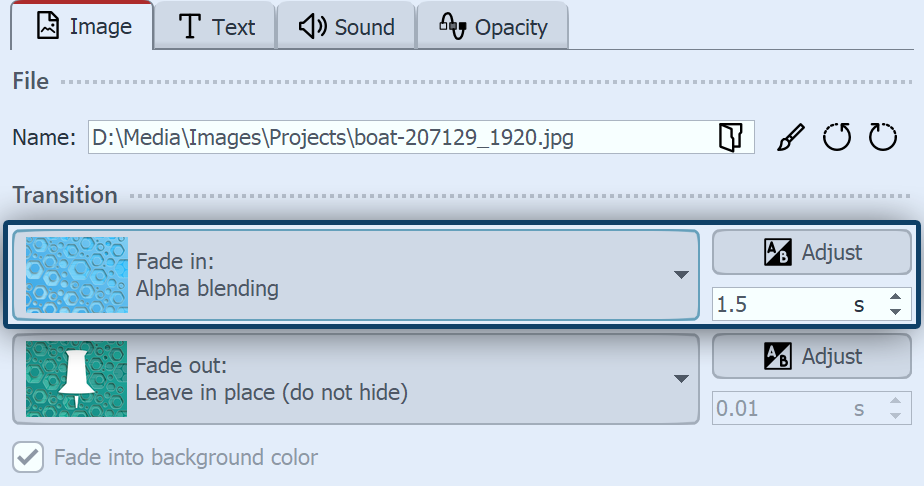
3 Creating smooth transitions Setting alphablending in “properties” If all your images include one or several Ken Burns effects, a smooth transition between the images is particularly effective. •Select all of the images by simultaneously holding down Ctrl and A . •No in the properties window under fading in select the option alphablending. •Under background the option fill should be set to off. |
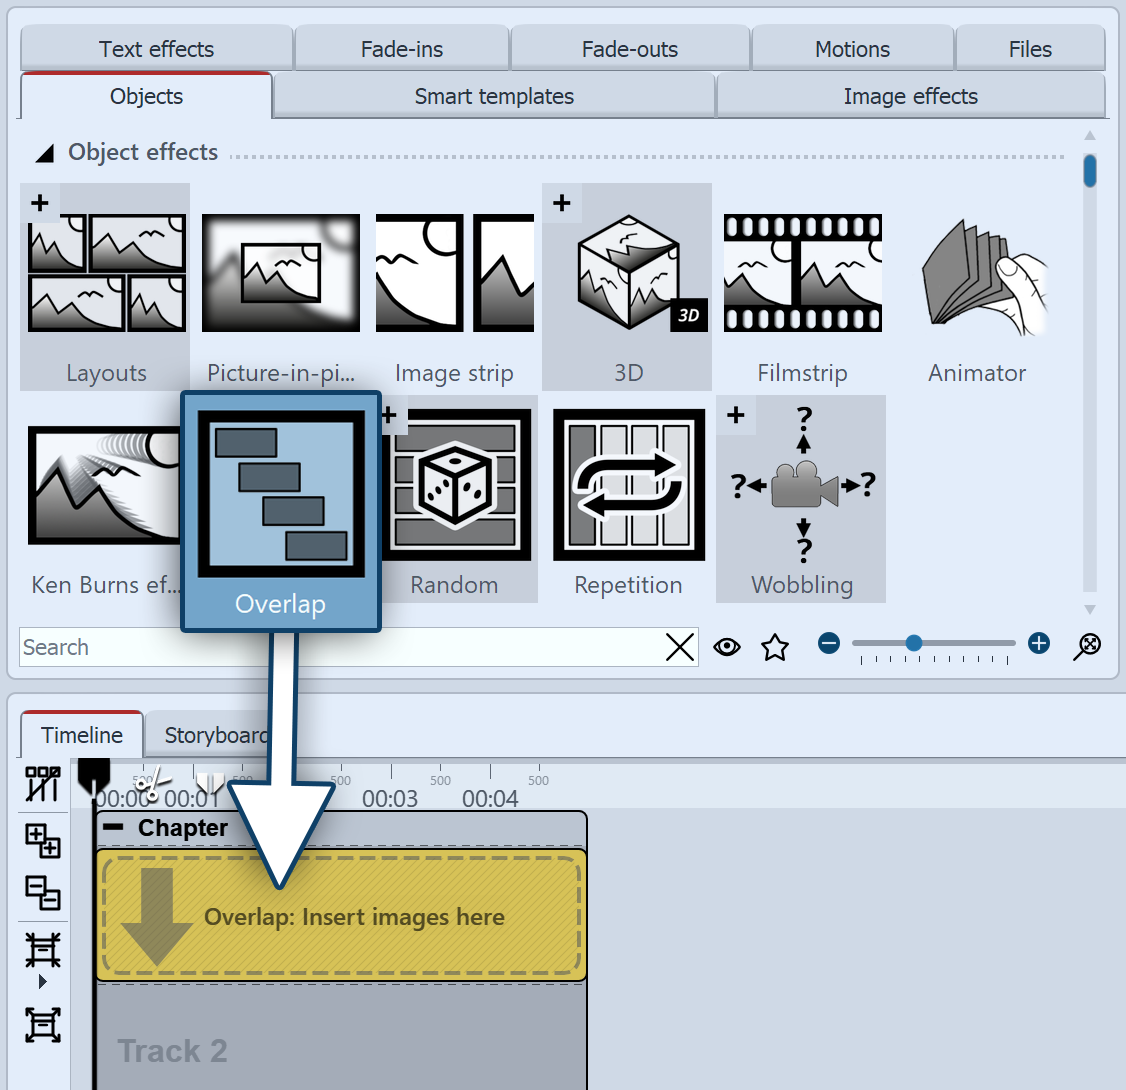
4 Tiered structure for even smoother transitions You can find the overlapping effect in the toolbox under object effects. In order to make the transitions between images even more fluid, insert the overlapping object from the Toolbox. Open the tab objects in the Toolbox and go to the object effects section. Drag the overlapping effect into the Timeline. Select the images that you want to insert by holding down the Ctrl key and clicking on the images. Drag the selected images into the still empty overlapping effect. |

Selecting the images in the timeline and dragging them into the empty effect
The Ken Burns effect results from a tracking shot, which consists of two or more motion marks. Select an image, so that you can see its preview in the Layout designer.
Then click on the icon for the tracking shot. You will now see the motion marks of the Ken Burns effect. Each motion marker is surrouned by a positioning frame (dotted line). With the help of the round drag points, you can move, enlarge or shrink the positioning frame. For each motion marker there is also a time stamp. You can alter these via the preview image in the Layout designer unter time stamp. The time stamp indicates how long a movement from one motion marker to the next lasts. So you can speed up the camera tracking (lowering the value of the time stamp) or slow it down (increasing the value of the time stamp).
You will find more information about the motion paths in the chapters ""Motion paths" and "Zoom".
|
In our video "AquaSoft DiaShow 9: Ken-Burns-Effekt erstellen" the Ken Burns effect is explained step by step. |