|
<< Click to Display Table of Contents >> Selecting and changing the format |
  
|
|
<< Click to Display Table of Contents >> Selecting and changing the format |
  
|
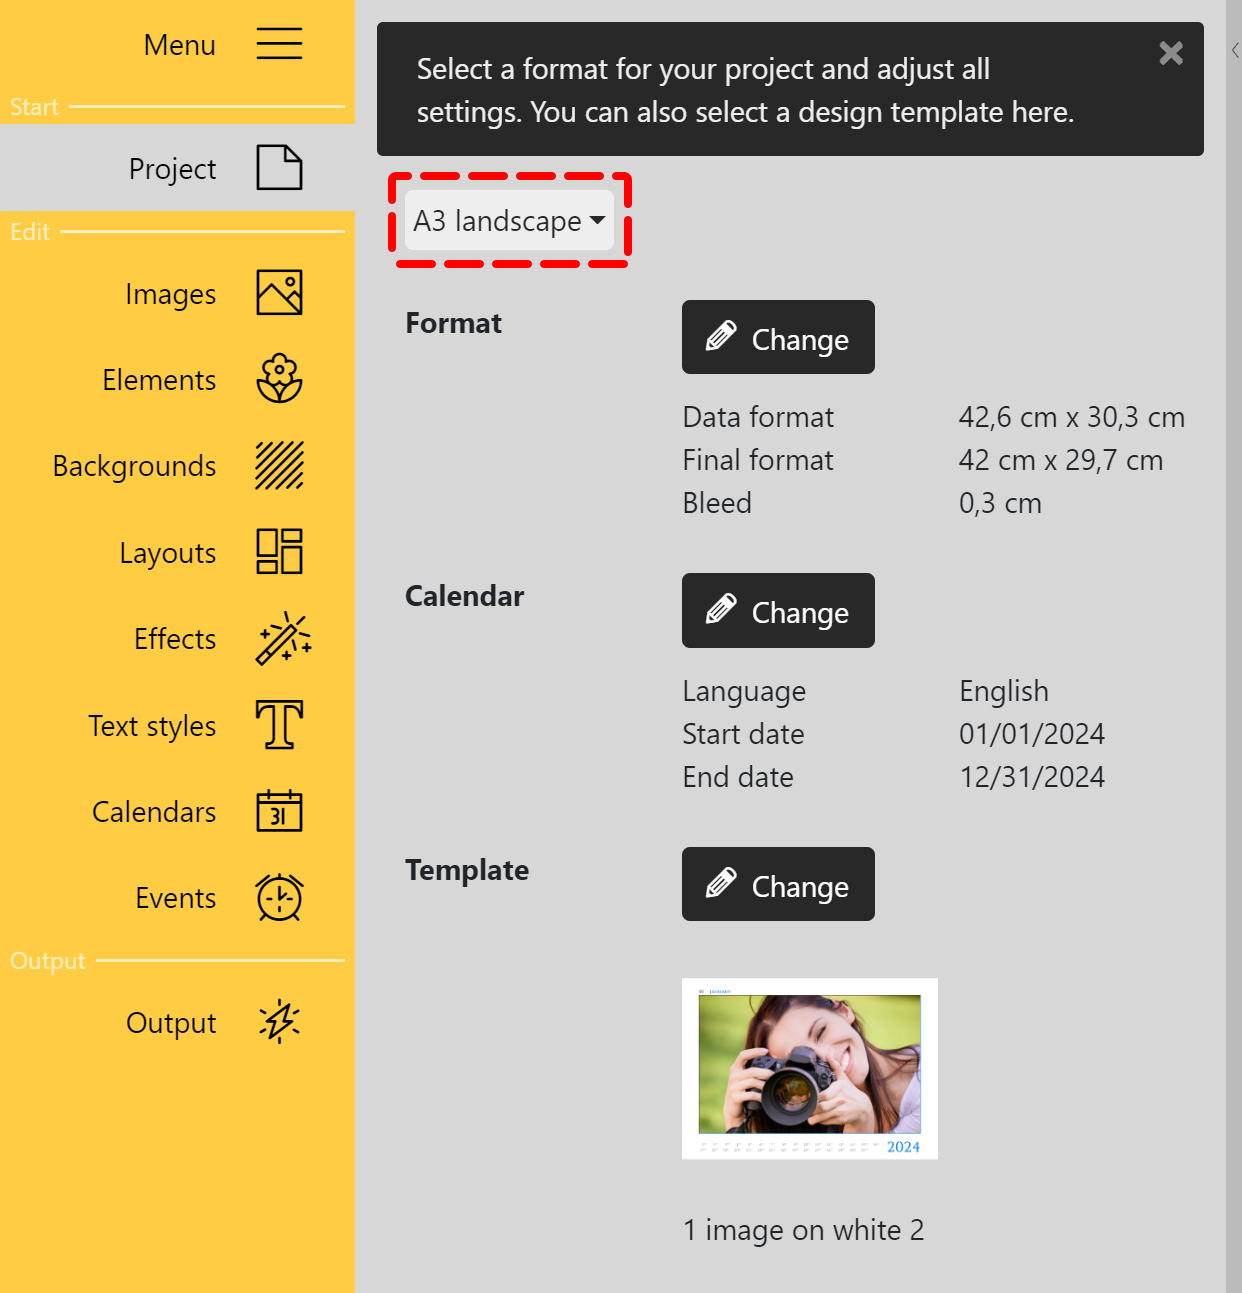
Under the Project menu item, set the format and date range for your calendar. Choose a template suitable for your format or start your own design with blank pages. The Toolbox is divided into four sections: Default, Format, Calendar and Template.
 Toolbox "Project" Format default Choose from the DIN A standard formats in the Toolbox at the top. The maximum output size is DIN A3. There is no limit in the Pro version. When you have your calendar produced by a print provider of your choice, you create your calendar exactly according to their print or bleed specifications. FormatWhen you select one of the presets, the pre-calculated values for the data format, the final format and the bleed will appear. You can adjust all the values using the Change button. The bleed refers to the margin that extends beyond the final format of the printed matter. This margin is trimmed off during finishing. Always place your objects planned right up to the edge in the bleed to avoid unsightly "flashes" on the edge of the calendar. The page backgrounds offered in the software are automatically guided into the bleed. CalendarAt the Calendar item you can use the Change button to set the values for the calendar language, the calendar start date and the calendar end date. TemplateAt the Template item you can access our provided calendar templates via the Change button. Select a template and confirm with Apply. The templates already contain placeholders for images and texts (images and graphics of the template preview are only examples and do not have to be part of the actual template). Repeat the process to switch to another template. Subsequent template changes can lead to loss of content or shifts! If you change to one of the "Empty..." templates, no previous designs will be adopted - an empty template will appear. |
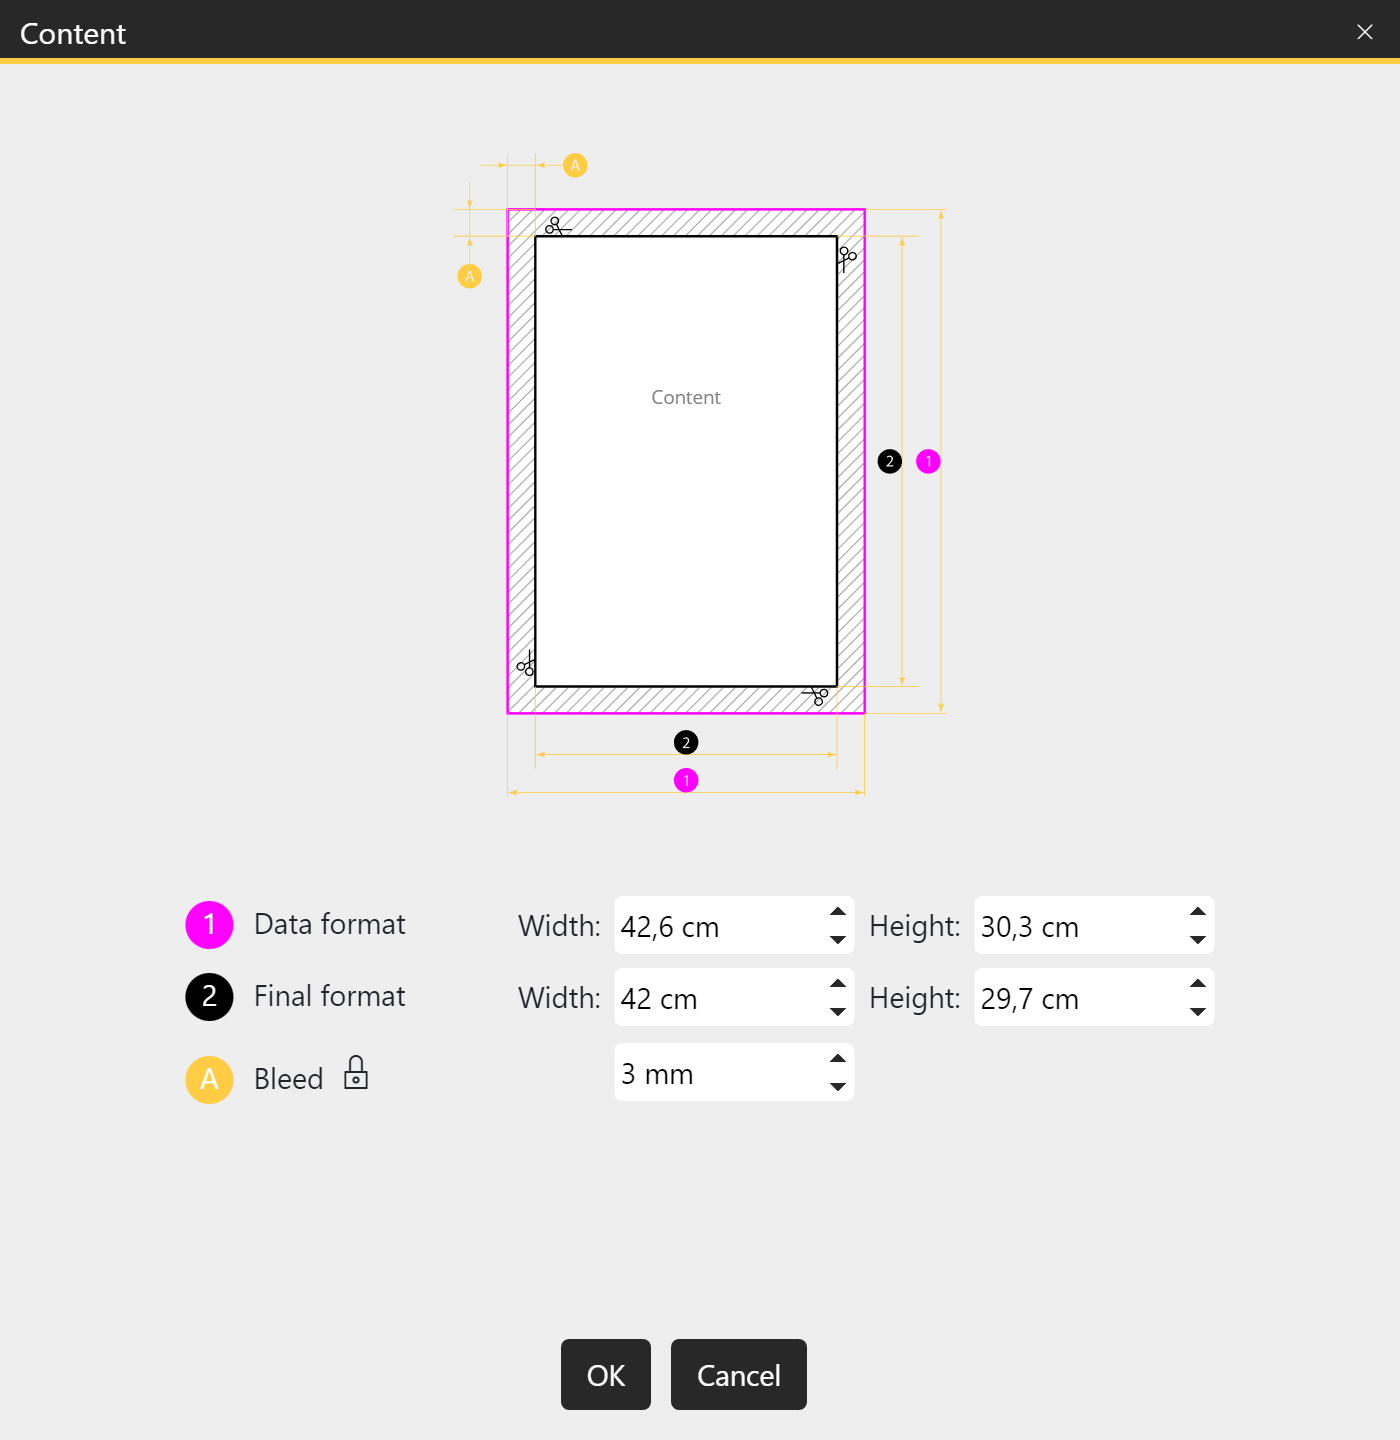
 Change properties for pages To change the data format, the final format or the bleed, press the Change button in the corresponding section. The following window will open. The schematic diagram illustrates the characteristics of the calendar. Always use the print specifications or bleed specifications that your print provider specifies. If your print provider requires different bleeds at the edges, click the Lock icon. Now you can specify different bleeds for left, right, top and bottom. Apply changes using the OK button. Note: The display is not dynamic, i.e. the display does not change when other values are entered. It is for orientation purposes only. |
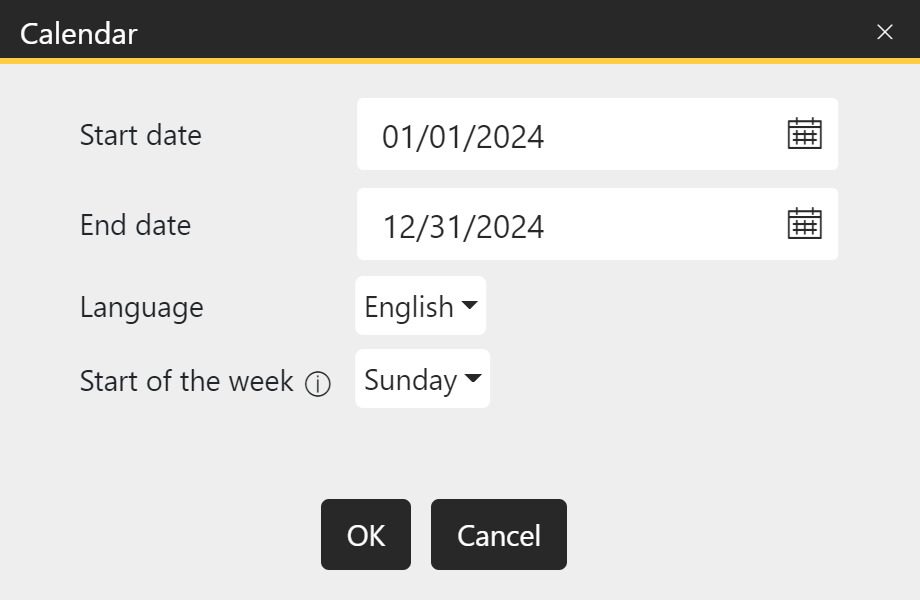
 Change properties for calendars To change the start date, the end date, the calendar language or the beginning of the week press the Change button in the Calendar section. The window shown on the right will open. You can either type a date into the date field or call up a calendar by clicking on the calendar icon and clicking on the start or end date there. The calendar language is selected via the selection menu. For "German" you can also choose the variant "German (Austria)". Under Start of week, select the start day of a week. Some calendars are designed to display weeks starting with a specific day of the week. Here you can set this day for such calendars. Apply changes using the OK button. |
If you decide to use another format or template after you have started designing, the program will try to transfer already inserted photos to the new format/template. However, if you switch to one of the "Empty..." templates, no previous designs will be applied - a blank template will appear.
Subsequent template changes can lead to content losses or shifts!