|
<< Click to Display Table of Contents >> Exporting the calendar |
  
|
|
<< Click to Display Table of Contents >> Exporting the calendar |
  
|
When your calendar is finished, you can export it under the Output menu item. The output creates a PDF, for example, that you can print yourself or pass on to a print shop.
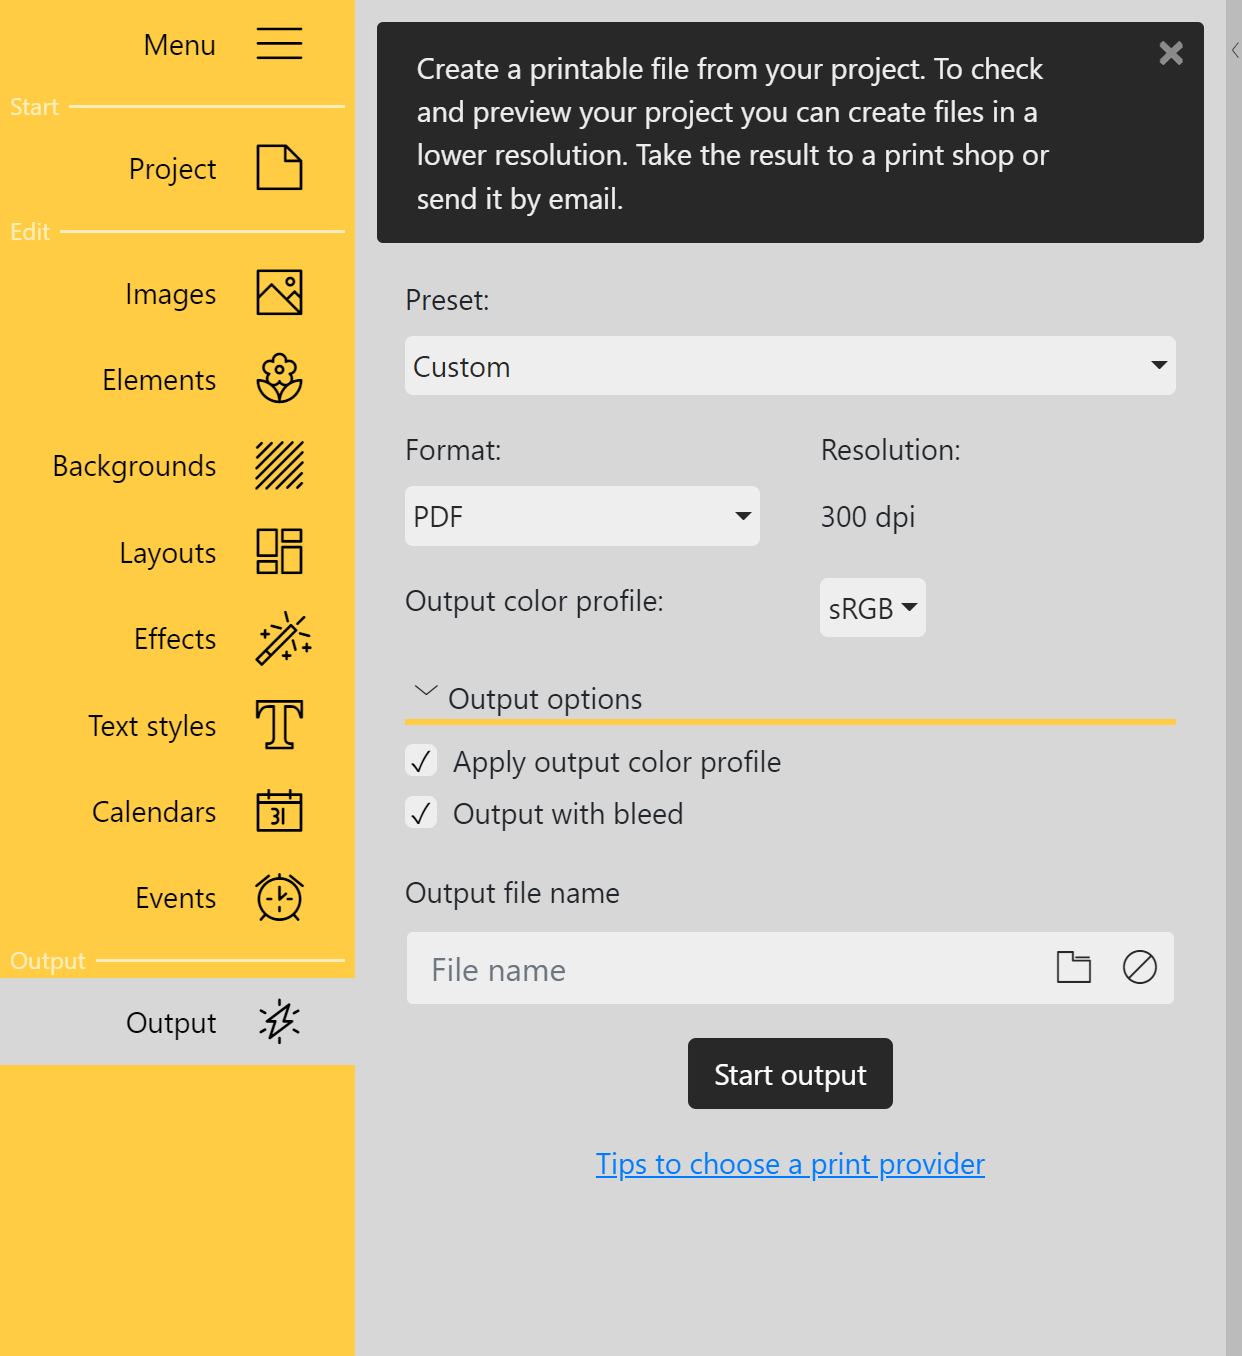
 Output Preset Choose a preset output setting, for example, Preview PDF for a lower quality PDF to check the calendar. To save a PDF print file, choose Print PDF. FormatDetermine whether the pages of your calendar will be output as PDF or as single images as JPEG. Output color profileSelect the color profile that matches your print shop. You can usually find information about this on the website of your provider. Output optionsBy checking Apply output color profile, the selected output color profile will be applied to the photos in the export file. In the case of a printer color profile, this usually also converts the color space to CMYK format. Select whether the PDF should be created with bleed (data format) or only the pages without bleed (final format). Output file nameEnter a file name with file storage path or select it via the Folder icon. |
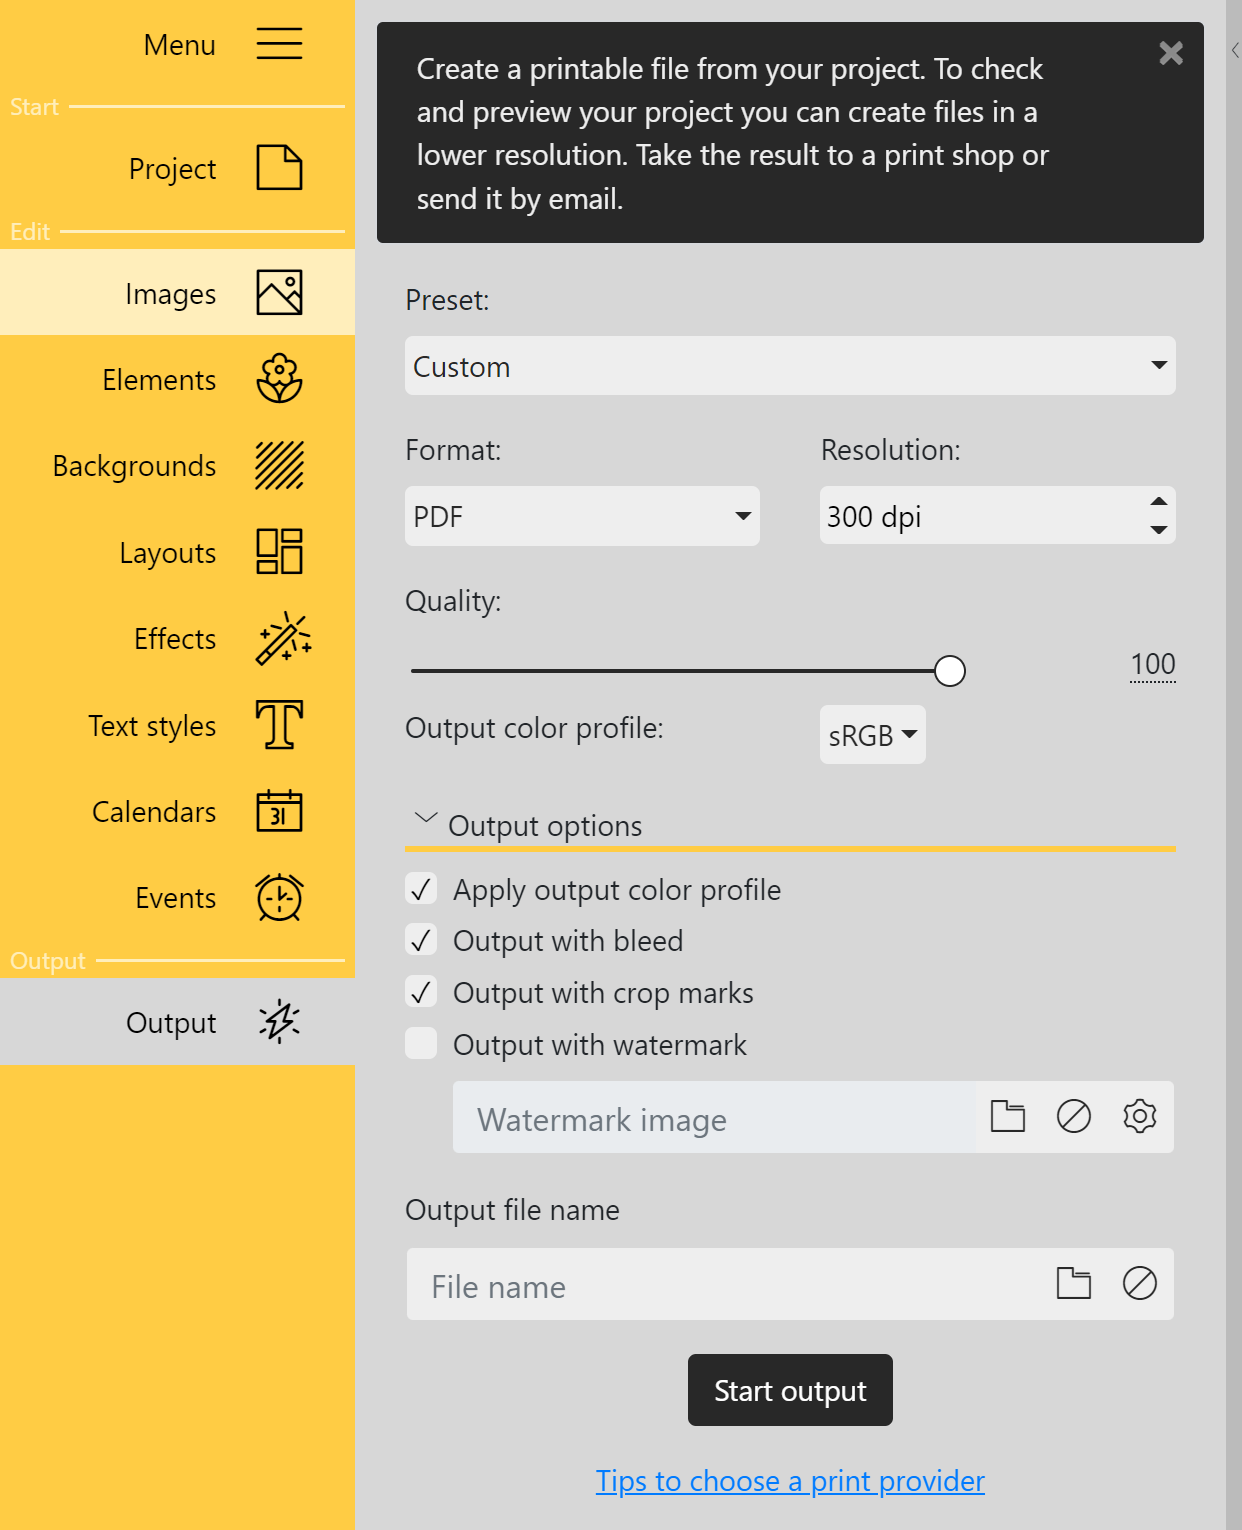
 Output Pro version These features are only available in the Pro version. PresetChoose a preset output setting, for example, Preview PDF for a lower quality PDF to check the calendar. To save a PDF print file, choose Print PDF. FormatDetermine whether the pages of your calendar will be output as PDF or as single images as JPEG or lossless as PNG.ResolutionSet the resolution. Quality (or compression ratio)Set the quality with which you want to output your calendar. (100 = Best quality, for PNG compression level 0 = Best quality). We recommend a value of 95 for the quality. Output color profileSelect the color profile that matches your print shop. You can usually find information about this on the website of your provider. Output optionsBy checking Apply output color profile, the selected output color profile will be applied to the photos in the export file. In the case of a printer color profile, this usually also converts the color space to CMYK format. Select whether the PDF should be created with bleed (data format) or only the pages without bleed (final format). Select whether the crop marks should be displayed or not. You can also optionally watermark the pages of the output file. This allows you to pass the output file to a third party for review in a protected manner. (Remember to run a new output without watermark before passing it to a printer, if necessary). Output file nameEnter a file name with file storage path or select it via the Folder icon. |

Output warning
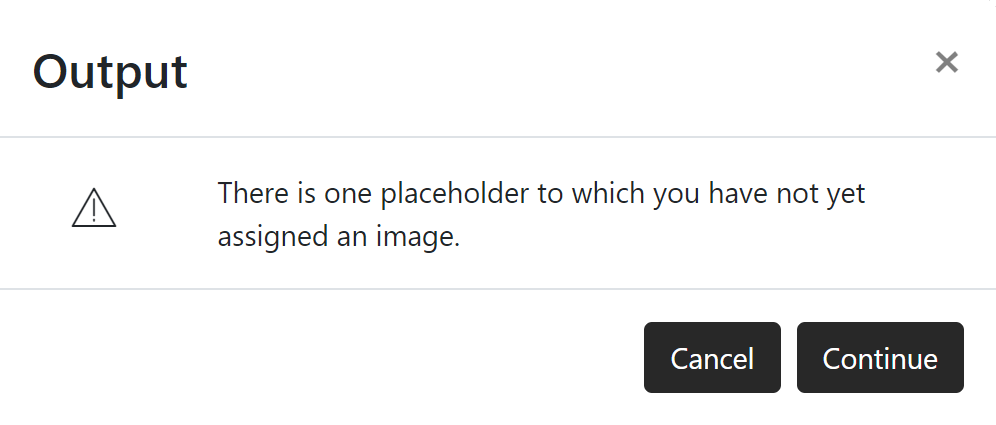
If not all placeholders of a template or layout are filled yet, the program informs you about it as soon as you select the Output item in the menu.
Click Cancel to continue editing your calendar or click Continue to continue the output process.
It is up to you whether you fill all placeholders or not. Empty placeholder objects are not printed.
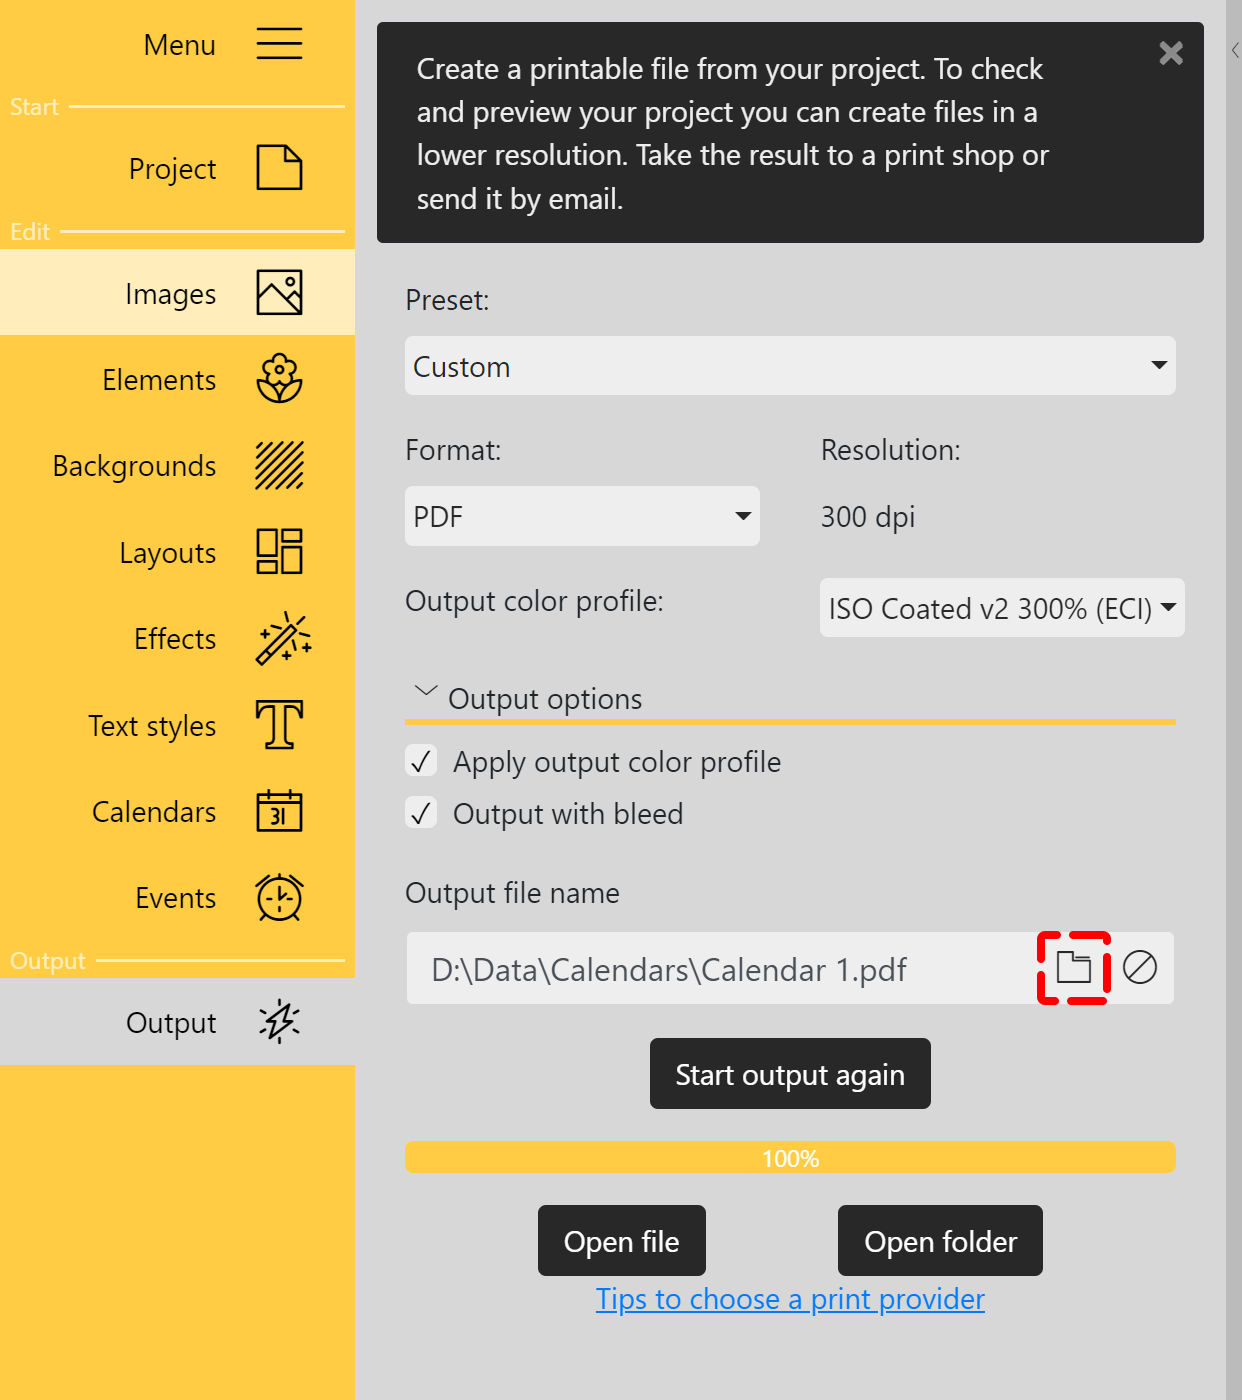
 Output finished If the format was created successfully, click the Open file button to open the created file in a suitable viewer. The Open folder button opens the save directory.Use the Start output again button to repeat the creation process. |