|
<< Click to Display Table of Contents >> Using calendars |
  
|
|
<< Click to Display Table of Contents >> Using calendars |
  
|
Use the calendar elements to design your calendar pages.
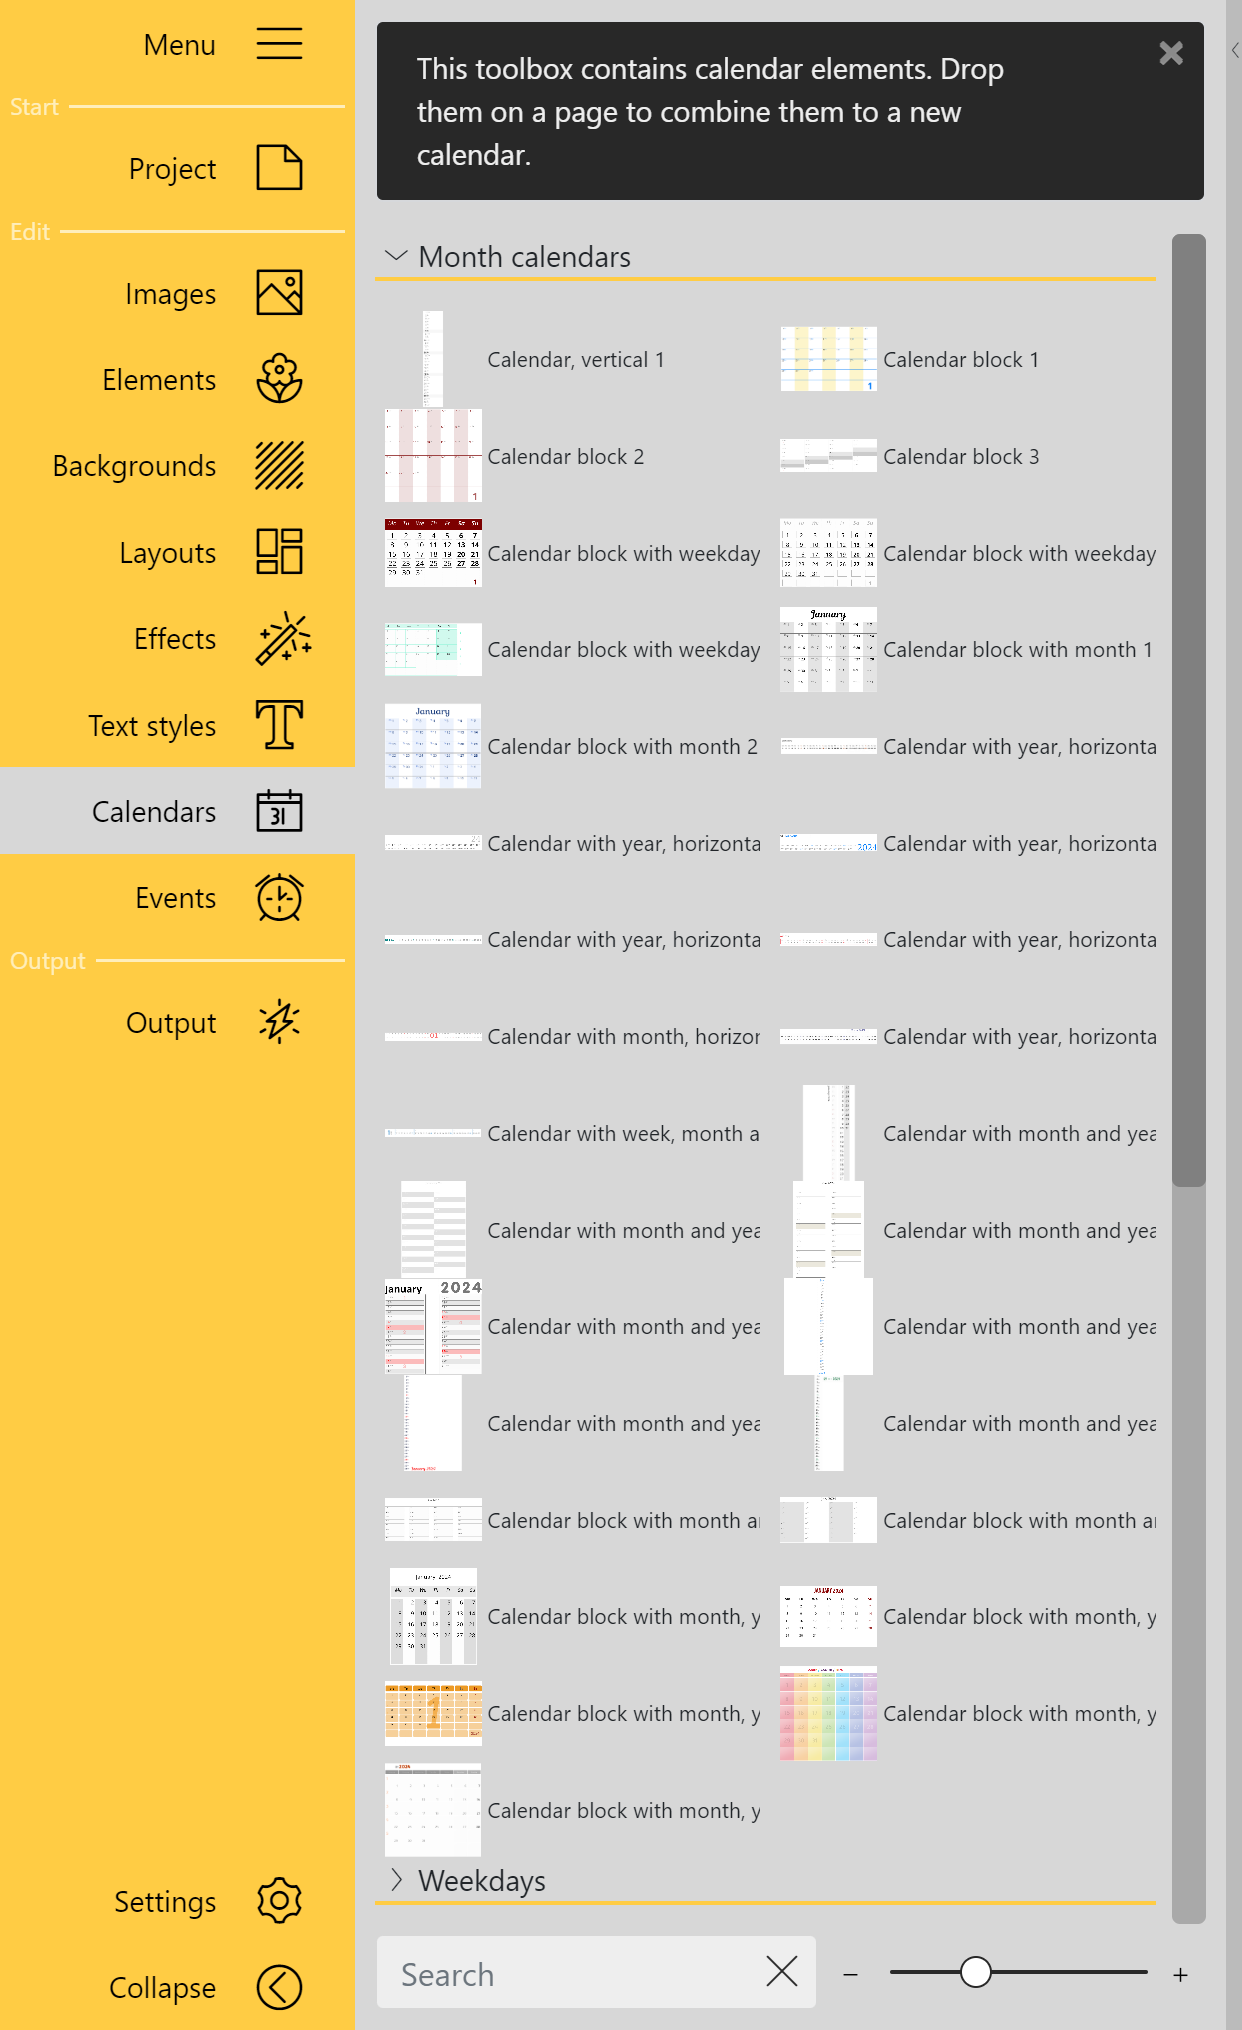 Toolbox view Calendars In the Toolbox you can find the following calendar items in the Calendars menu section: Monthly calendars Weekdays Weekly calendars Organizer Elements Which value the elements show on the calendar page is determined by the Period project settings, by the page order in the calendar, by the properties stored on the element or by the reference specified in the properties. To get a larger preview of the calendars in the Toolbox, click the Plus icon at the bottom of the Toolbox. To change the zoom level of the Toolbox, you can also use the slider. |
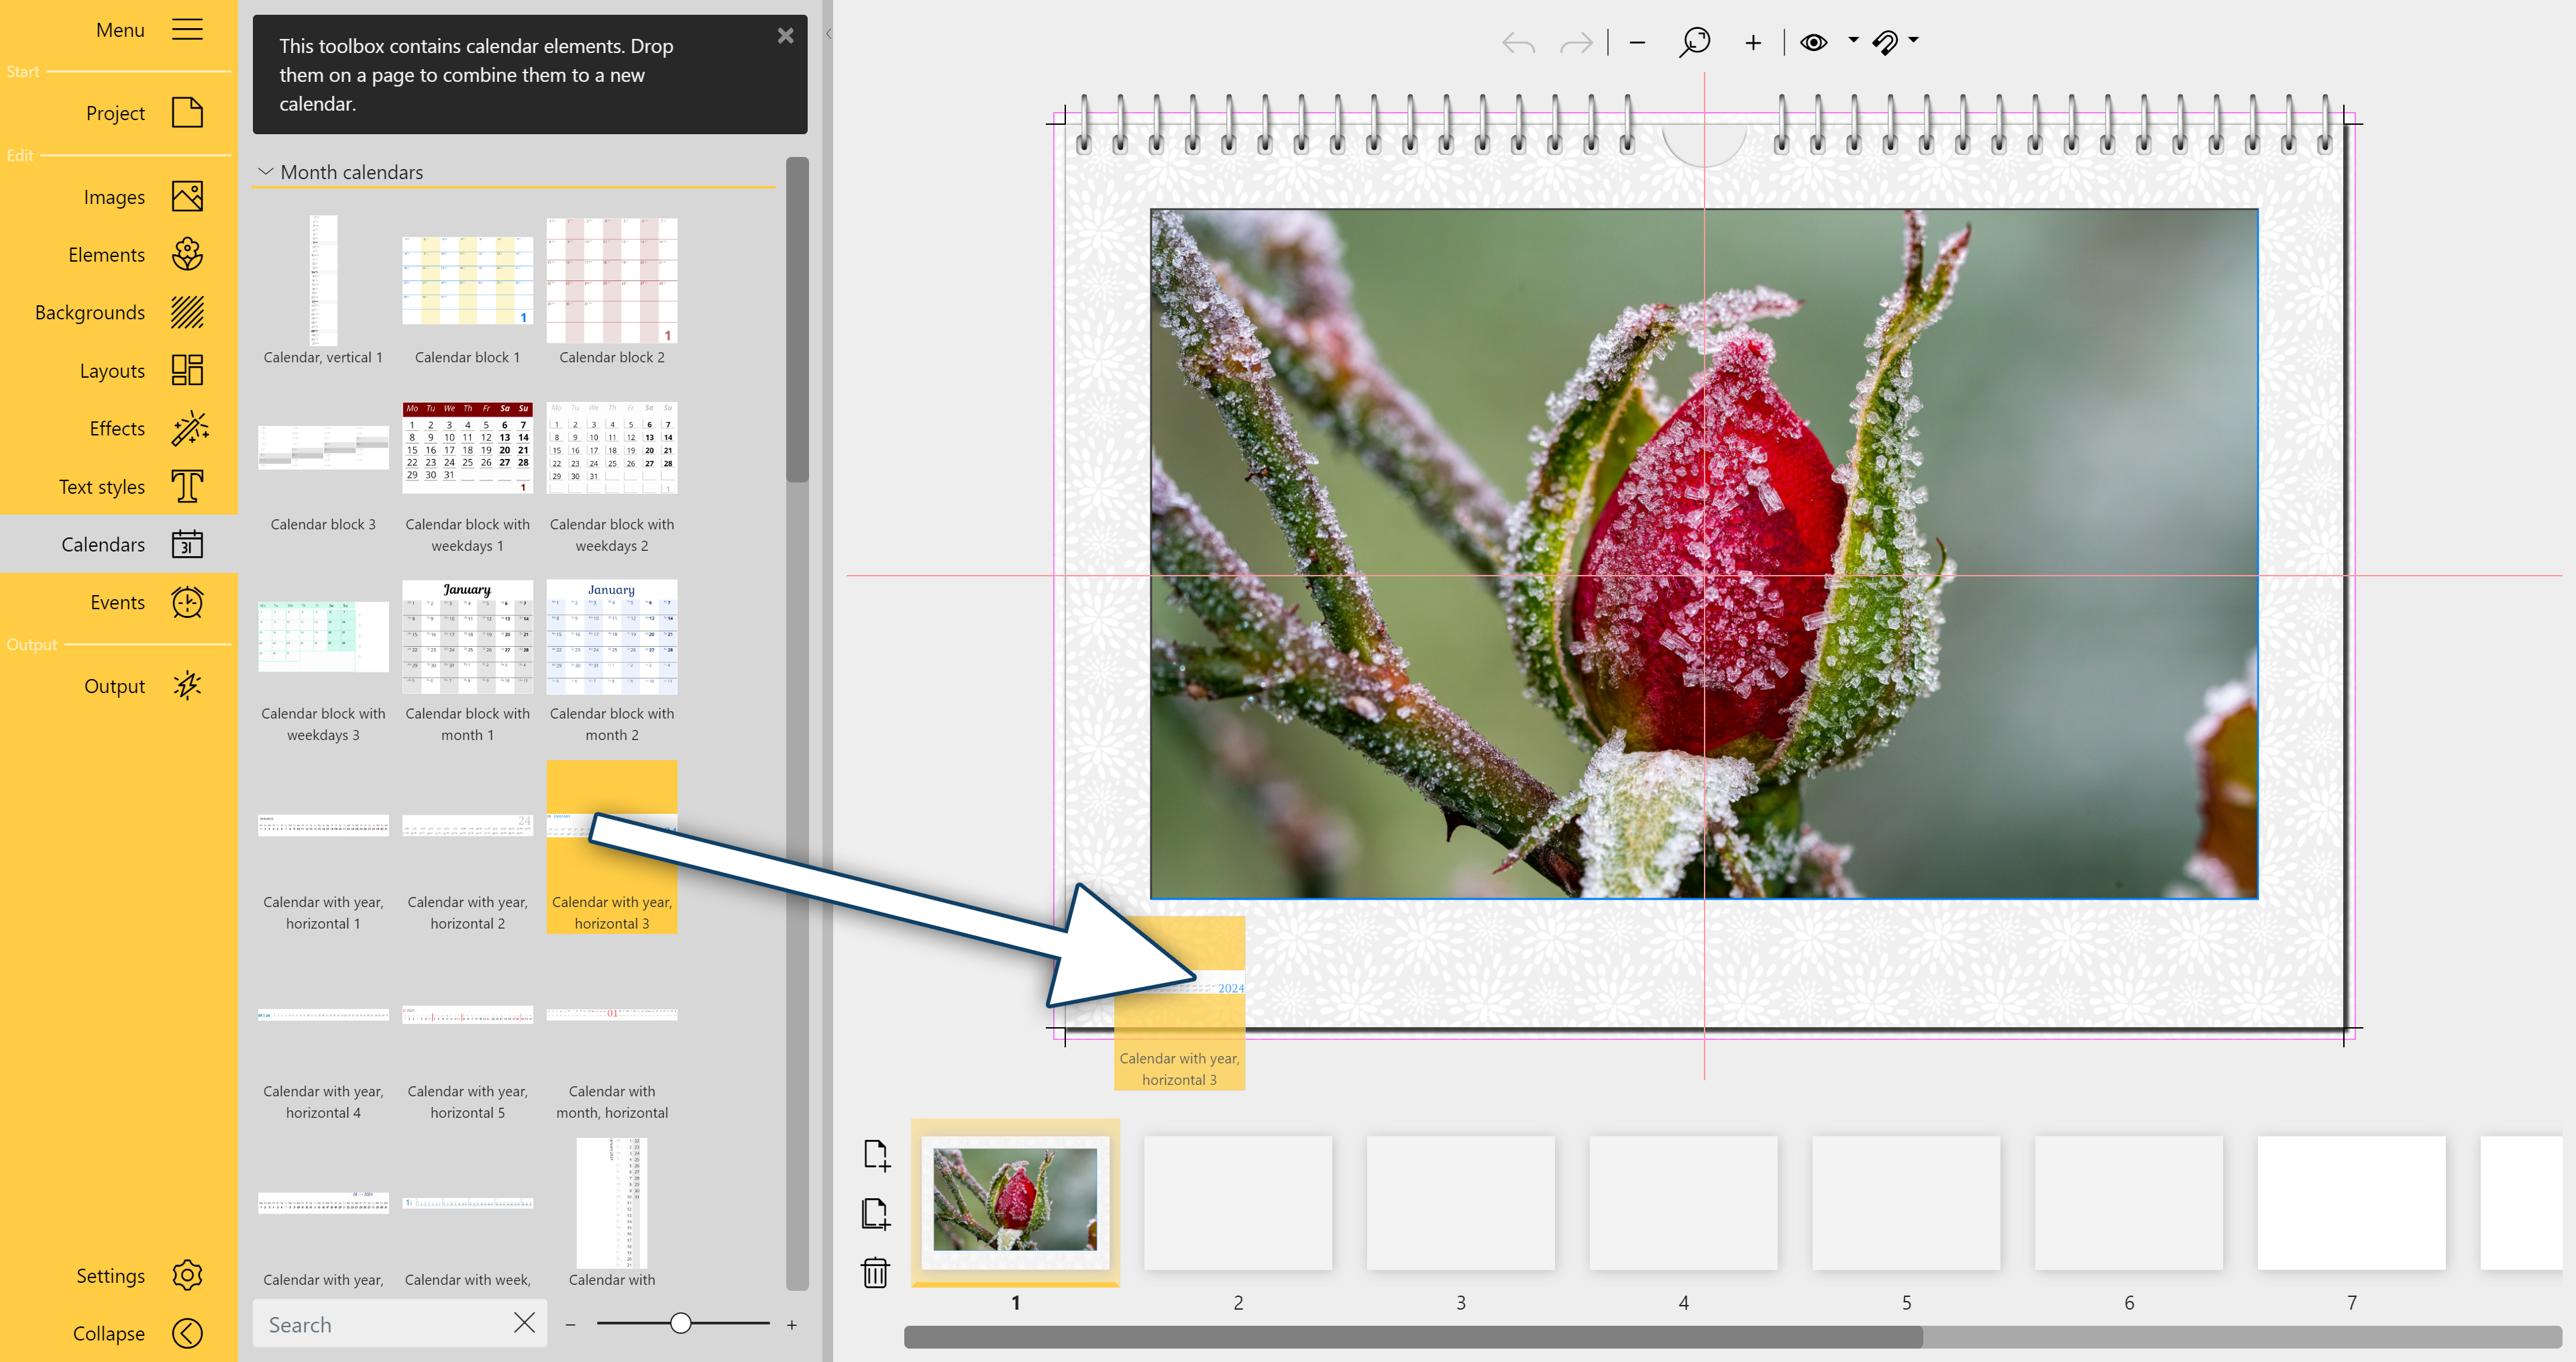 Drag calendar to Page editor |
Drag the desired calendar item from the Toolbox to your calendar page. |
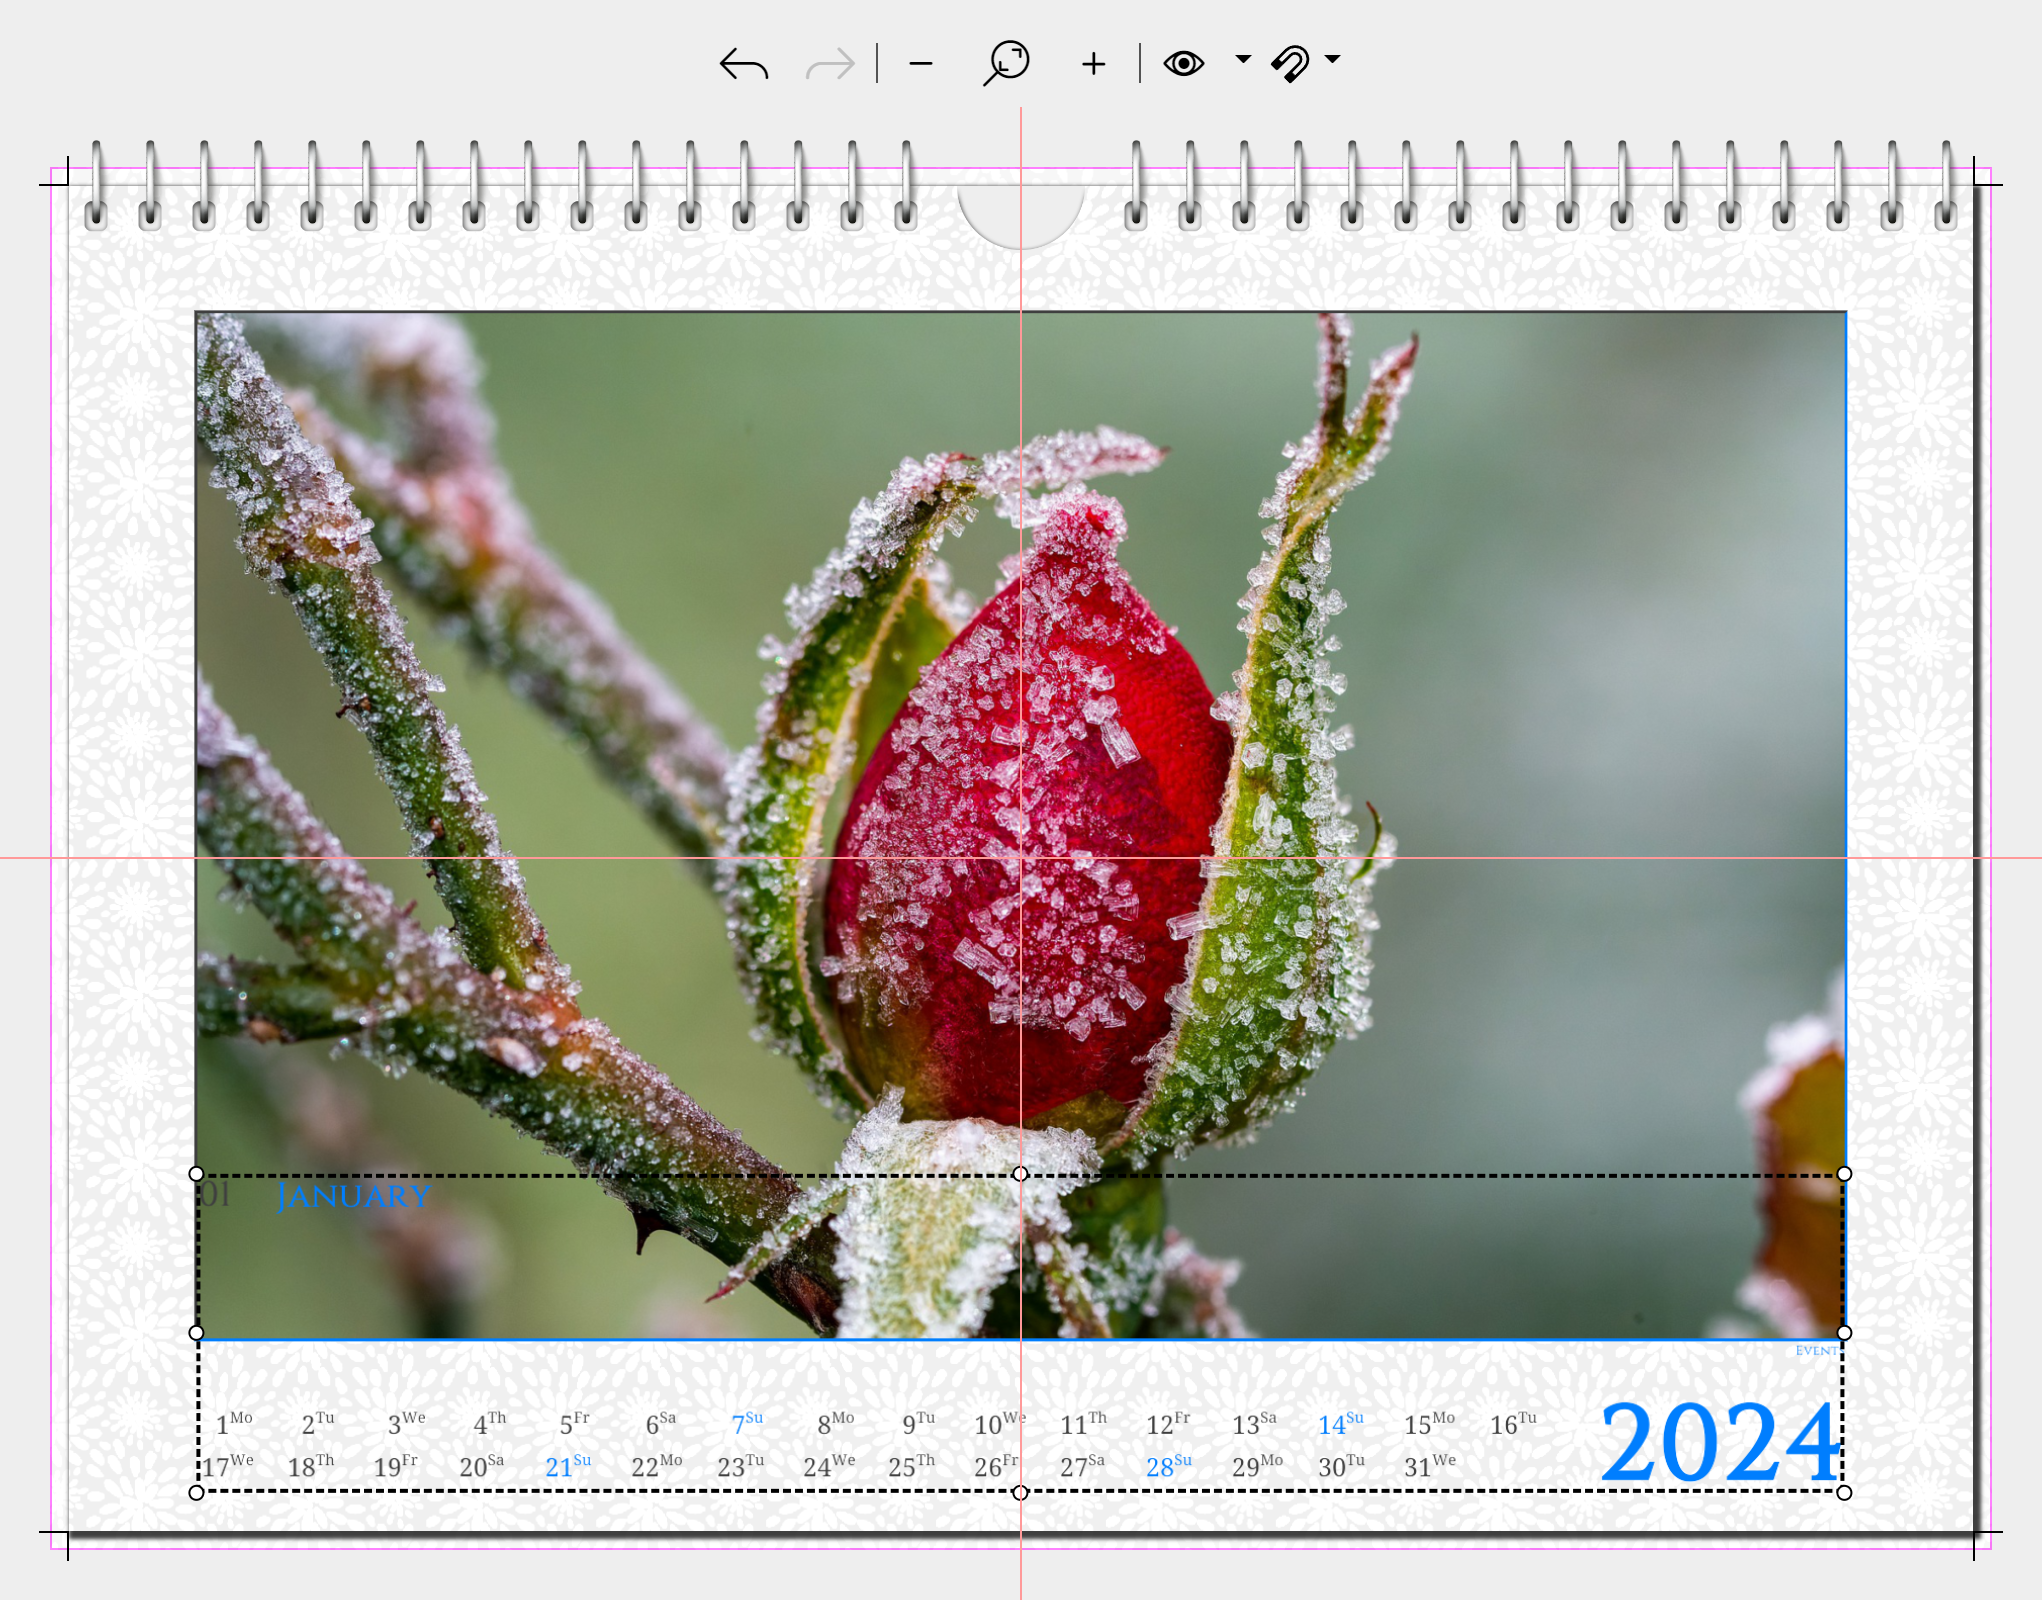 The size and position of the grouped elements is adjusted. |
Resize the element by dragging the selection frame in the Page editor. There are calendars that consist of various combined individual elements (e.g. day, month, year). When inserting from the Toobox all these elements are grouped, which facilitates moving the whole calendar. If you want to move only a single element, select it by clicking on it and move it by keeping the left mouse button pressed or by using the arrow keys on the keyboard. To group elements again, select them while holding down the CTRL key. Then move the group with the left mouse button pressed or the arrow keys of the keyboard. |
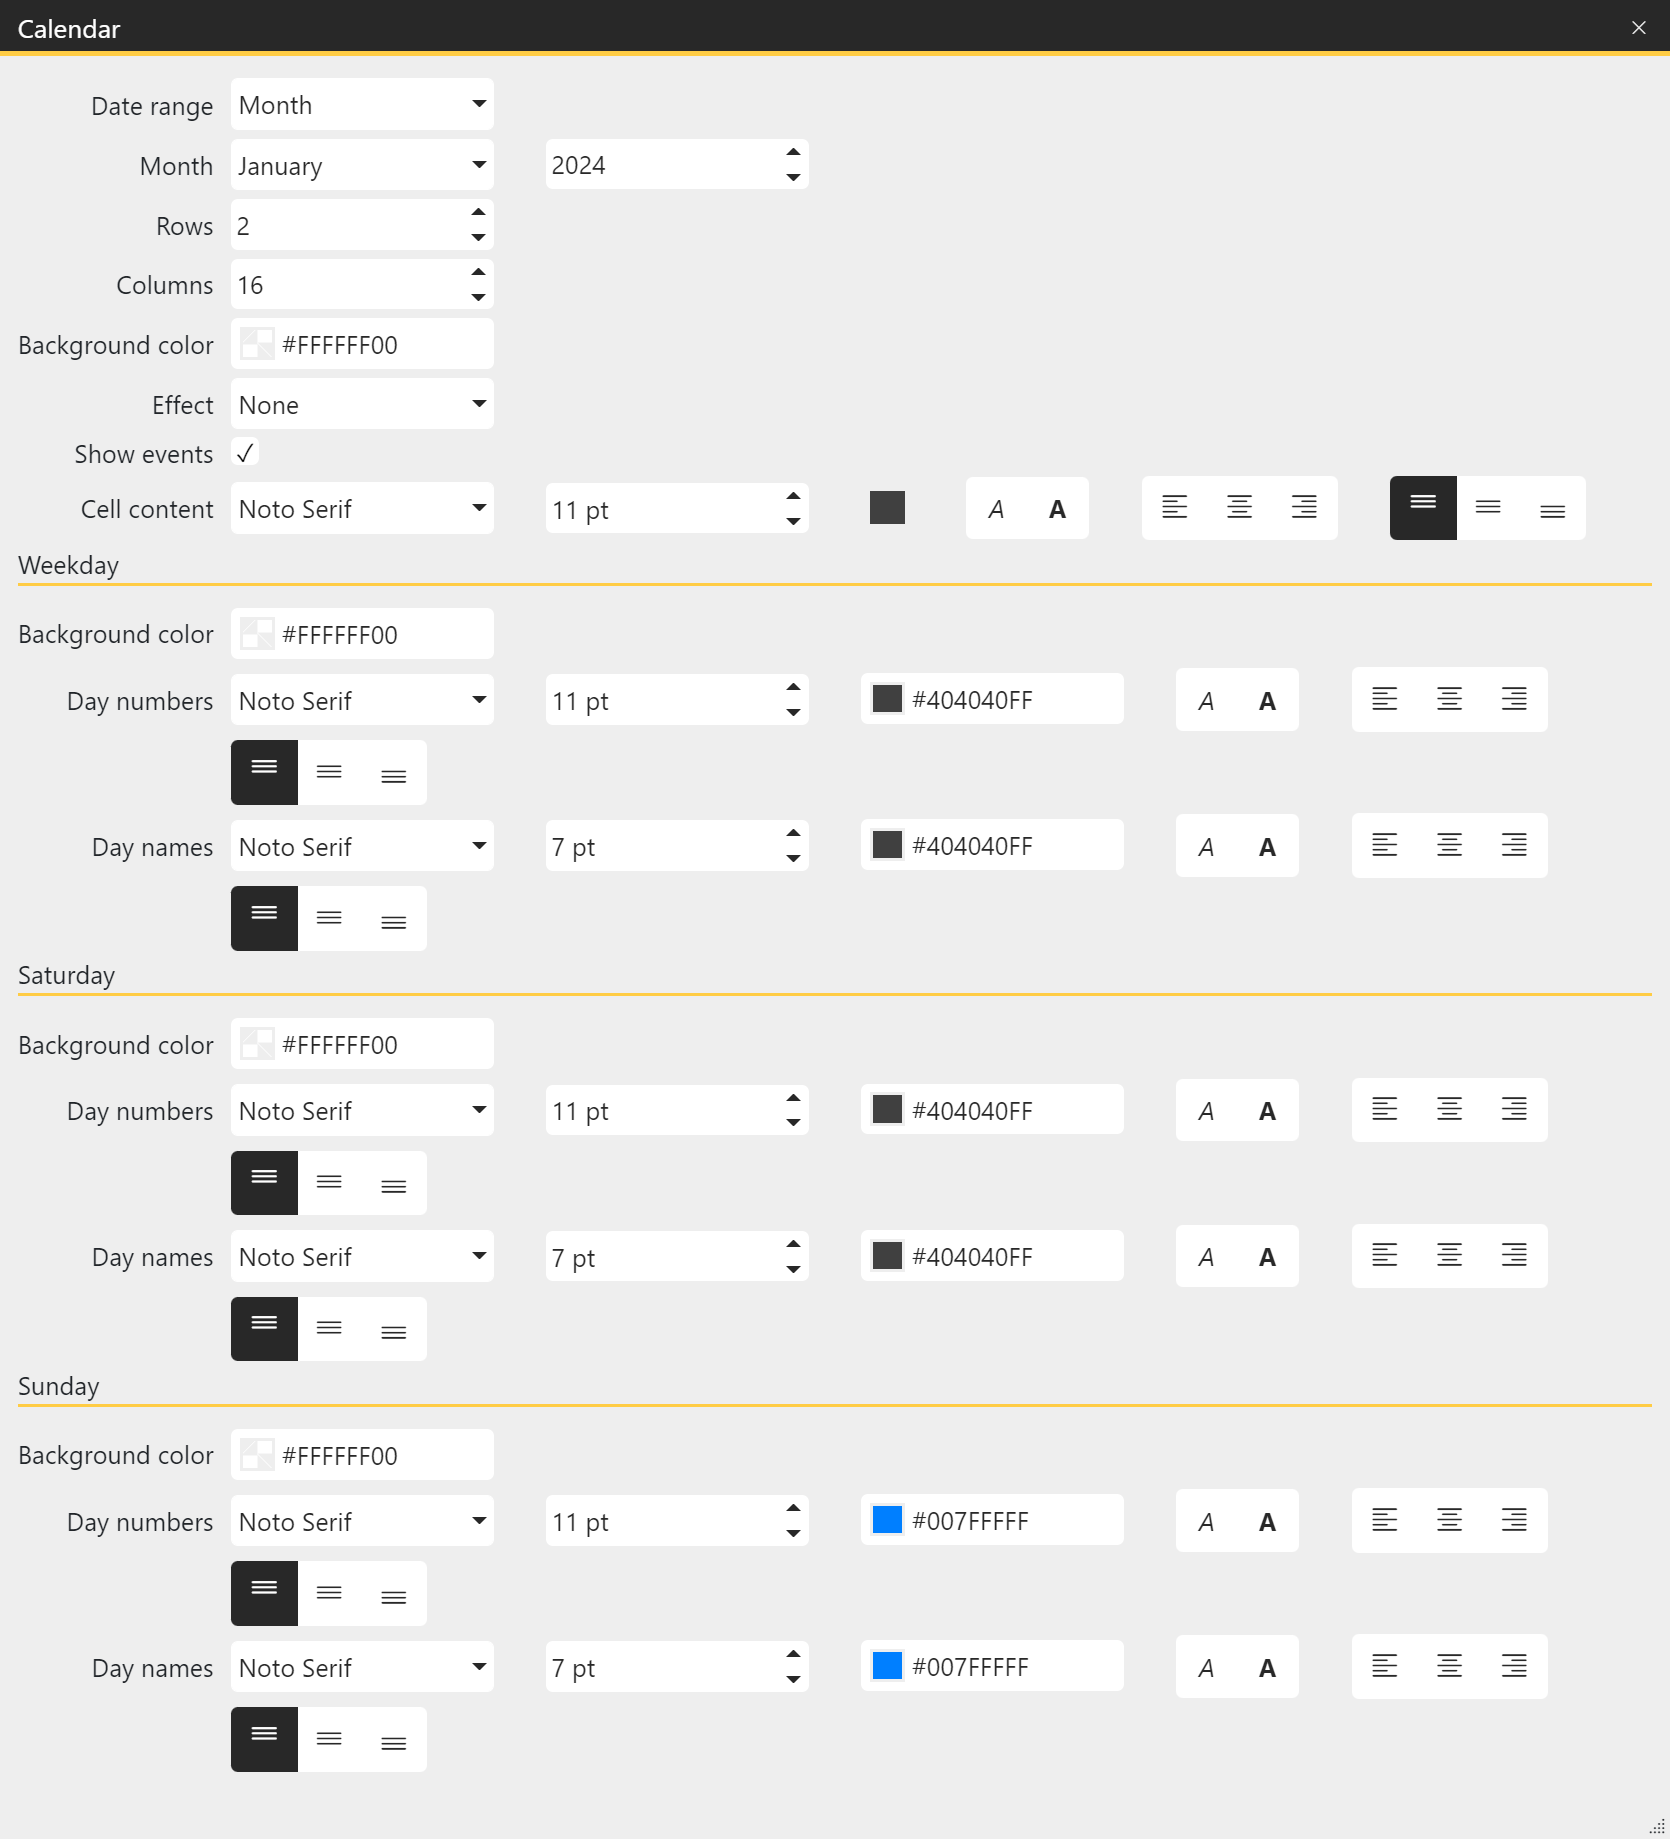 |
You can make various adjustments in the properties of a calendar item. The properties may vary depending on the template. Select the Date range and the Date for which the calendar should apply. Specify how many Rows and Columns you want the calendar to be divided into. This way you can create calendar blocks or single-line calendars. With the Background color you can assign a color or a transparent background to your calendar. Via Effect the calendar can get a picture effect. A check mark at Show events activates the display of these. For this, events must be listed in the Events section and a corresponding placeholder must be present on the page. The cell content defines the appearance of the calendar cells. If different values are stored for Weekday, Saturday, Sunday or Events, these values apply. For Weekday (Monday to Friday), Saturday and Sunday you can also define different fonts, font colors, font sizes, formatting and alignments. You can differentiate between Day numbers (1,2,3...) and Day names (Mon, Tue, Wed). |
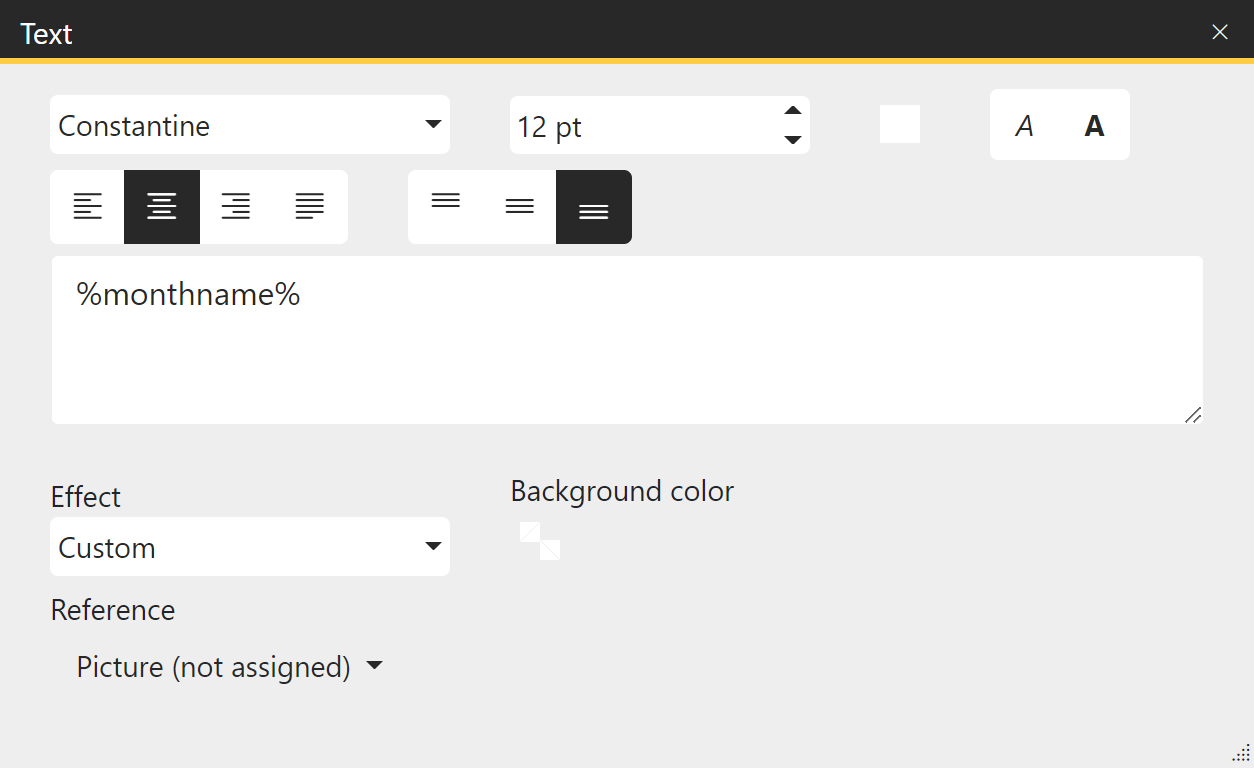 Properties of a calendar variable |
In the Properties of a text variable element, instead of creating a date range, you can just create a Reference to an existing calendar element on the page. Possible variables include: •%monthname% - Months name (January) •%monthnameshort% - Months name short (Jan) •%events% - Events |
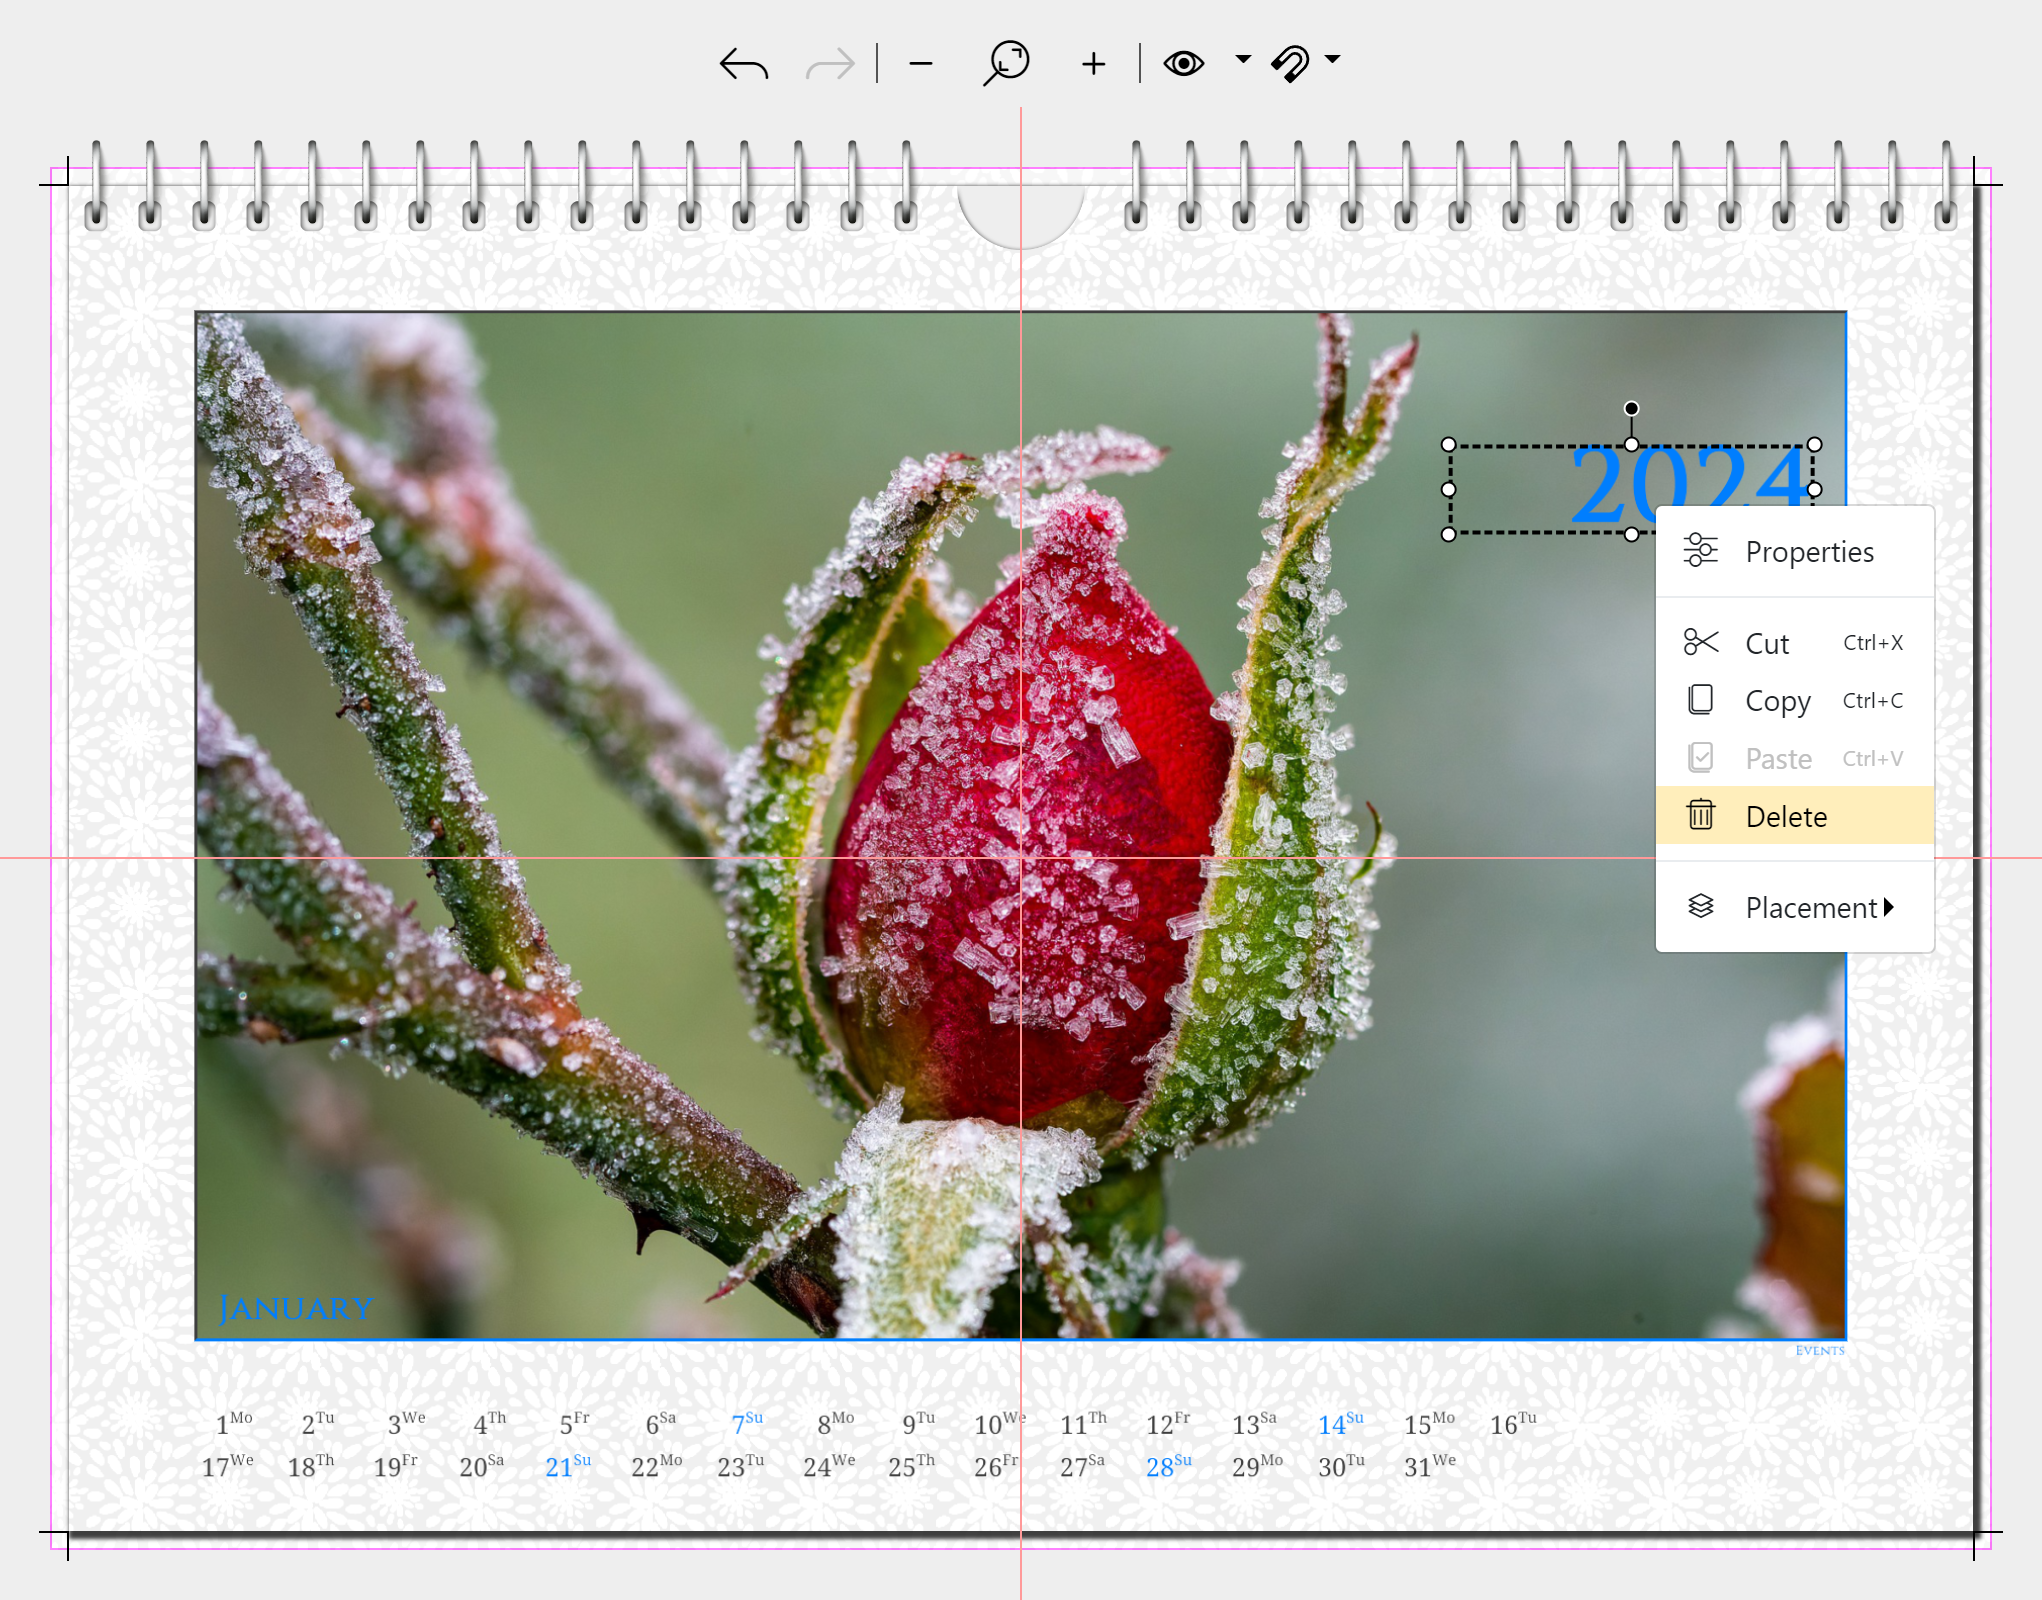 Remove element |
Remove elementTo remove a calendar item, here the year, select the item and press the Delete key on the keyboard or right-click it and choose Delete. If you accidentally removed an element, click the Undo icon in the Page editor to restore it. |
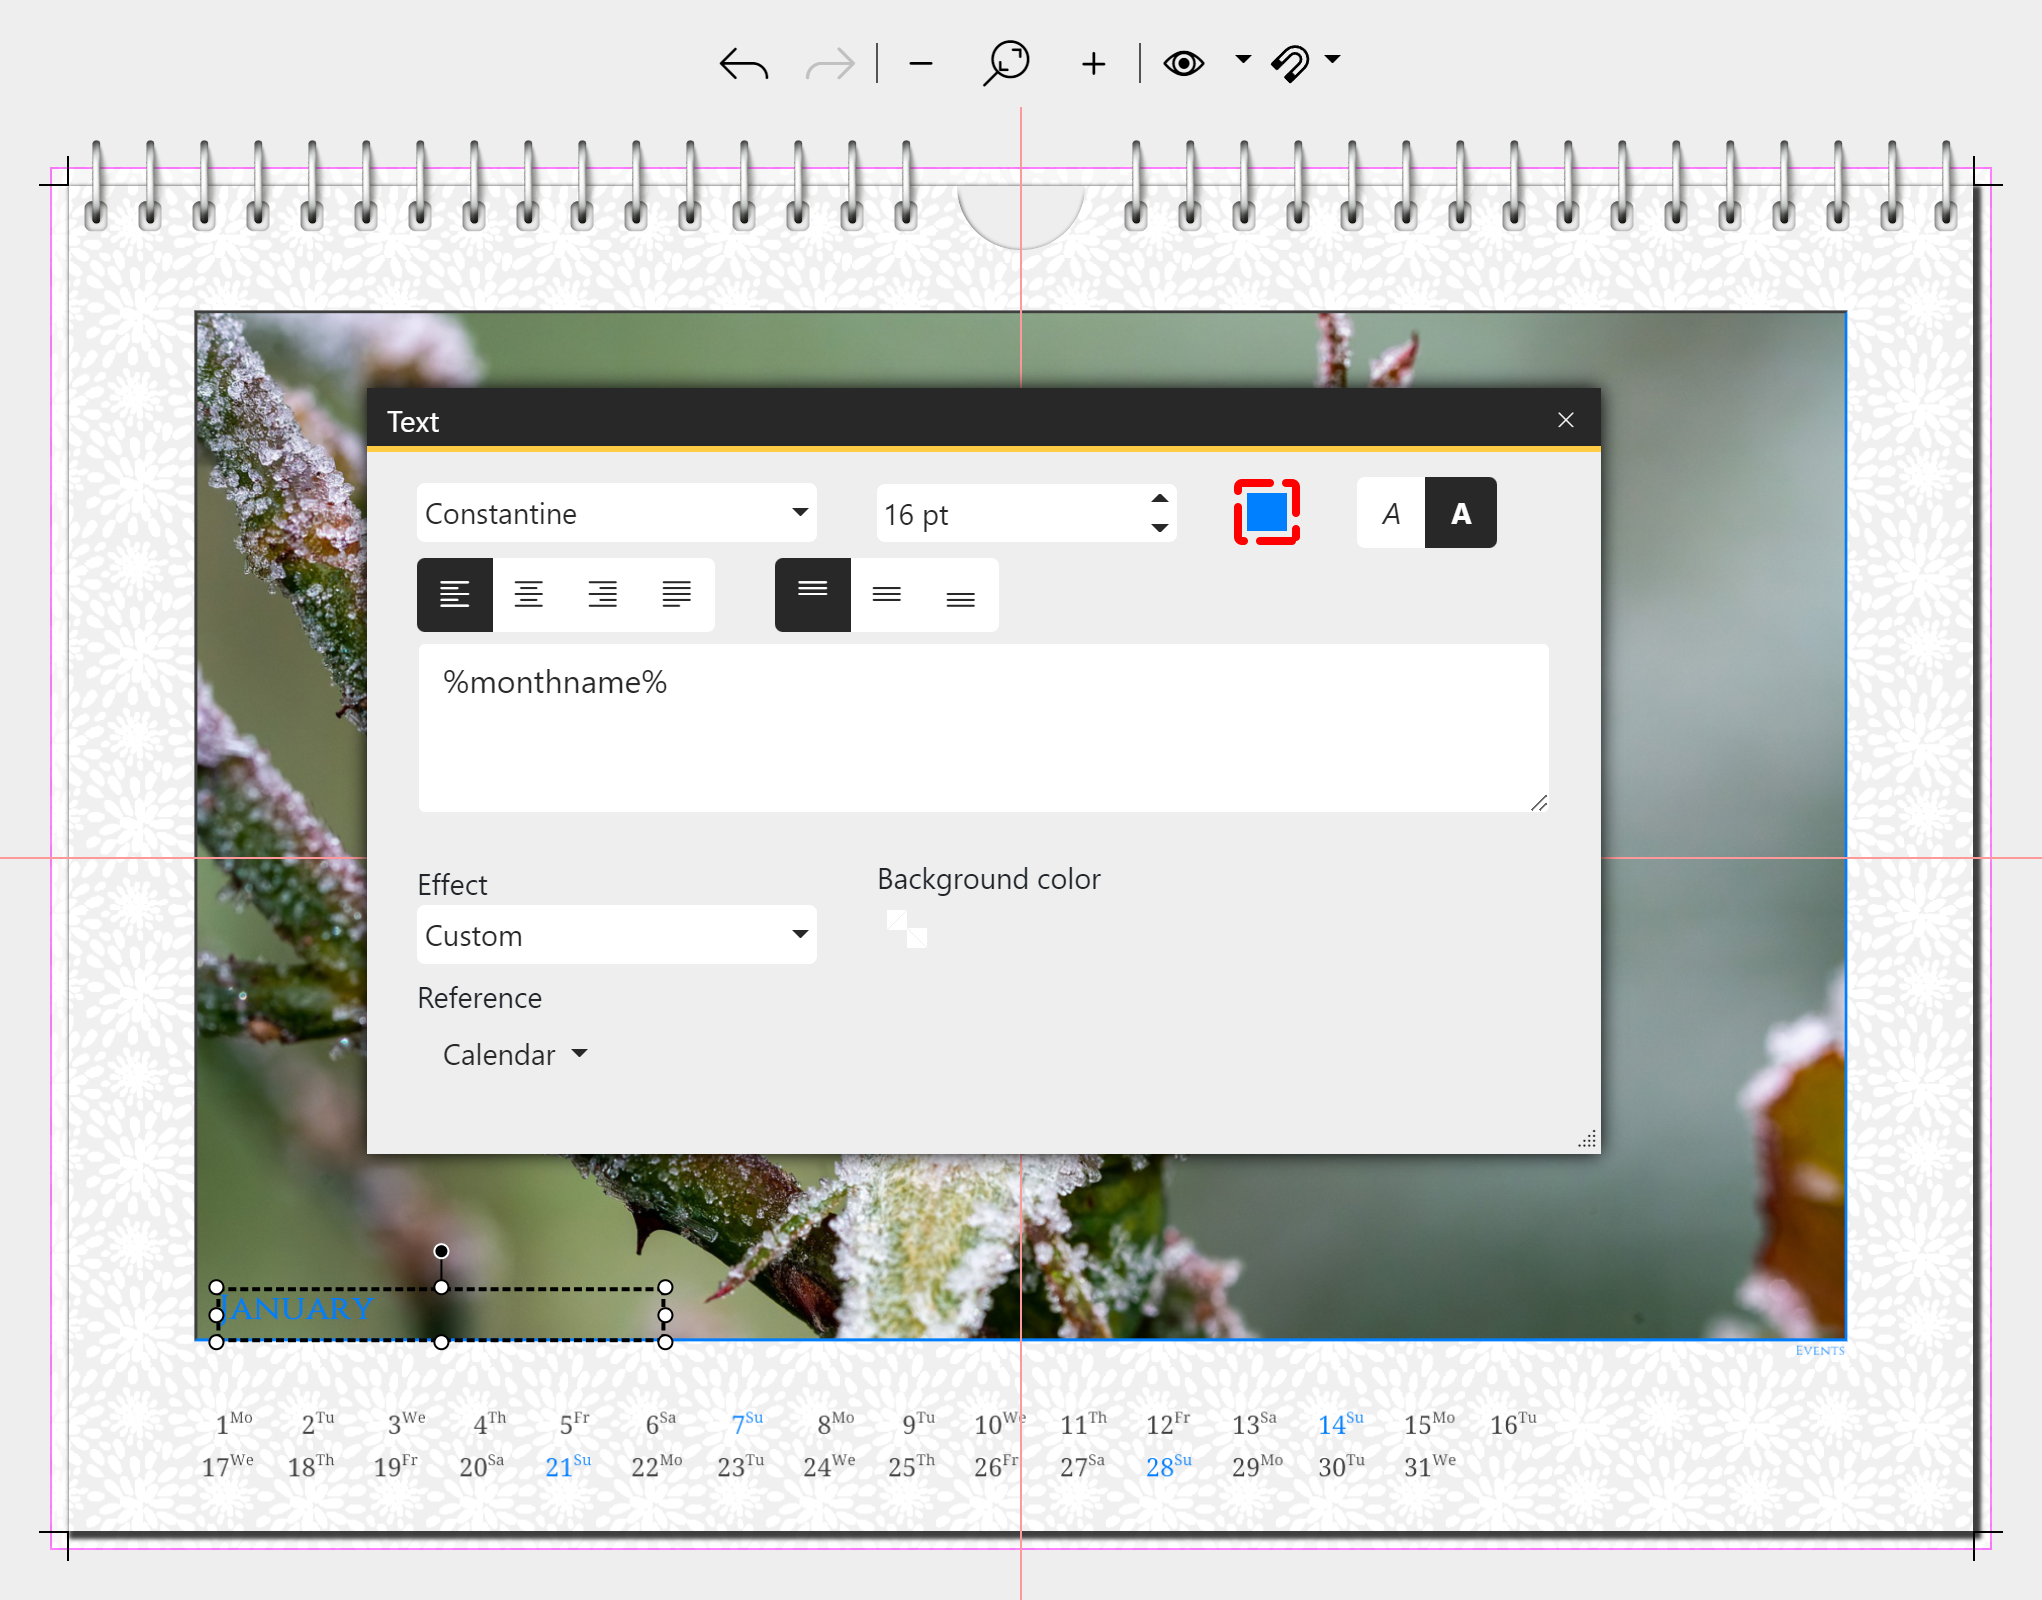 Customize month name color |
Change font color of an elementTo change the color of an element, double-click it to open the Properties or right-click the element and choose Properties. Click the Color picker to adjust the color of the font. |
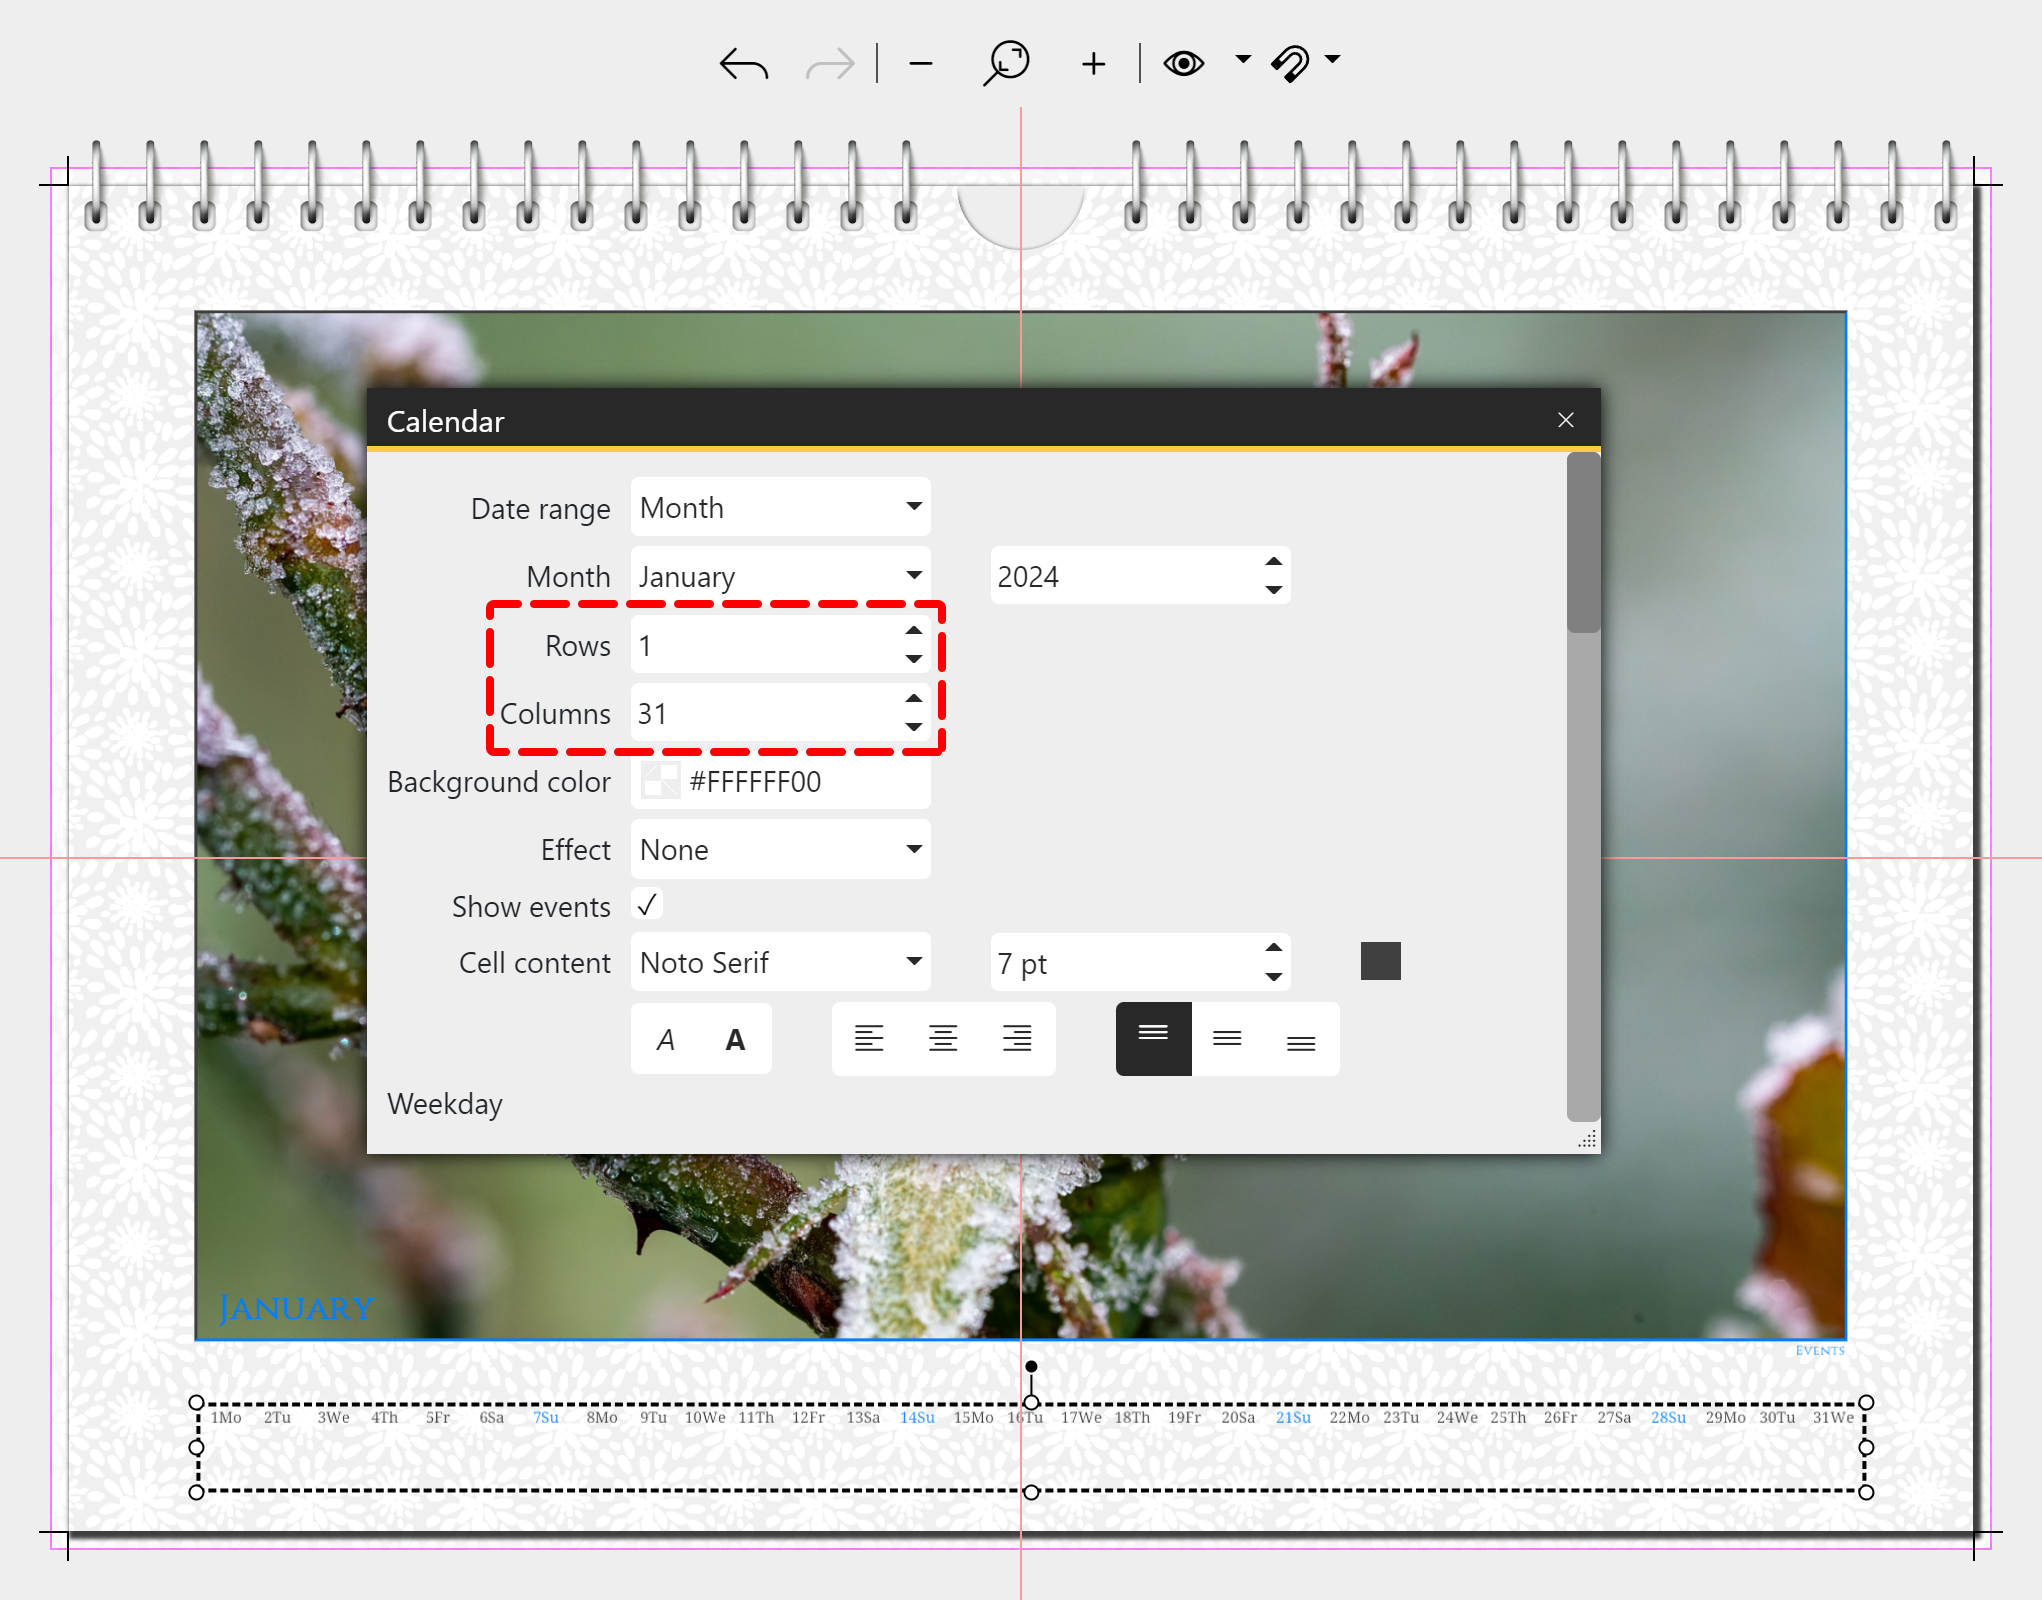 Rows and columns of a calendar are adjusted |
Change columns or rows of a calendarDouble-click the calendar item to open the Properties or right-click the item and choose Properties. Adjust the values for Rows and Columns. |
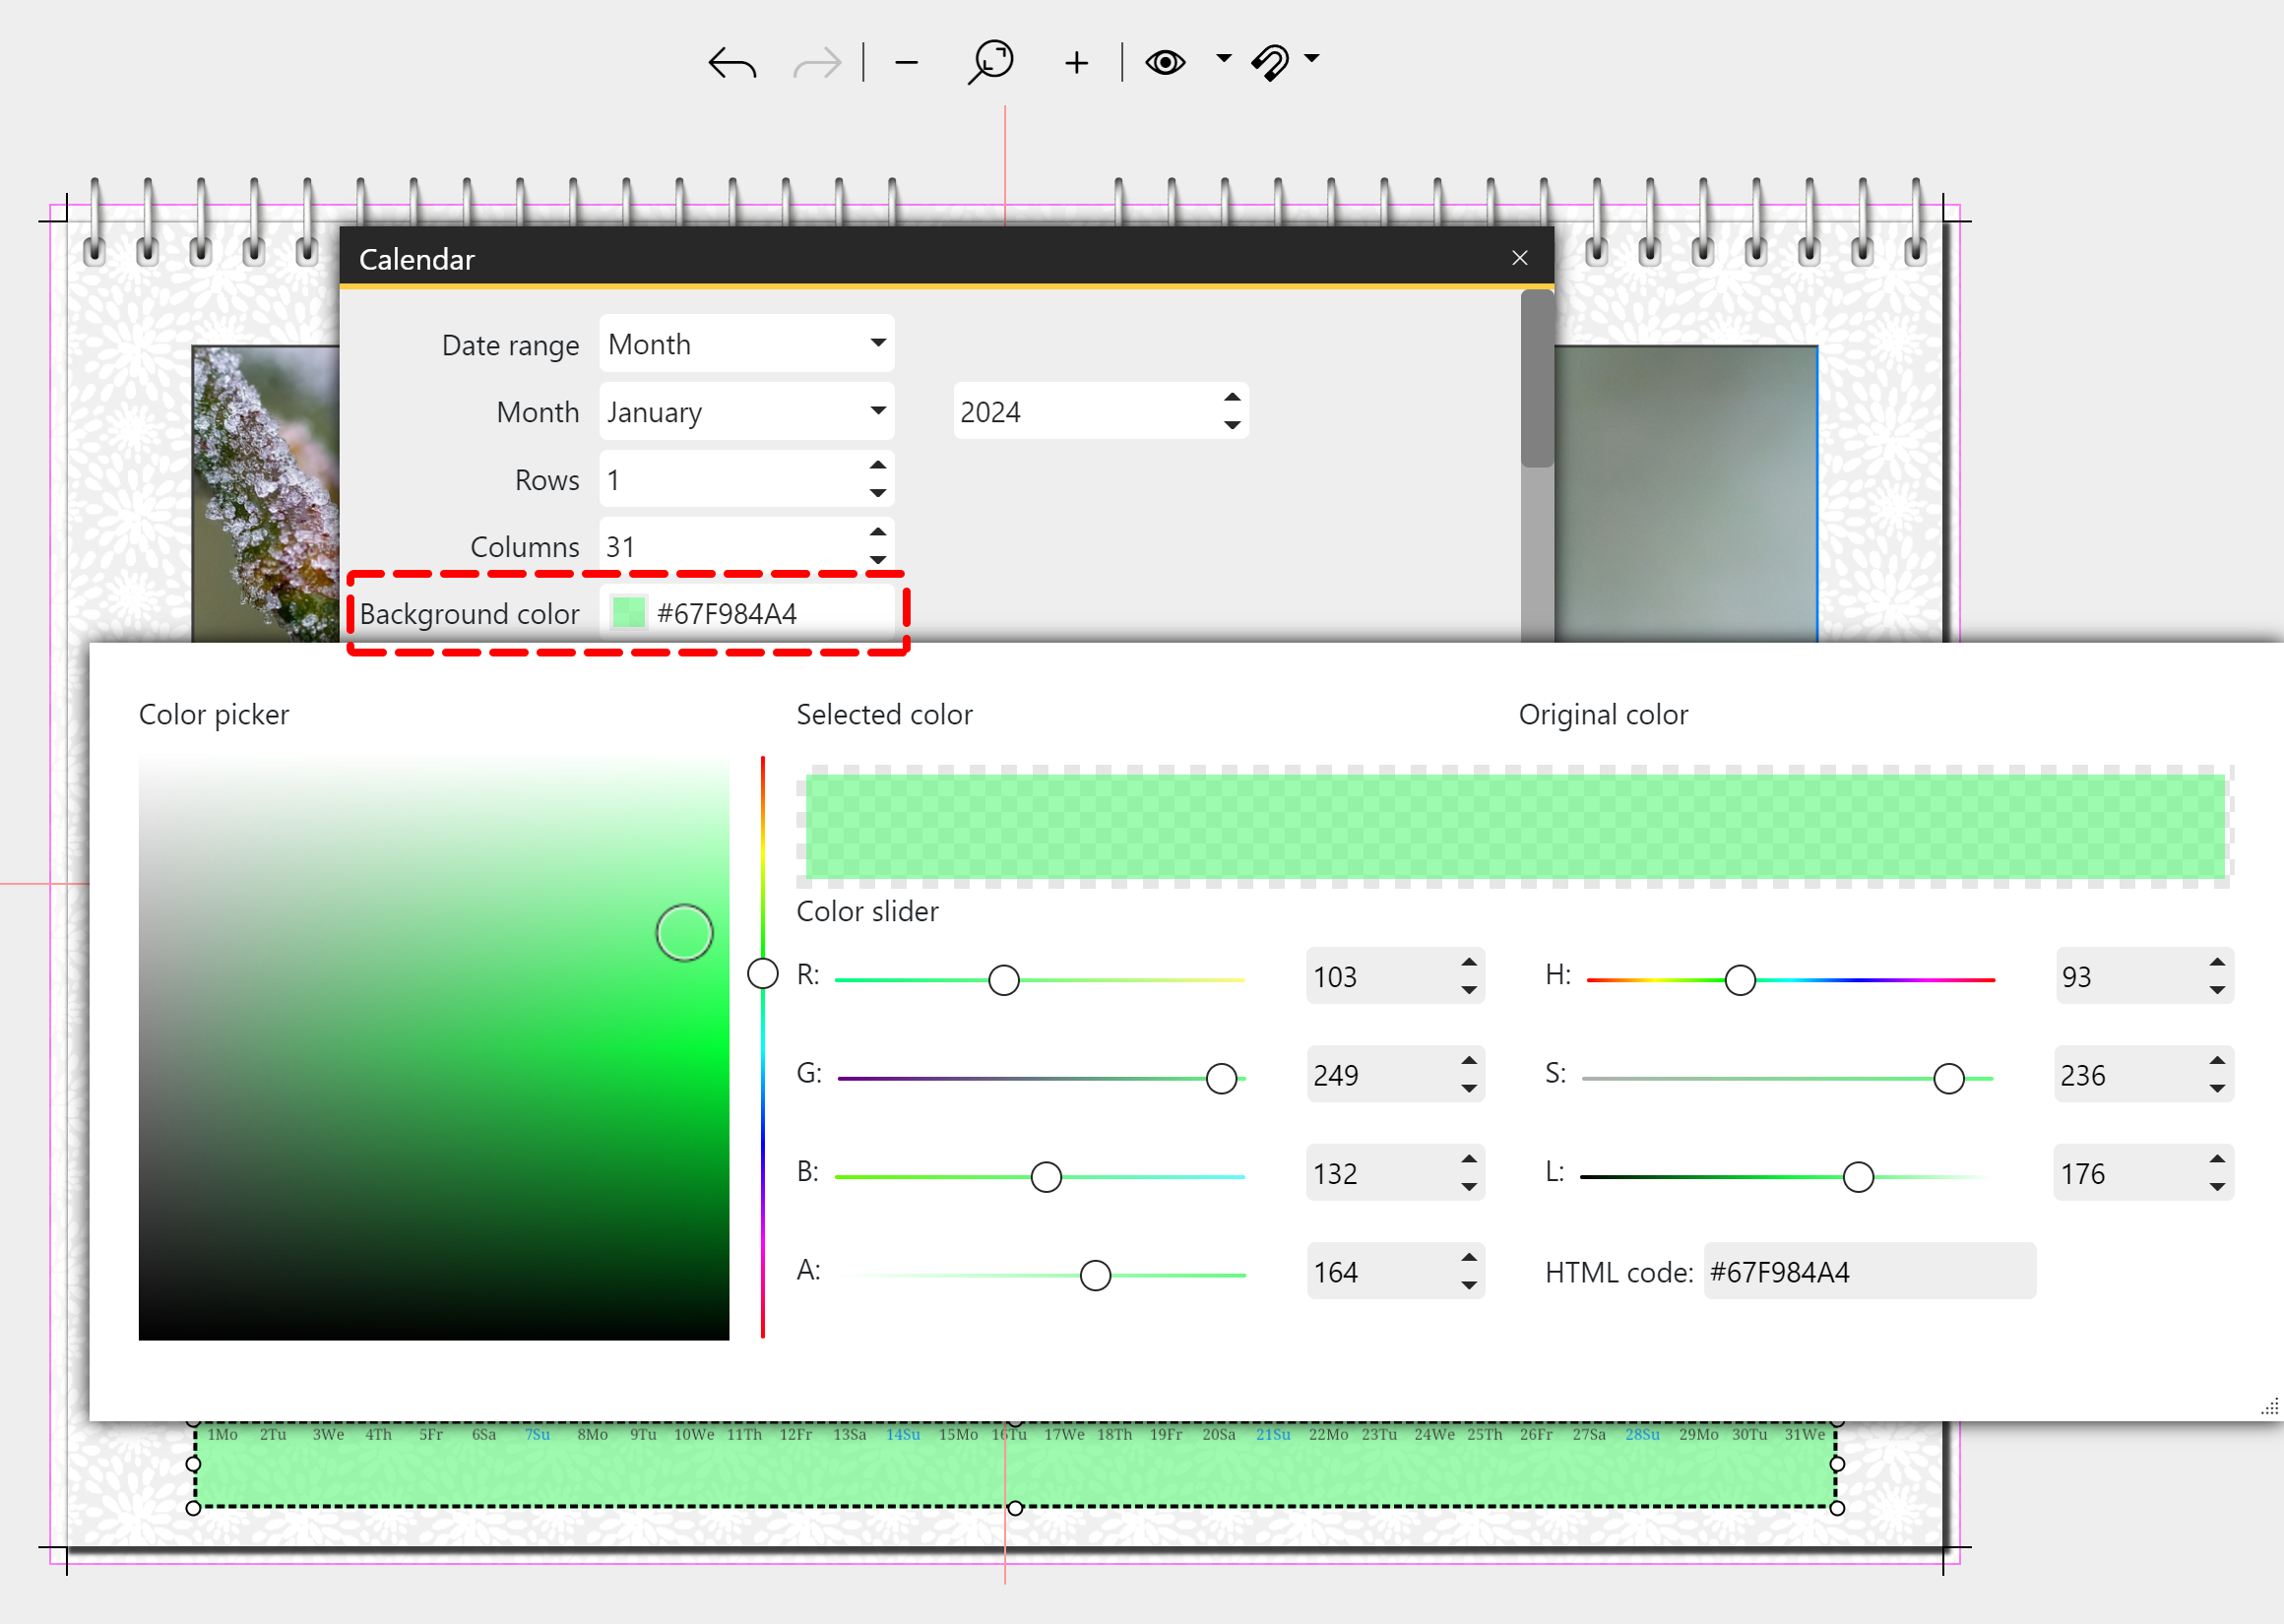 Change the background color of the calendar |
Change background color of the calendarDouble-click the calendar item to open the Properties or right-click the item and select Properties. Click on the Color field to open the Color picker. Choose your new color. With the value "A" (alpha channel) you specify how transparent the background color should appear. With the value 255 the color gets full opacity, with the value 0 the calendar element is transparent. |
To apply a self-designed page design to additional calendar pages, select the page to be duplicated in the Page editor and click the Duplicate icon. Enter the number of copies. Check the Automatically adjust calendar data box so that calendars are continued appropriately on the page copies.