|
<< Click to Display Table of Contents >> Zooming in |
  
|
|
<< Click to Display Table of Contents >> Zooming in |
  
|
With the help of the camera panning tool you can choose an area of the image to enlarge. In this chapter you will learn how you can zoom into photos, videos and Flexi-Collages.
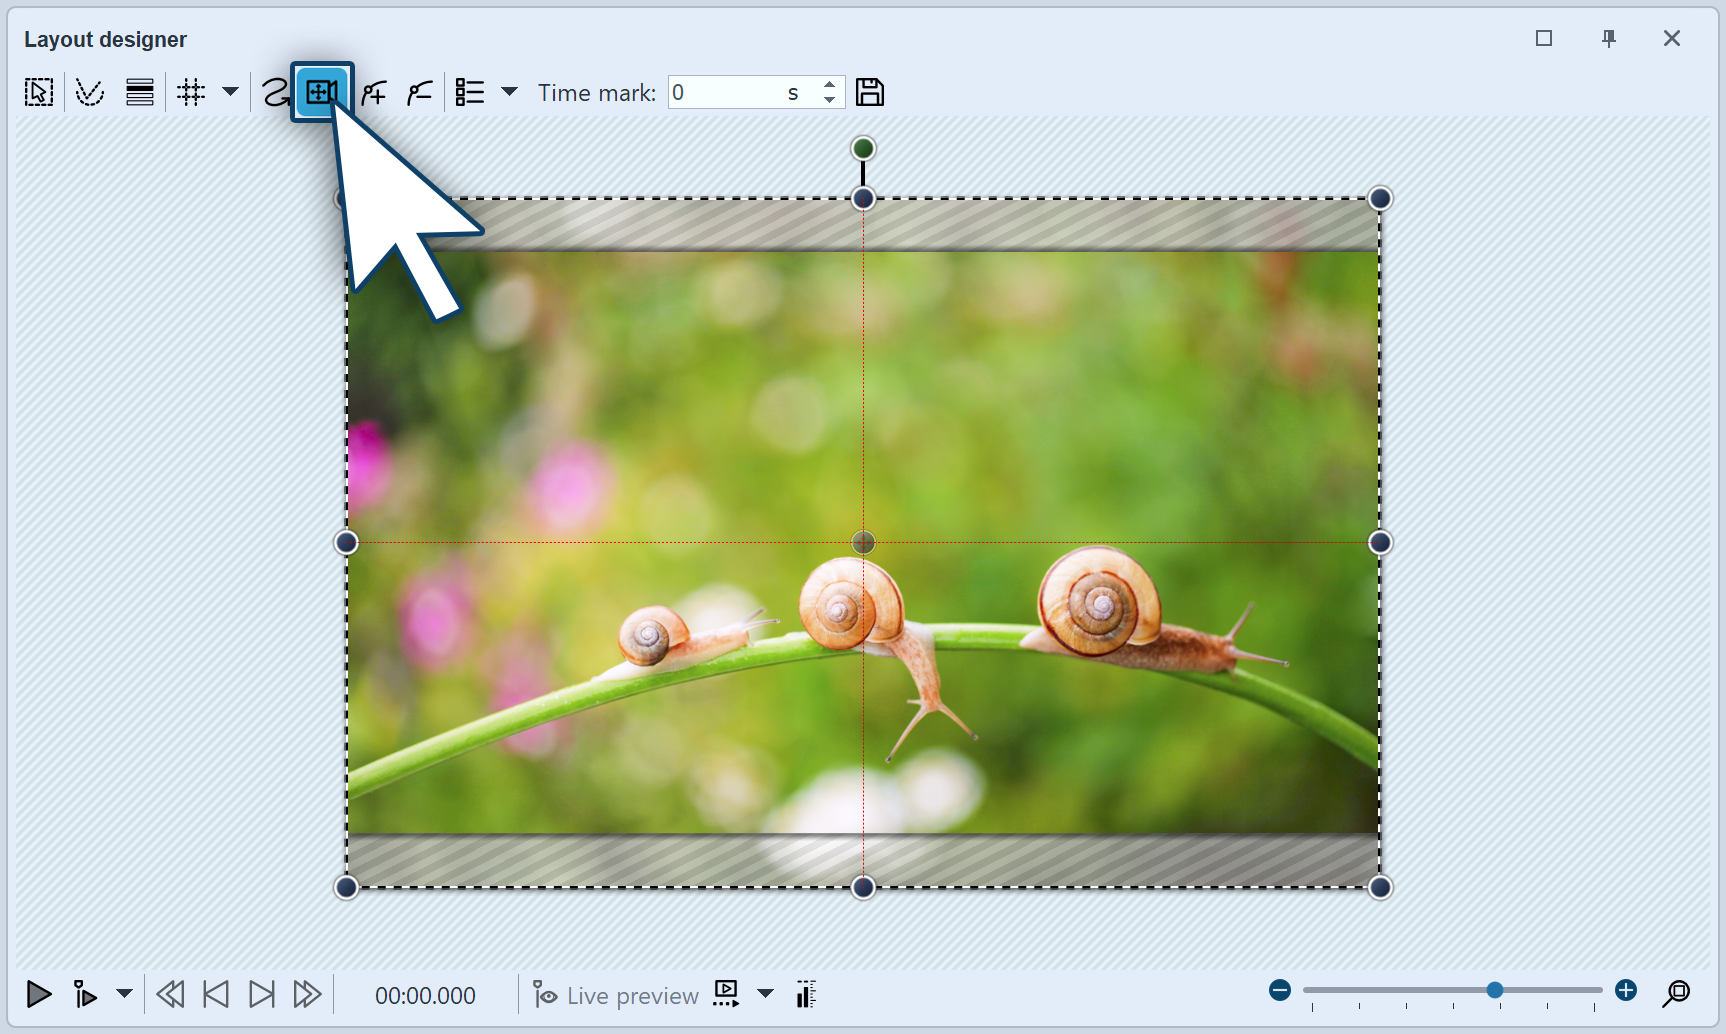
 Activating camera panning in the layout designer In the Timeline select the object you wish to zoom in on. Then, in the Layout designer switch into camera panning mode, by clicking on the camera pan icon in the top bar of the Layout designer. |

Creating motion markers
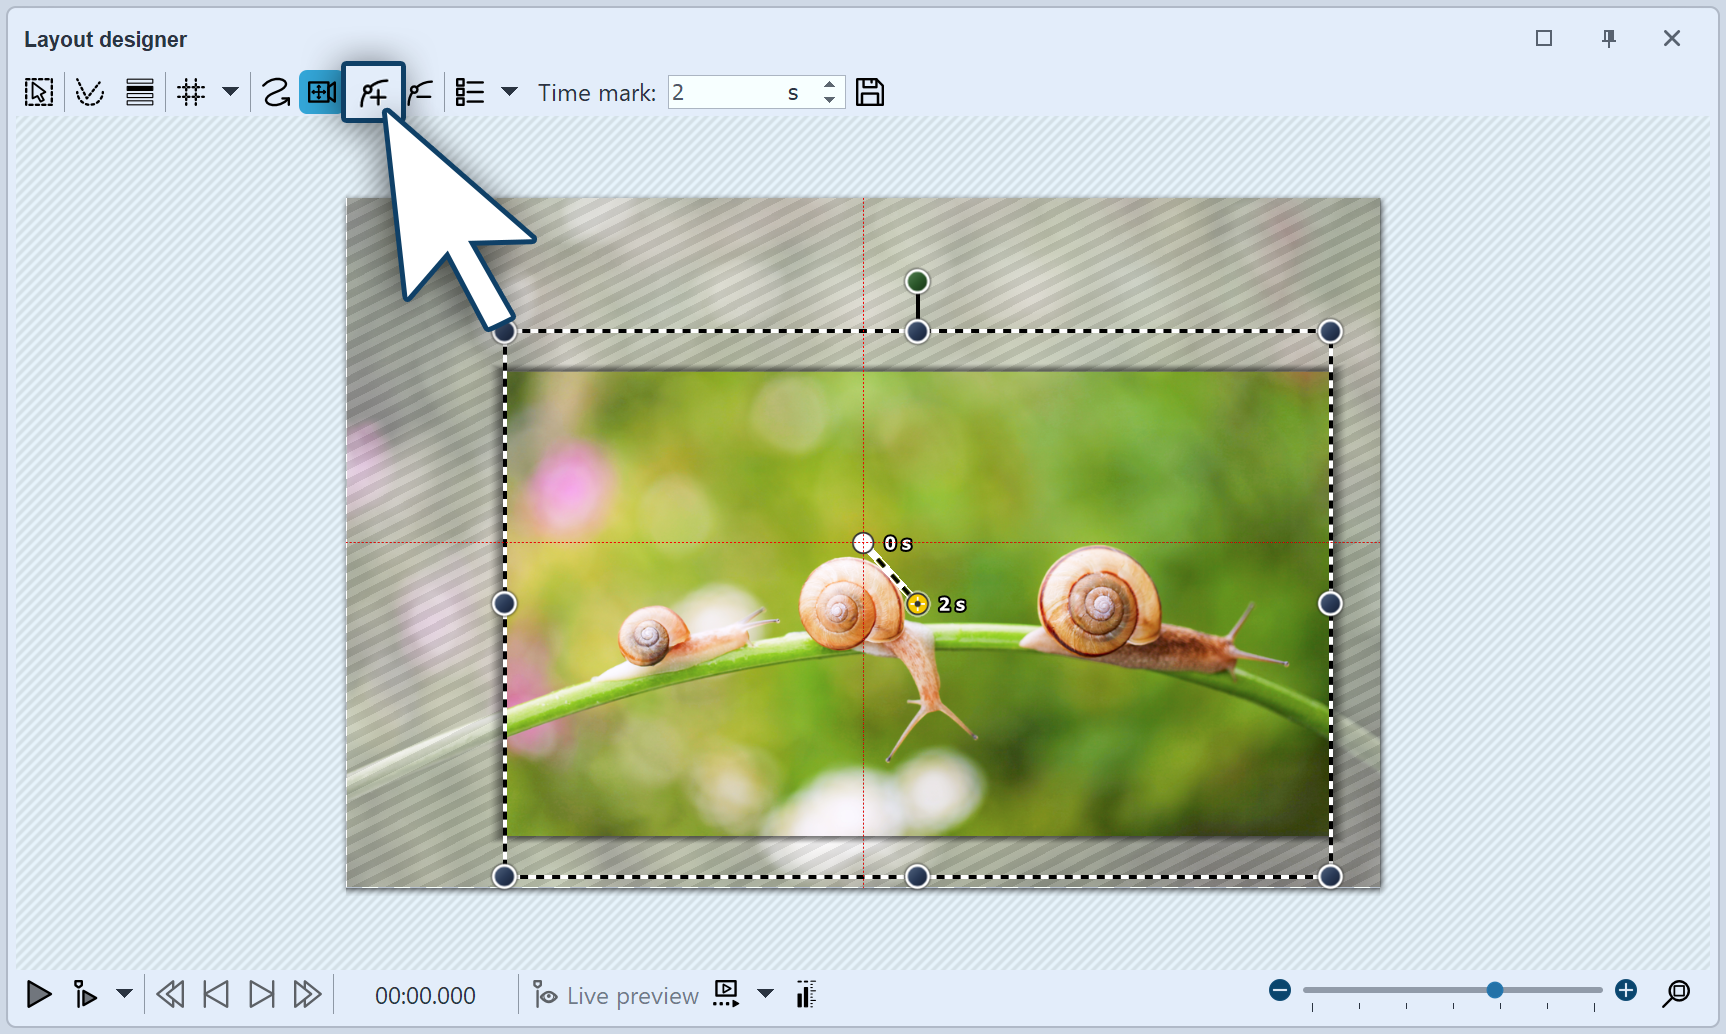
The first motion marker is already automatically available. It includes the image in the overall view. You can customize this first mark by using the mouse to drag on the round blue drag points that are located at the edge of the image. However in this case we will leave the first movement marker where it is and add a second marker. Click on the square plus icon to insert a motion marker or use the Insert key.
After inserting the new motion marker in the Layout designer a frameappears. By using the mouse to drag the round drag points, you can resize and more the positioning frame. If you hold down shift while you alter the frame, the aspect ratio will be maintained. Position the frame so that it surrounds the section of the image where you want to zoom in.
The positioning frame defines the section of the image that will later be displayed. Anything that is outside the frame will not be displayed. The area of the image which extends beyond the positioning frame and is not covered by white shading, should also be included in the positioning frame. If a non-hatched section of the image remains outside the positioning frame, the selected section of the image does not fit the aspect ratio of your project. The consequence of this will be black bars appearing in your display. Alwasy place the positioning frame so that everything outside the border is portrayed cross-hatched and nothing remains that is unhatched.
If you use the magnifying glass function (magnifying glass with + icon) in the Layout designer you can work very precisely. Then you can be sure that the image will fill the screen.

Adjusting the duration of the camera panning
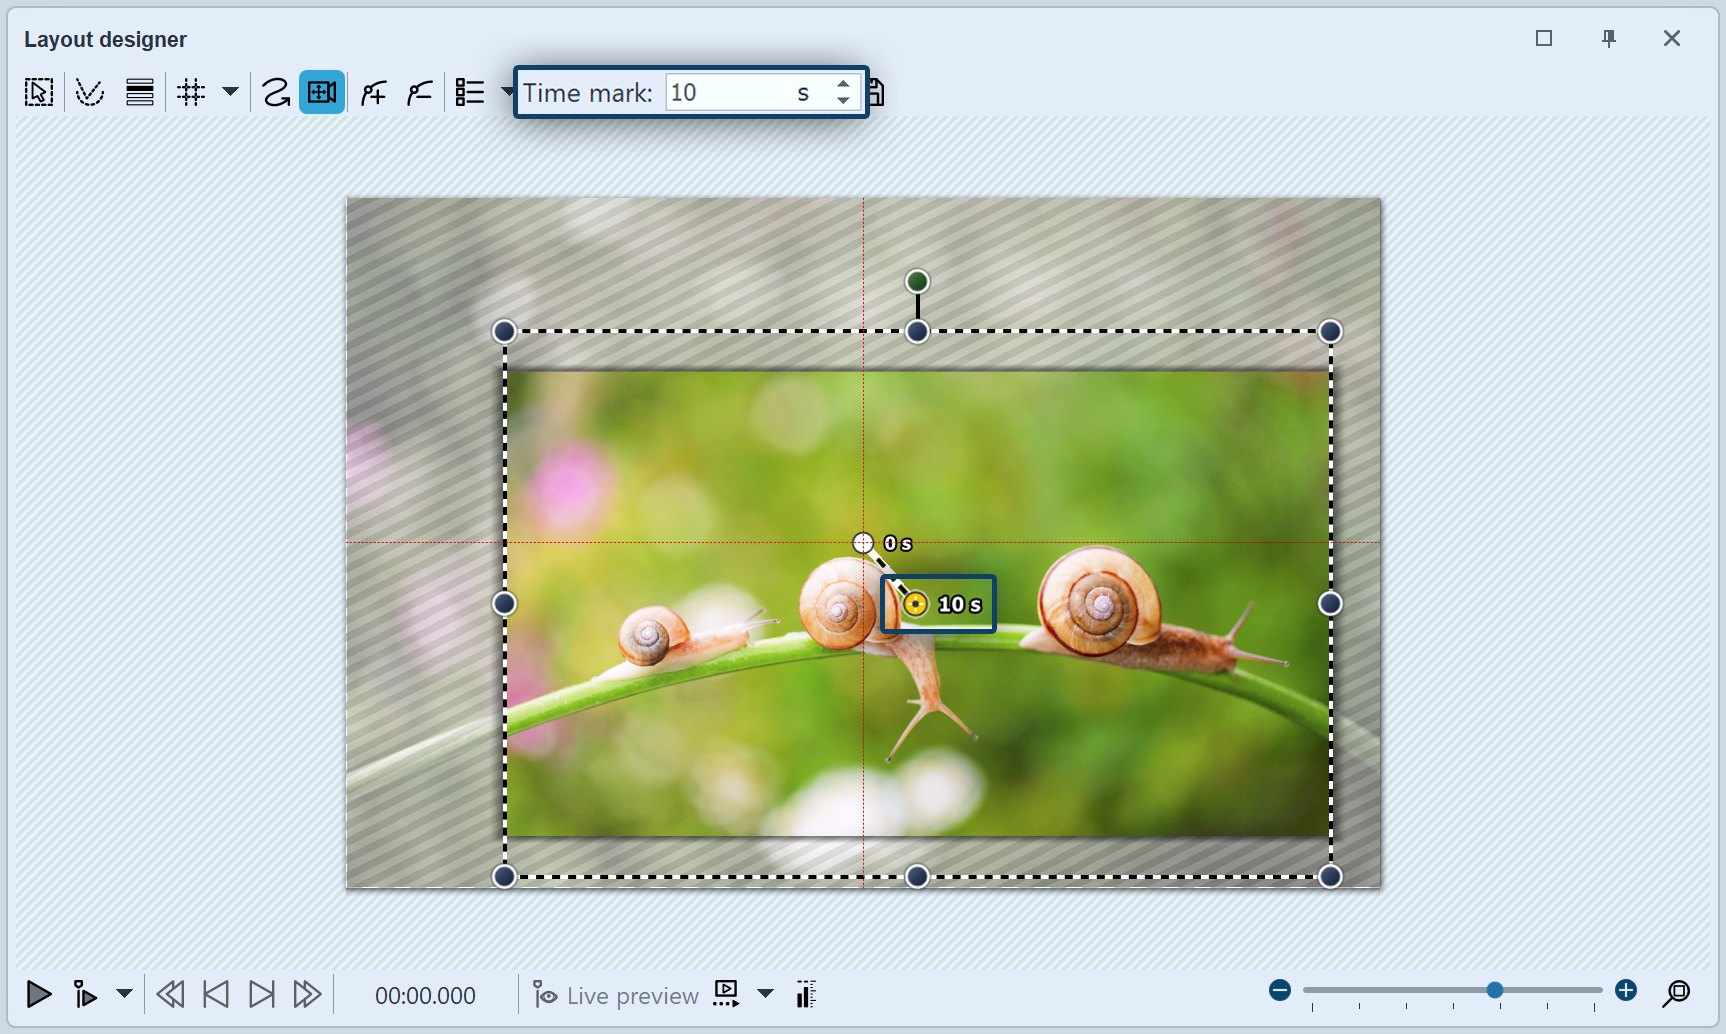
In order to make the zoom softer and more appealing, lengthen the time, it takes for the camera’s course to make its way from the first movement marker to the second. To do this select the second marker, so that the middle point, located in the section of the image you are using, appears orange. Under times enter now a higher value, such as 10 seconds.
So that you do not immediately zoom into the image and the viewer still has time to look at the picture, you can also enlarge the timestamp of the first movement marker. Just activate the first movement marker and enter a value of, for example, 2 seconds.
Explore the newly create zoom effect by clicking on the play button.