|
<< Click to Display Table of Contents >> Glowing transparency |
  
|
|
<< Click to Display Table of Contents >> Glowing transparency |
  
|
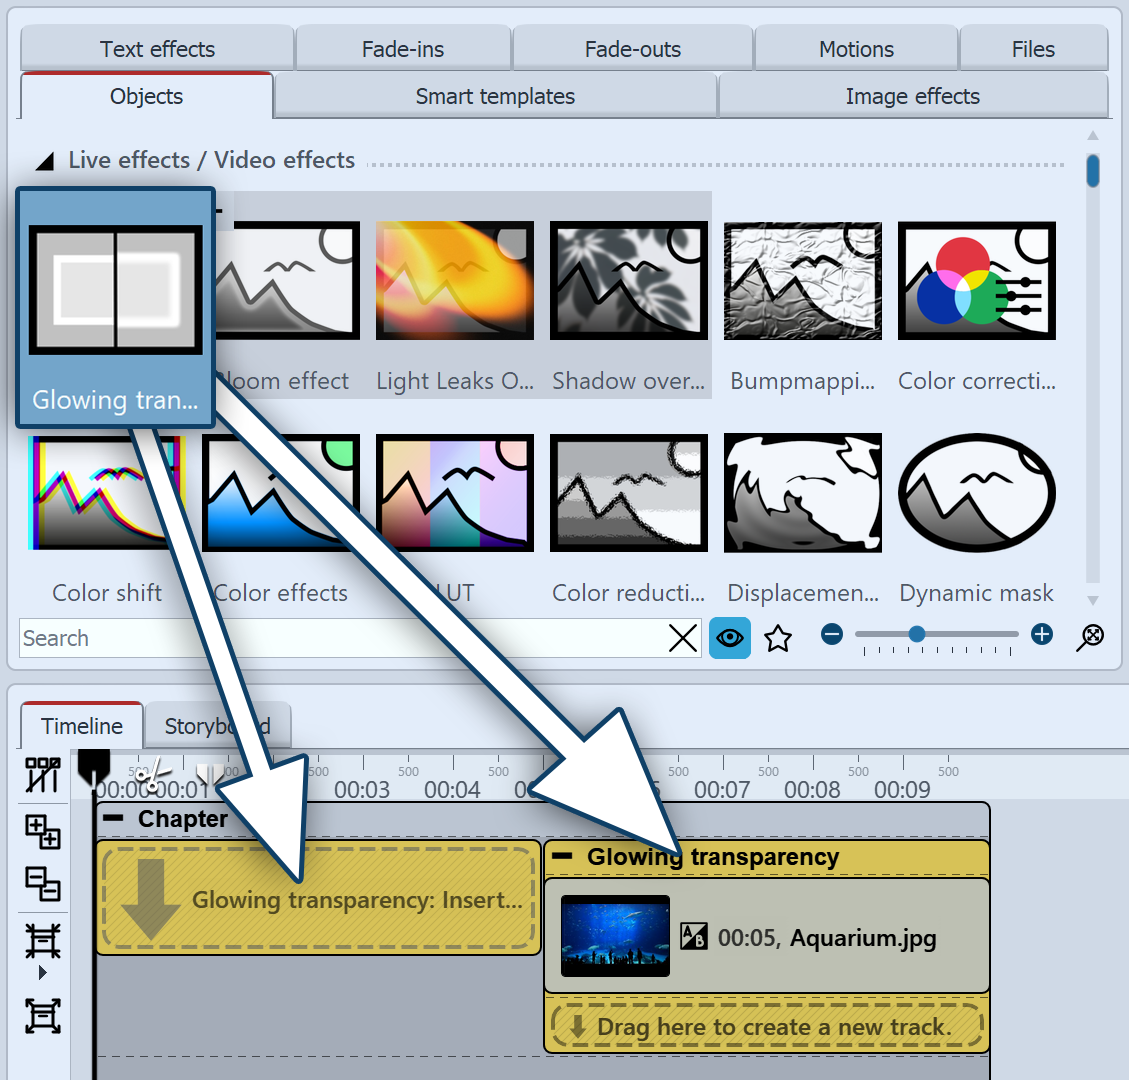
 Glowing transparency With Glowing transparency, the object receives an increase in brightness at its transparent points. An integrated zoom, for example, creates a glowing frame. You can find the effect in theToolbox under the Objects tab in the Live effects area . |
 Insert glowing transparency To use the effect, you can drag it directly onto an image in the Timeline. You can also drag the effect to the Timeline and insert one or more images later. In this case, drag a picture object from the Toolbox into the empty colored box. After you have inserted the image, a colored frame with the title of the effect will appear surrounding the small preview image in the Timeline. If you click on the colored frame, you can specify the settings for the effect in the Properties area. |
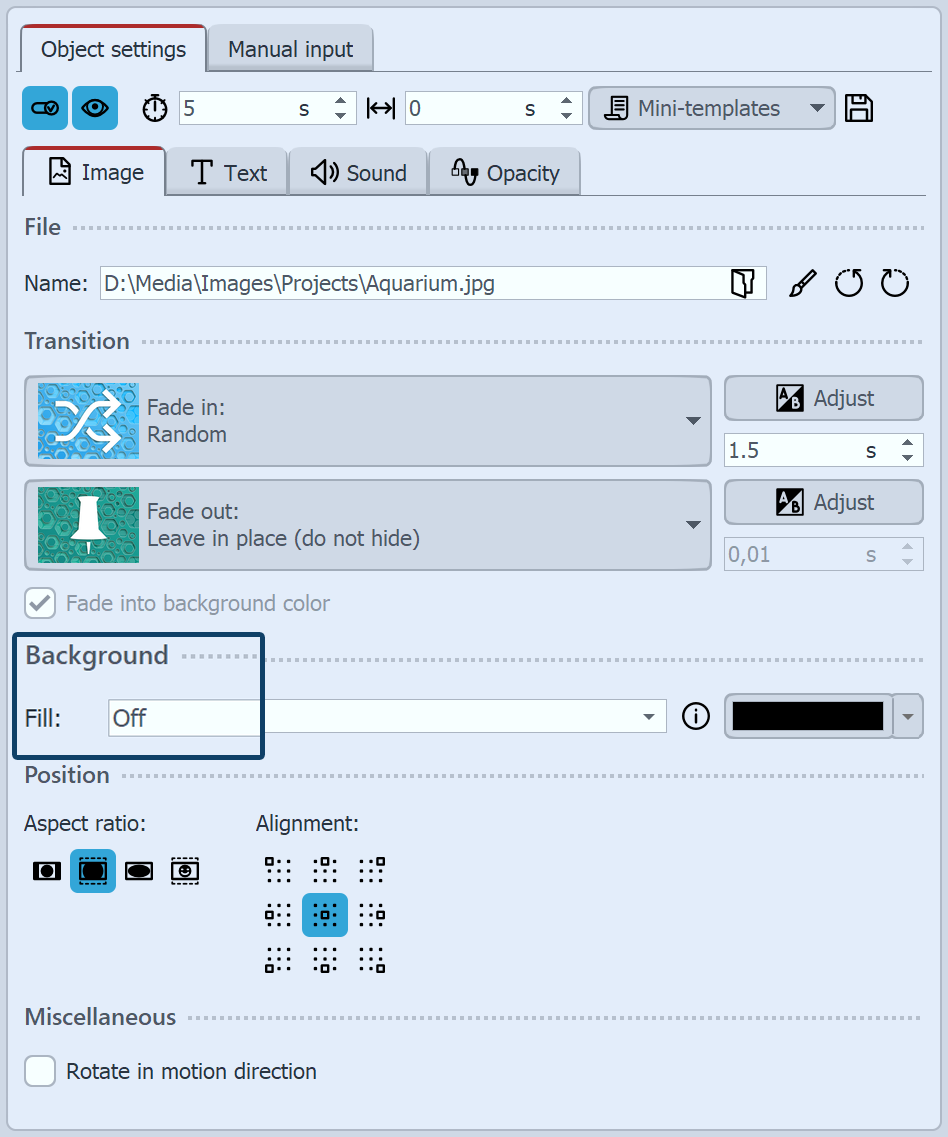
 Background is not filled Reduce the image slightly in the Layout designer. To do this, use the round handles at the edge of the image. In the Properties area , under Background, set the Fill option to Off. |
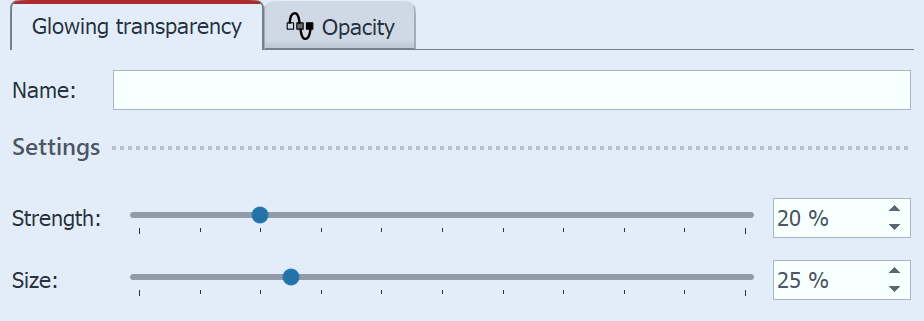
 Größe und Stärke einstellen In the Settings area, you can now set the strength and size of the effect. For a discreet result, do not go beyond a value of 10 for the strength. |
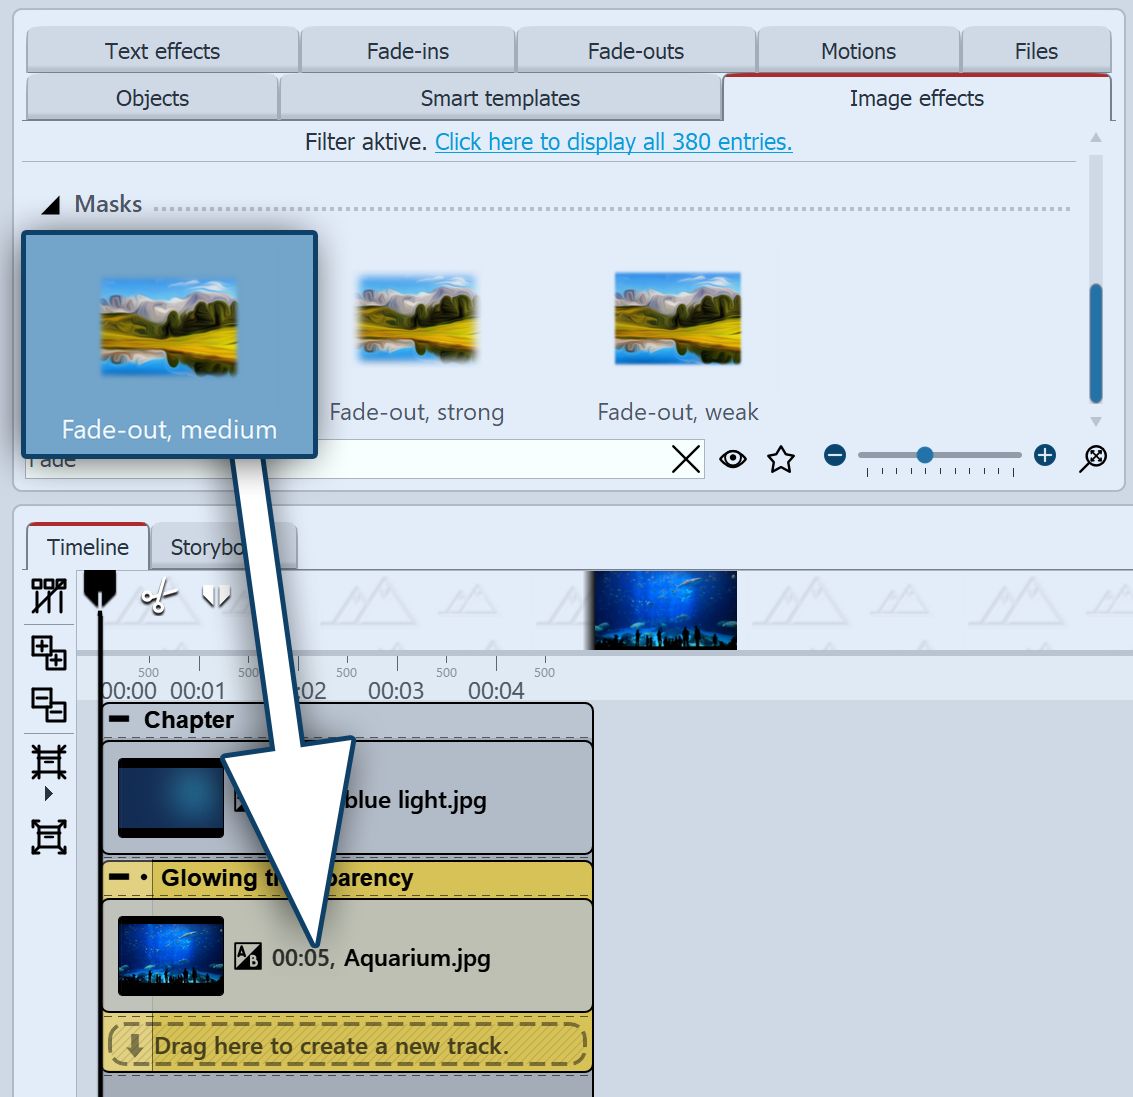
 Glowing transparency with mask Insert a chapter object into the Timeline. Drag a background of your choice into the Chapter object. In the second track (drag to"Drag here to create new track"), drag the Glowing transparency and then paste an image. Reduce the size of the image a bit in the Layout designer. Now open the Image effects tab in theToolbox. In the Masks section, find the Fade, middle effect . Drag it onto the image in the Timeline. Click on the colored frame of the effect to change the settings. Adjust the strength and size so that you like the effect. |

Finished example in the Layout designer