|
<< Click to Display Table of Contents >> Visualize audio spectrum |
  
|
|
<< Click to Display Table of Contents >> Visualize audio spectrum |
  
|
 Spectrum The Spectrum object lets you represent audible sound in the project as a visual and animated effect. This is a quick way to image music videos and podcasts, among other things. You can find the effect in the Toolbox under the Objects tab in the Audio section. |
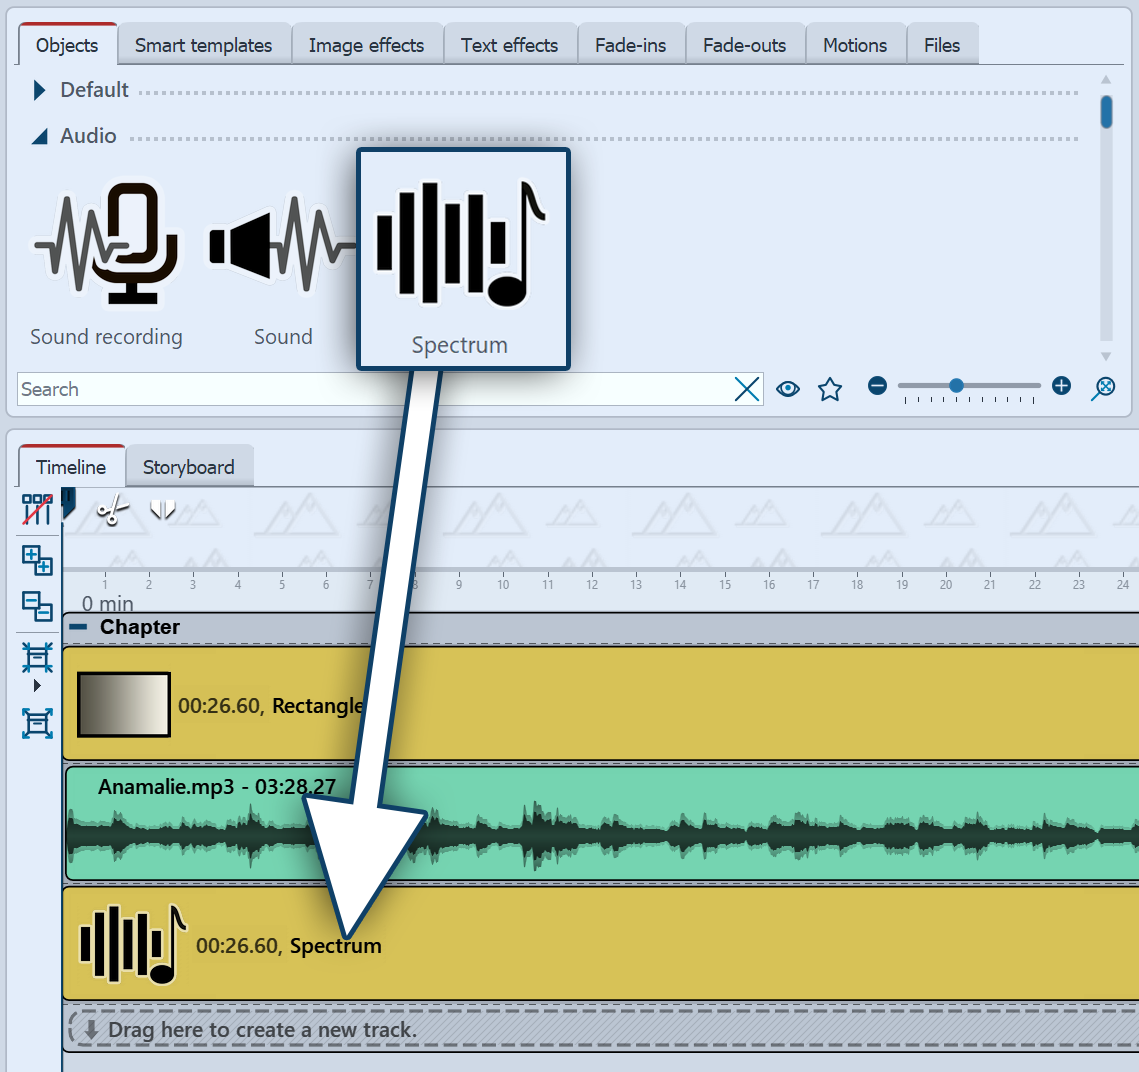
 Insert "Spectrum" To use the effect, you can drag it directly from the Toolbox to the Timeline. Place the effect in the Timeline at the time where sound will be heard during playback. This can be background music, sound from sound objects, voice comments, or the audio from videos. Match the duration of the Spectrum object to that of the sound. You can do this by entering durations in the object's Properties or by dragging the object at the far end in the Timeline. Select the object to specify the settings for the Spectrum in the Properties panel. |
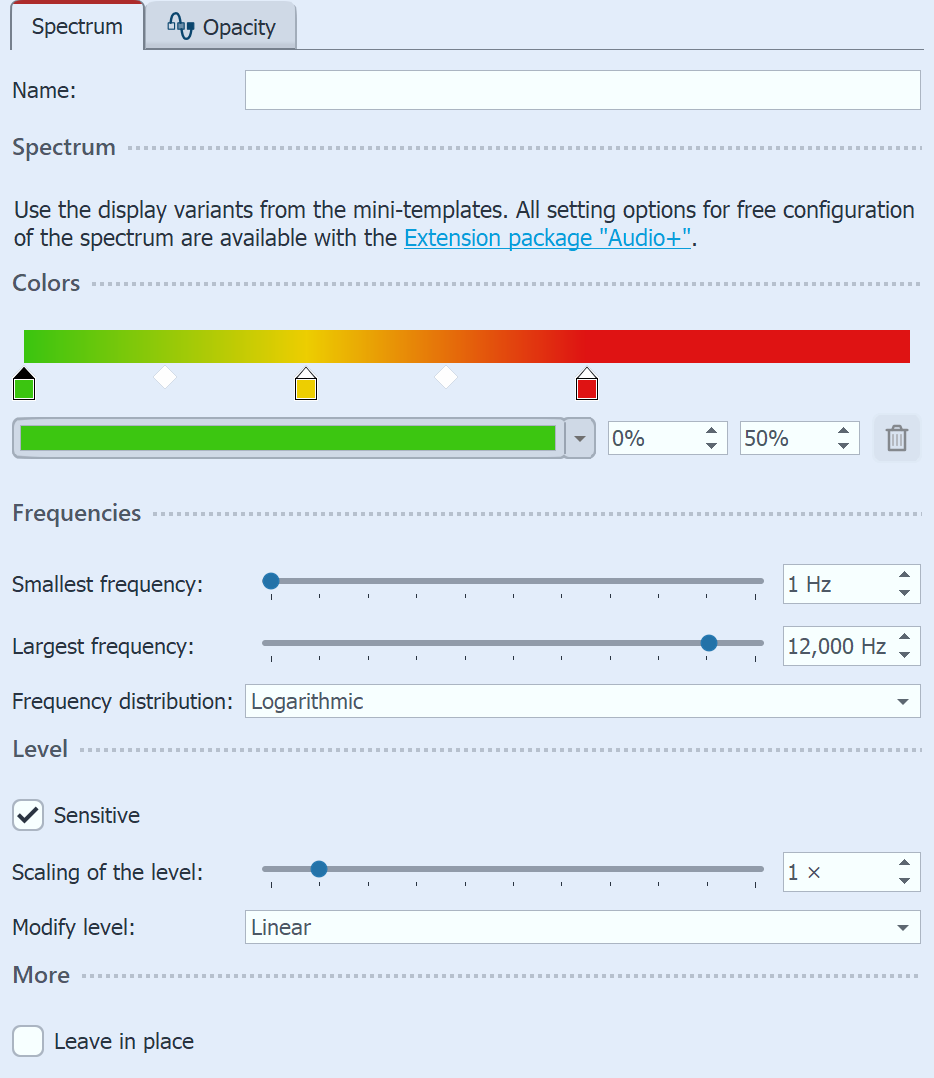
 Settings for "Spectrum" In the Settings section you can specify how the audio animation should look in terms of color and to which frequencies it should react. In addition to the settings options on the effect itself, you can find numerous variants with other, preselected display options under the Mini-templates button. Background for audio visualizationThe Spectrum can be shown against any background. This can be a photo, a video or even a (single) color background. The spectrum visualization can be moved to a specific area in the image if required, or it can be reduced or enlarged as a whole. To move the visualization, select the Spectrum in the Timeline and move the selection frame of the effect in the Layout designer (in Motion Path mode). To zoom out or in, you can drag the selection frame smaller or larger by the handles. |
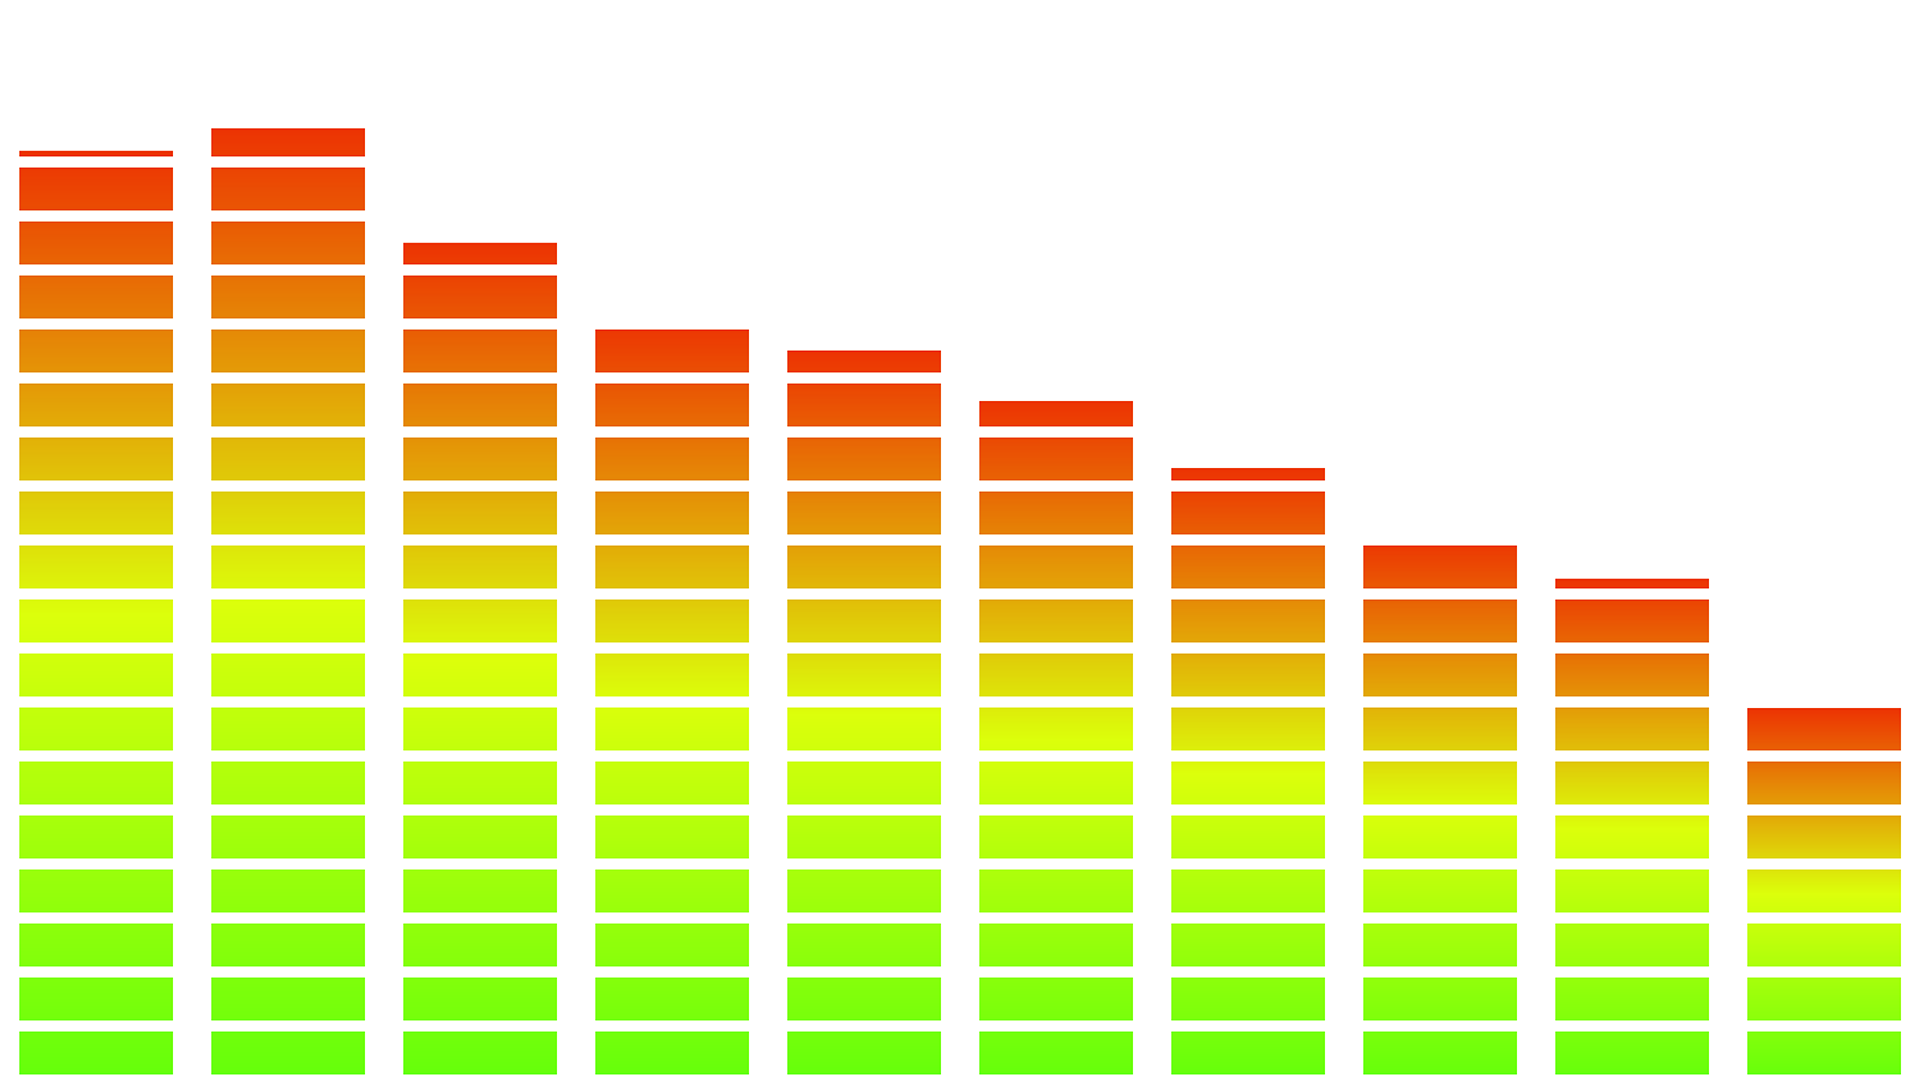
 Spectrum mini-template 1 with white rectangle shape as background |
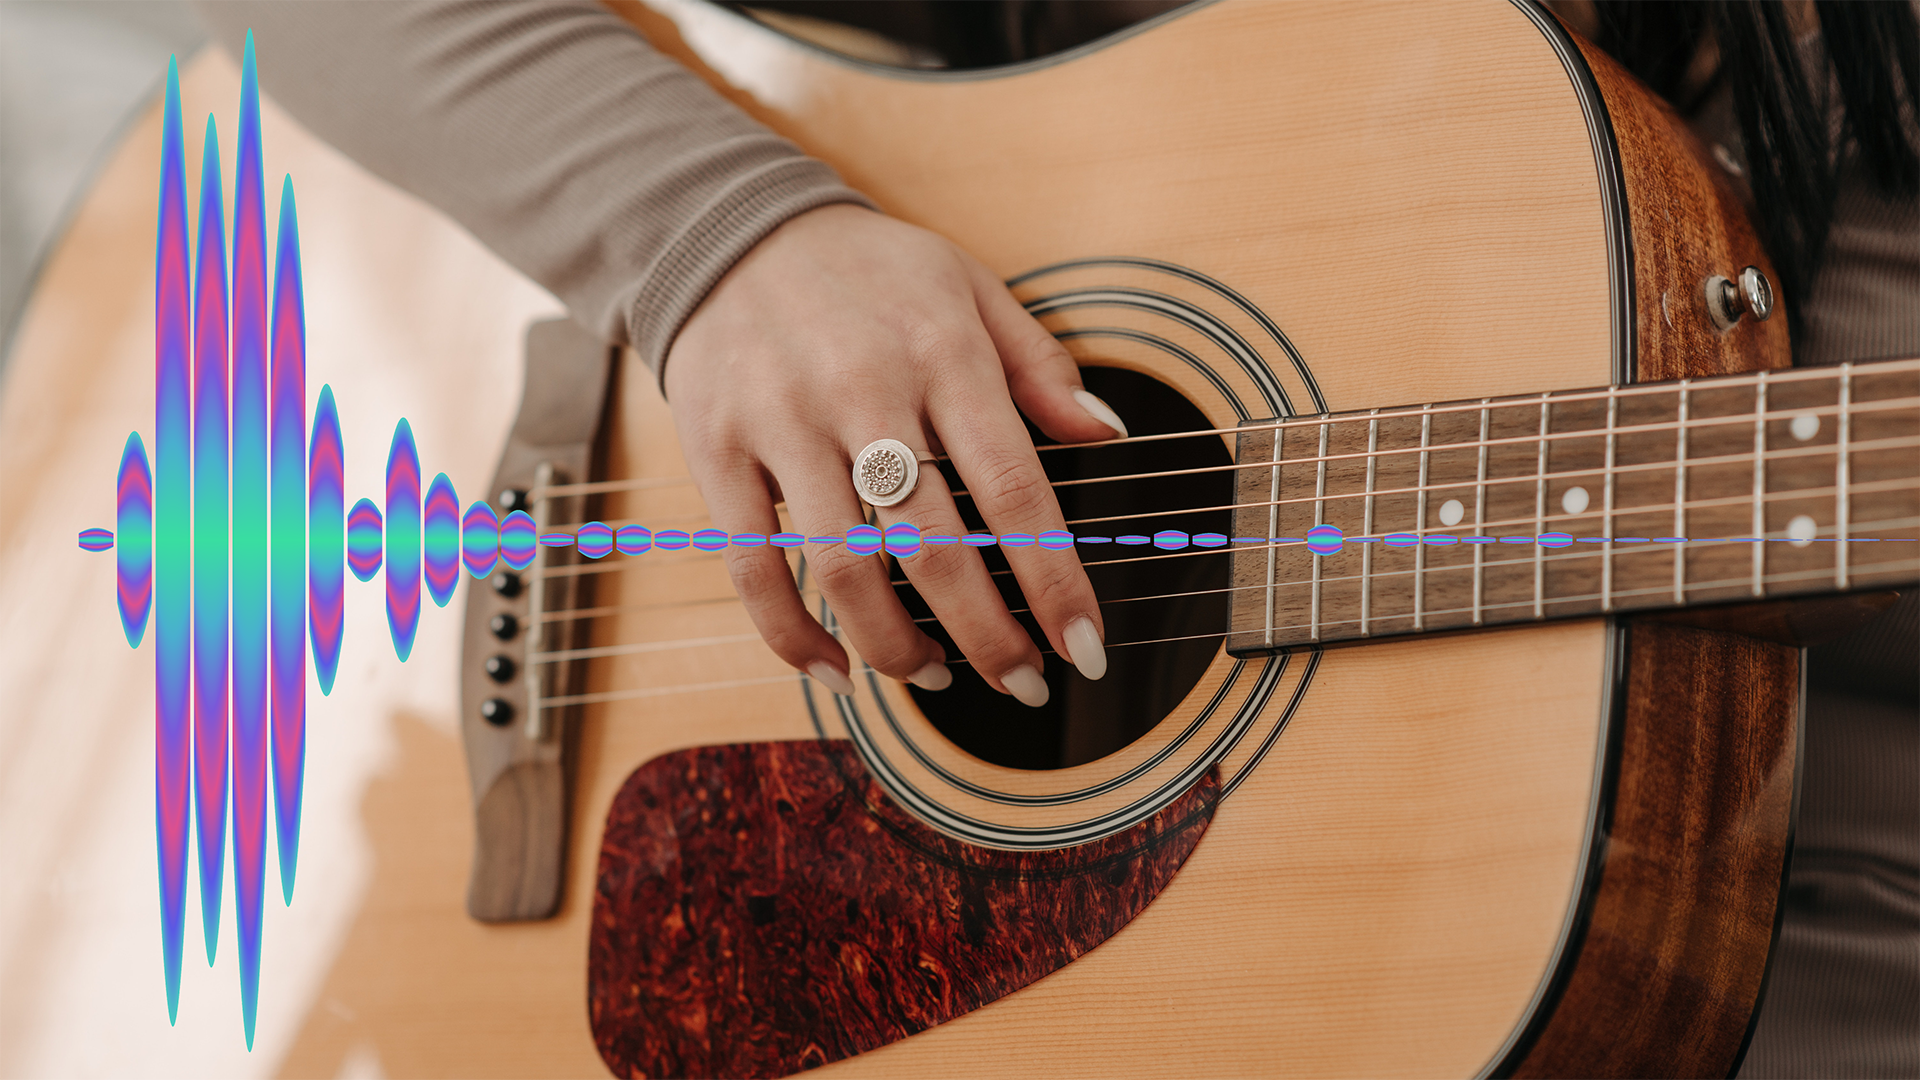
 Spectrum mini-template 10 with photo as background |
|
If there is no sound in the project, the spectrum object can be used, but it will have no effect. |