|
<< Click to Display Table of Contents >> Customize dynamic shape |
  
|
|
<< Click to Display Table of Contents >> Customize dynamic shape |
  
|
1 Insert and scale shape
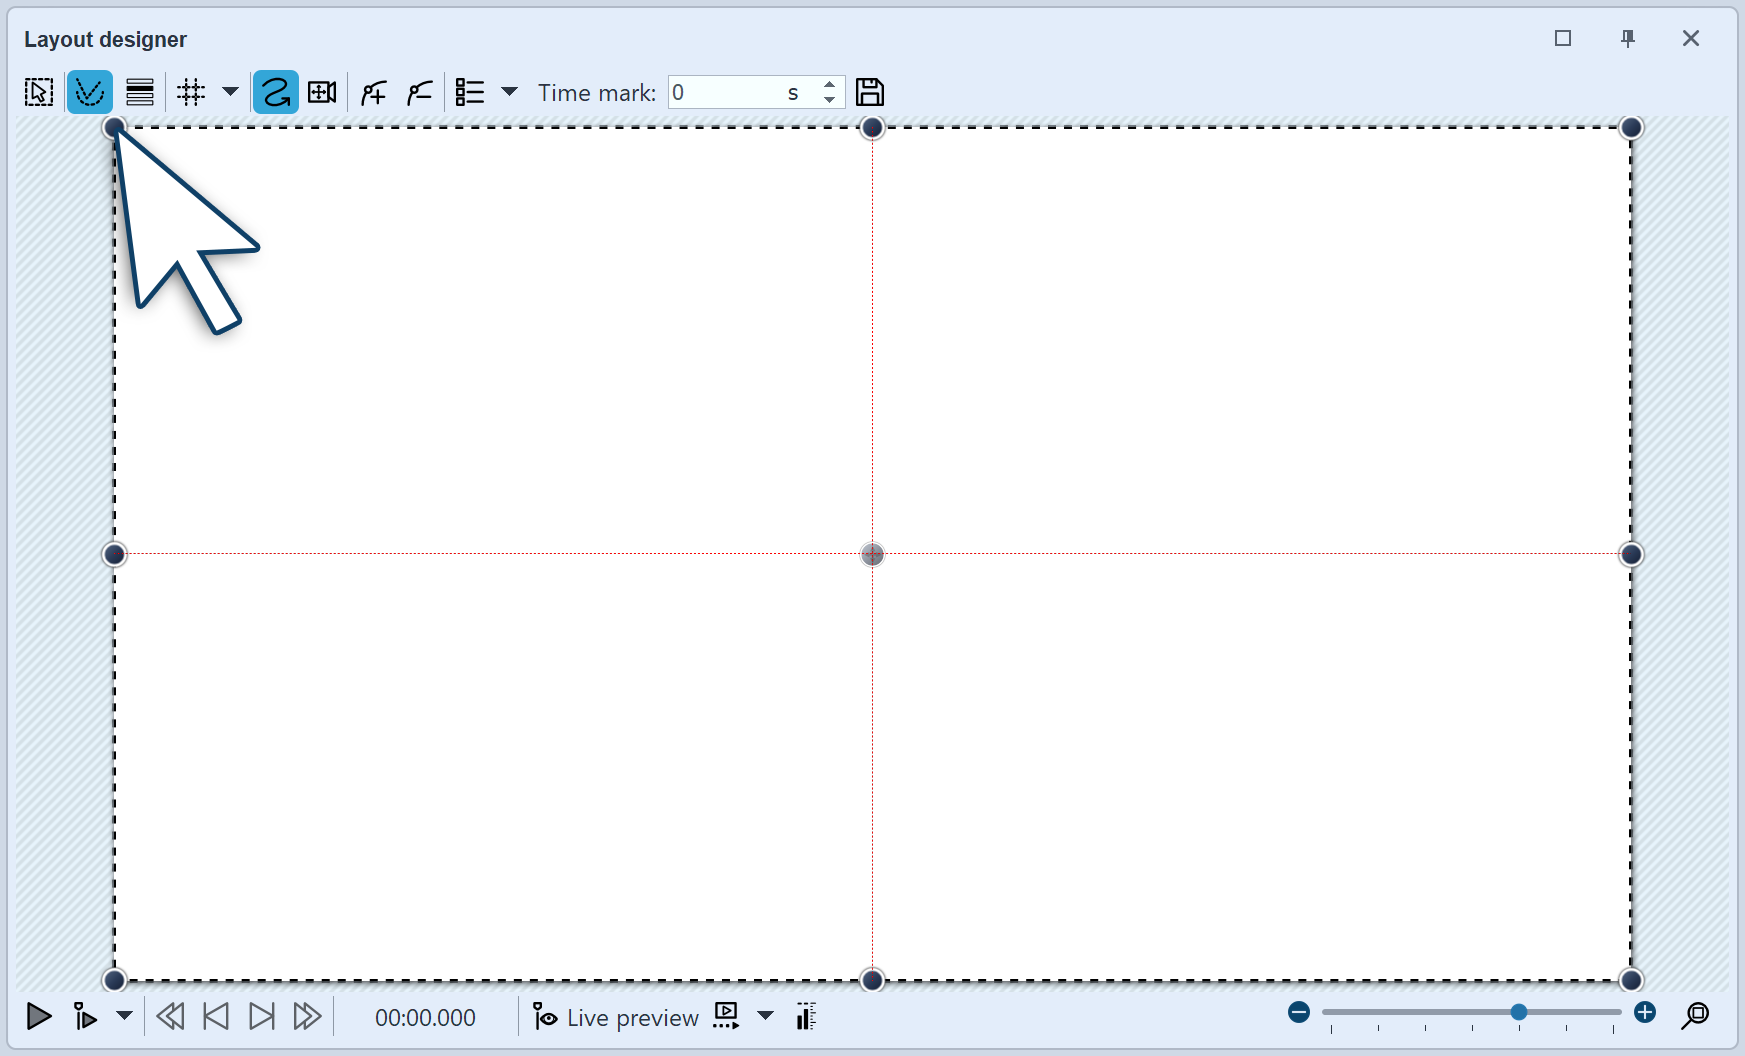
 Rectangle in Layout designer Drag a Dynamic shape from the Toolbox into the Timeline. After the first insertion of the shape, it is white. It is quite large, so most of the time it is necessary to shrink the shape. To do this, use the handle points located at the corners of the object frame. |
2 Settings for shape
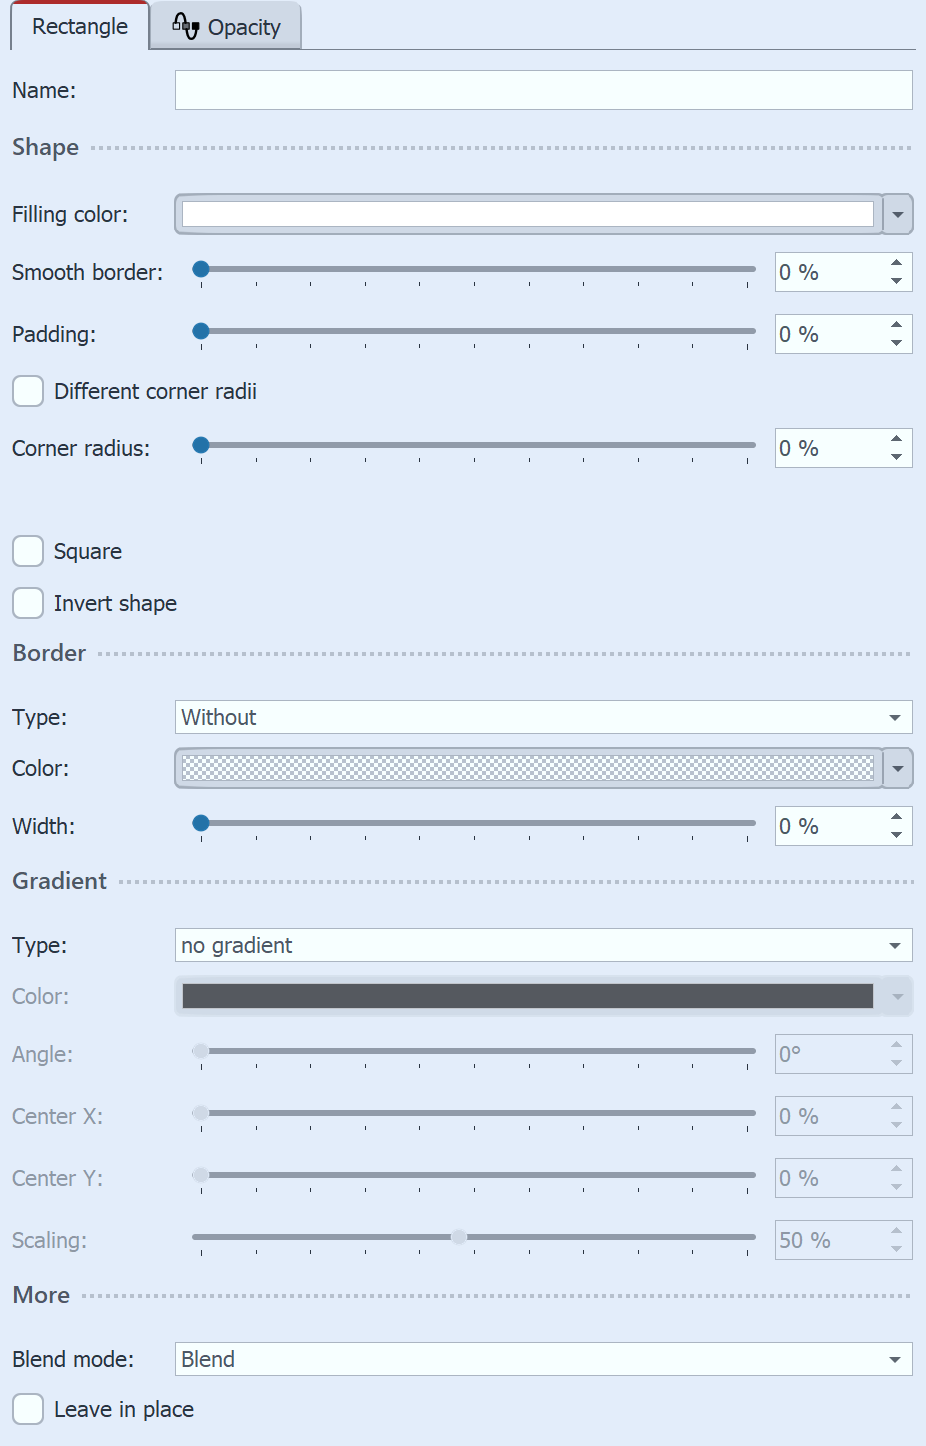
 Rectangle settings In the Properties area you can enter a name for each shape. This is useful if you assign motion paths to the shapes and need a better overview of the shapes in Manual Input. You can set the Color of the shape here. A transparency value (A) can also be assigned in the Color picker. In addition, the shape can have a smooth border. In AquaSoft Stages the softness of the border can change over time if you set this via the curve symbol. Check the Square box to make the rectangle a square. (For the Ellipse shape, you will find the Circle field here). The Addition combine mode adds lighter areas in the shape that are below the shape. |
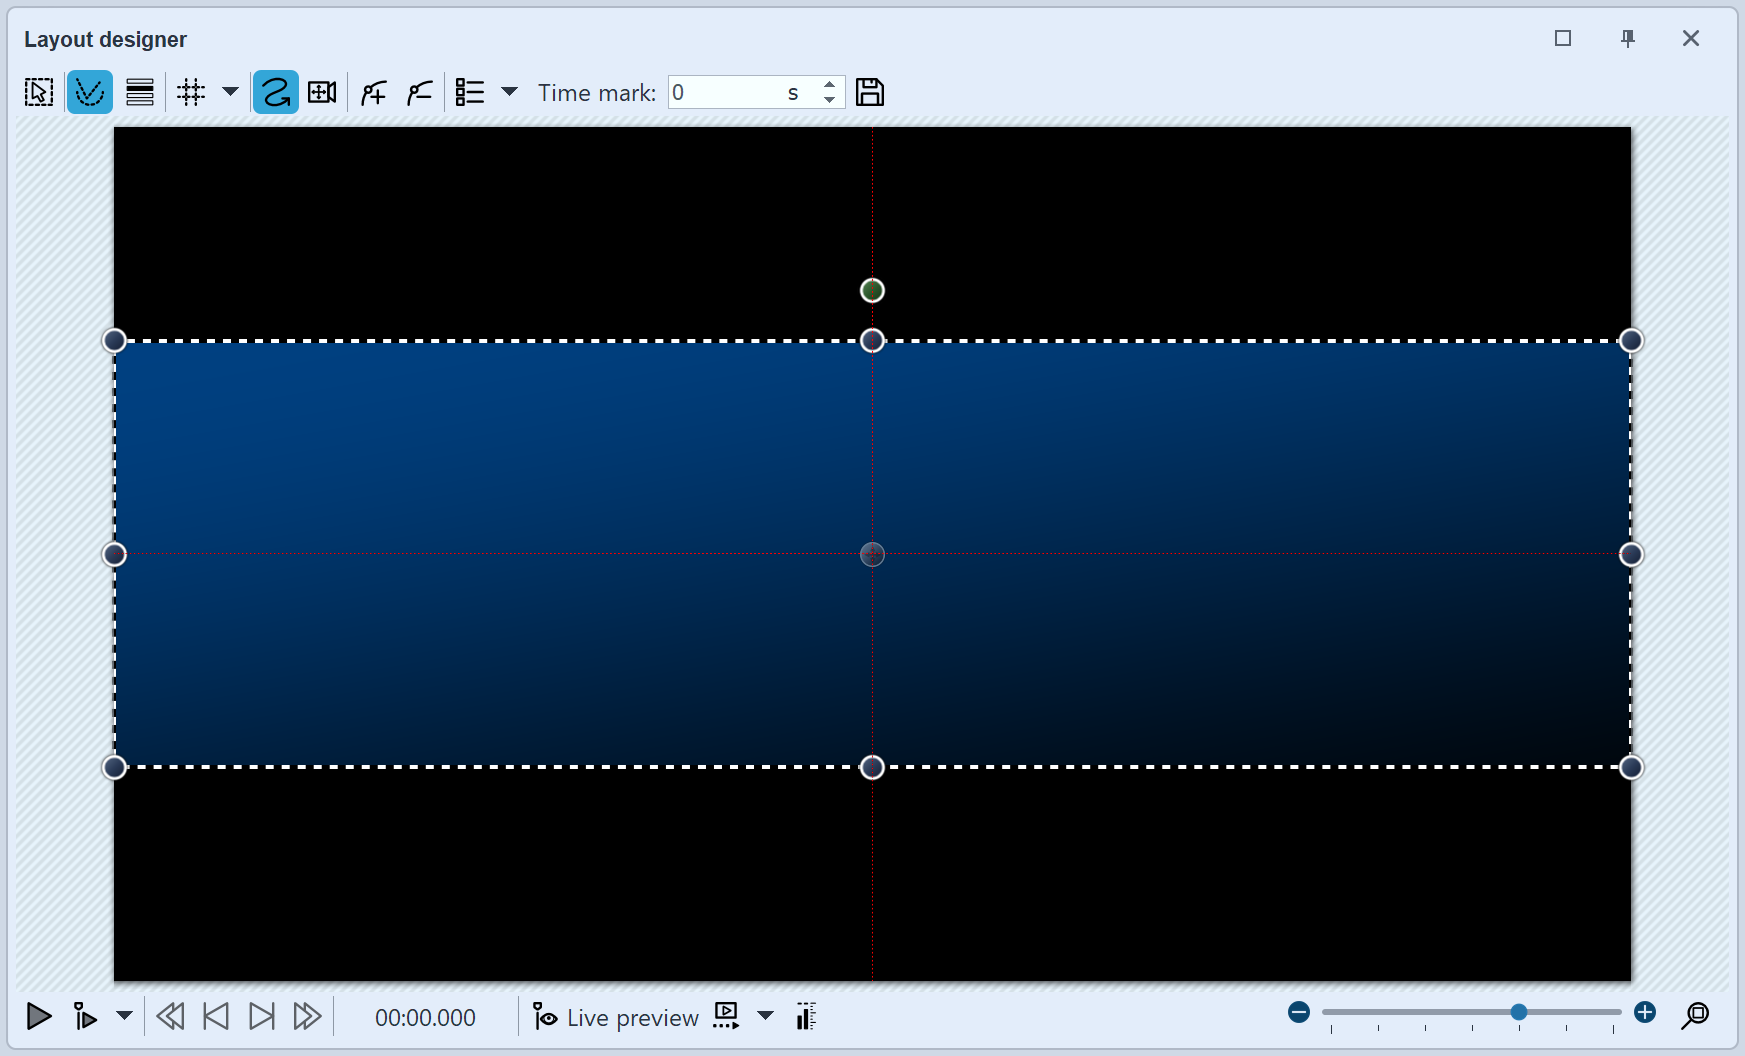
 Rectangle with gradient In the Gradient section you can assign a gradient or transparency gradient to your shape. Leave in place: The object is not hidden after playing. |
|
To use the Dynamic shapes with Fade In/Fade Out, place the shape in a Flexi-Collage, to which you then assign the fade. |
|
Colored shapes are ideal backgrounds for lettering and lower thirds. See the how-to video "Text vor farbigem Hintergrund" for some ideas. |