|
<< Click to Display Table of Contents >> Insert map with the Map Wizard |
  
|
|
<< Click to Display Table of Contents >> Insert map with the Map Wizard |
  
|
 Map from the toolbox Using the Map tool, you can insert a section of a map. Drag the object from the Toolbox to the place in your project where you need the map. |
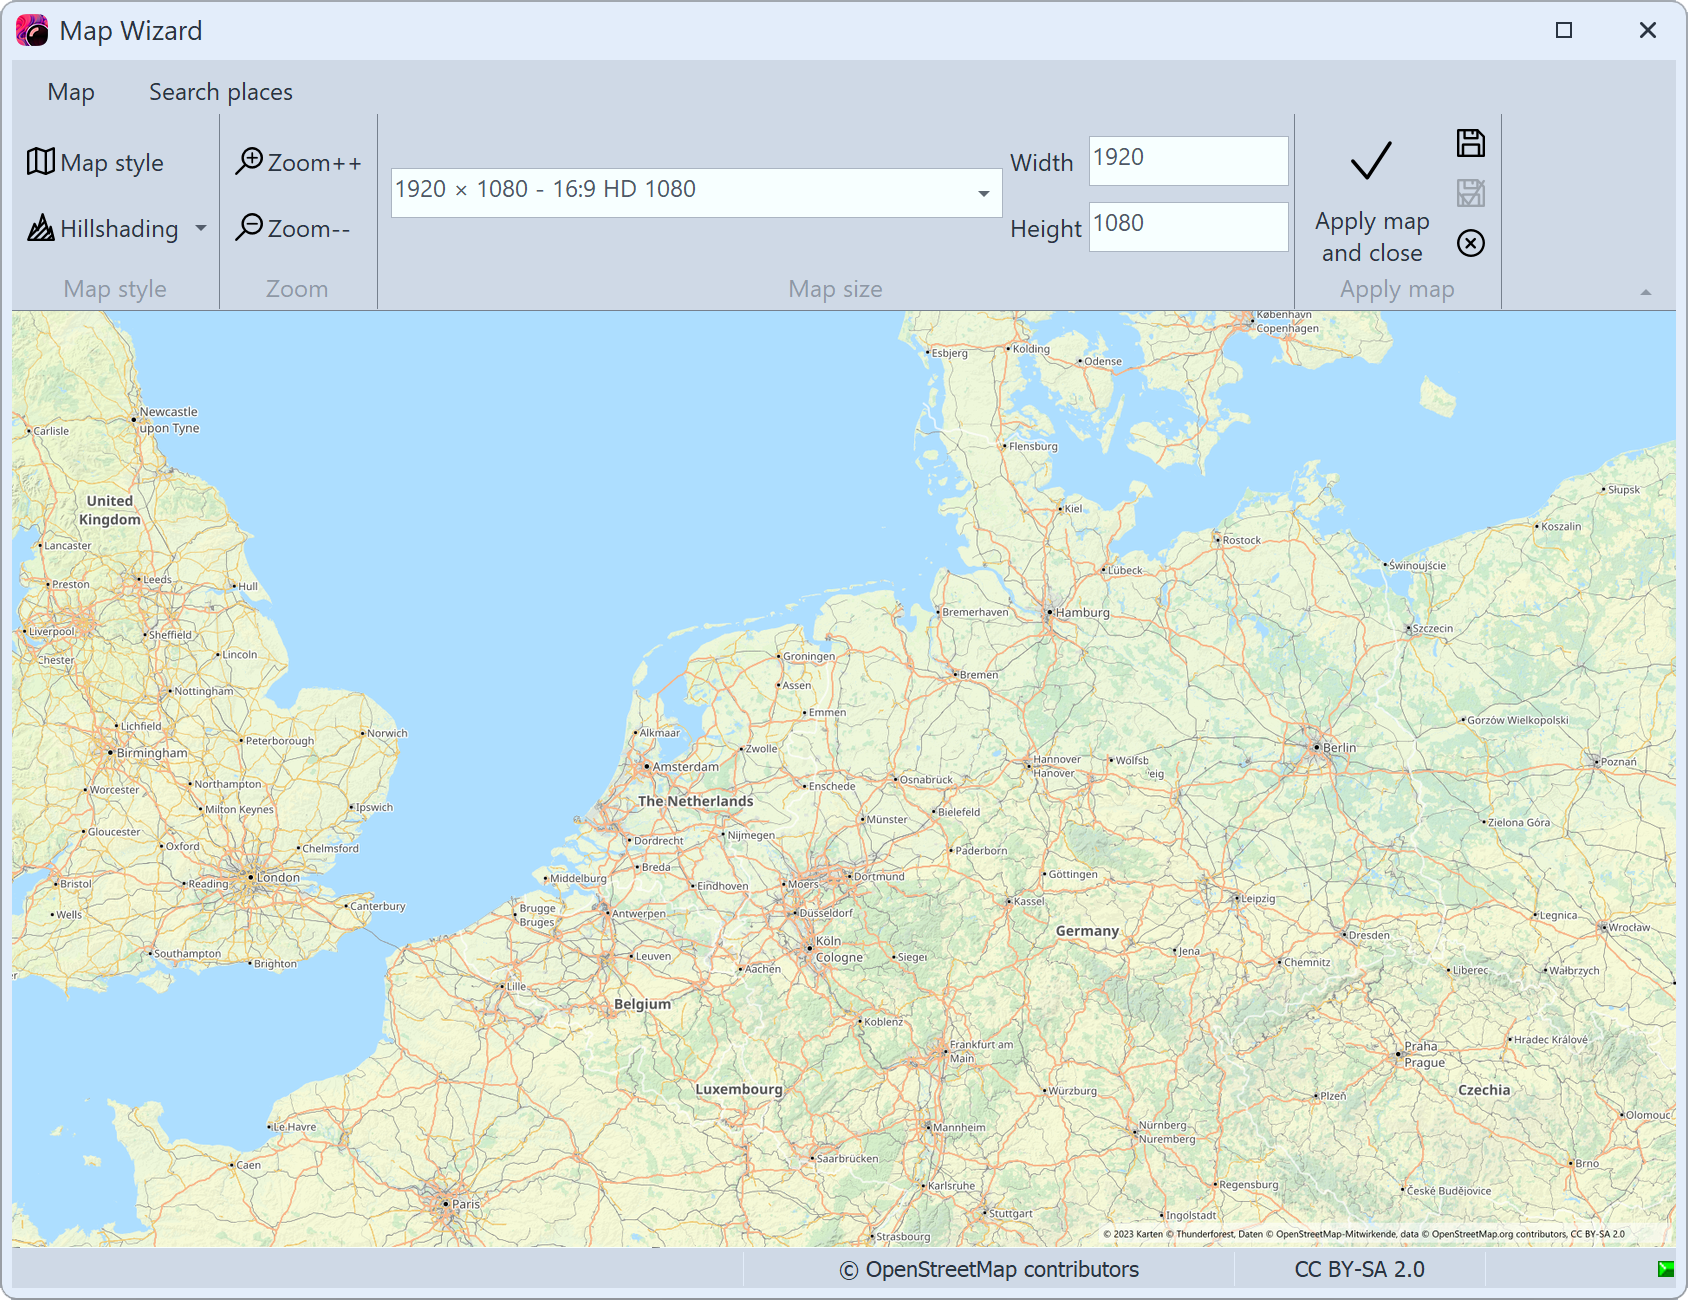
After the object is in the correct position, the Map Wizard opens. Here you see a map section that you can move by dragging it with the mouse.

Map Wizard
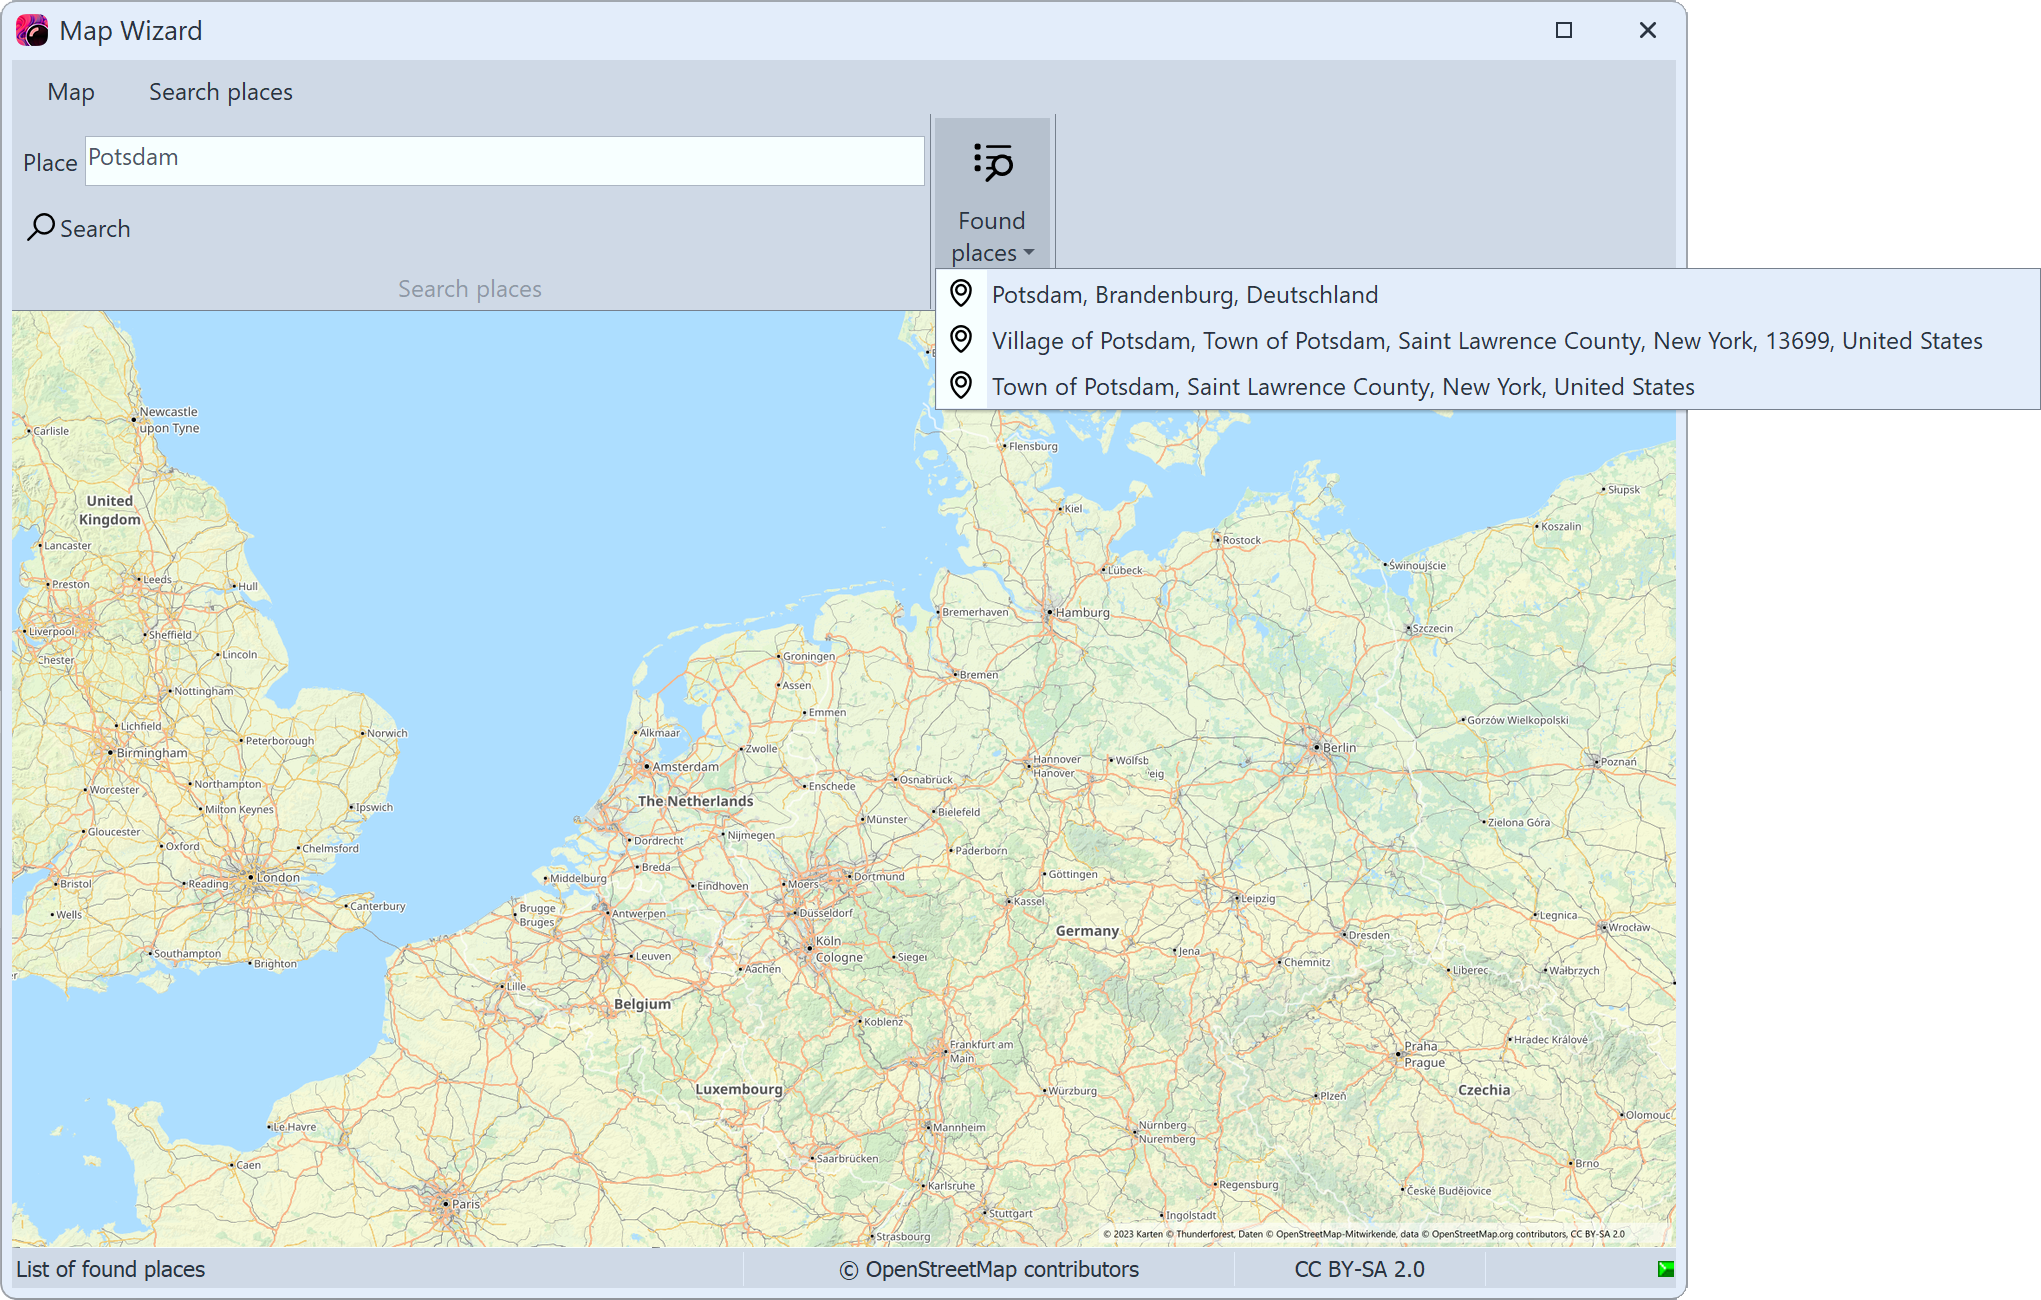
Under the Search places tab, you can search for a specific location. Enter a place or even an address. The found locations will be displayed in a list. Click the matching place in the list.
Then switch back to the Map tab. The selected location is in the center of the map and can be zoomed in or out by clicking on the magnifying glass icons.

Search of a place and search results
3 Customize the appearance of the map

Options in the Map Wizard
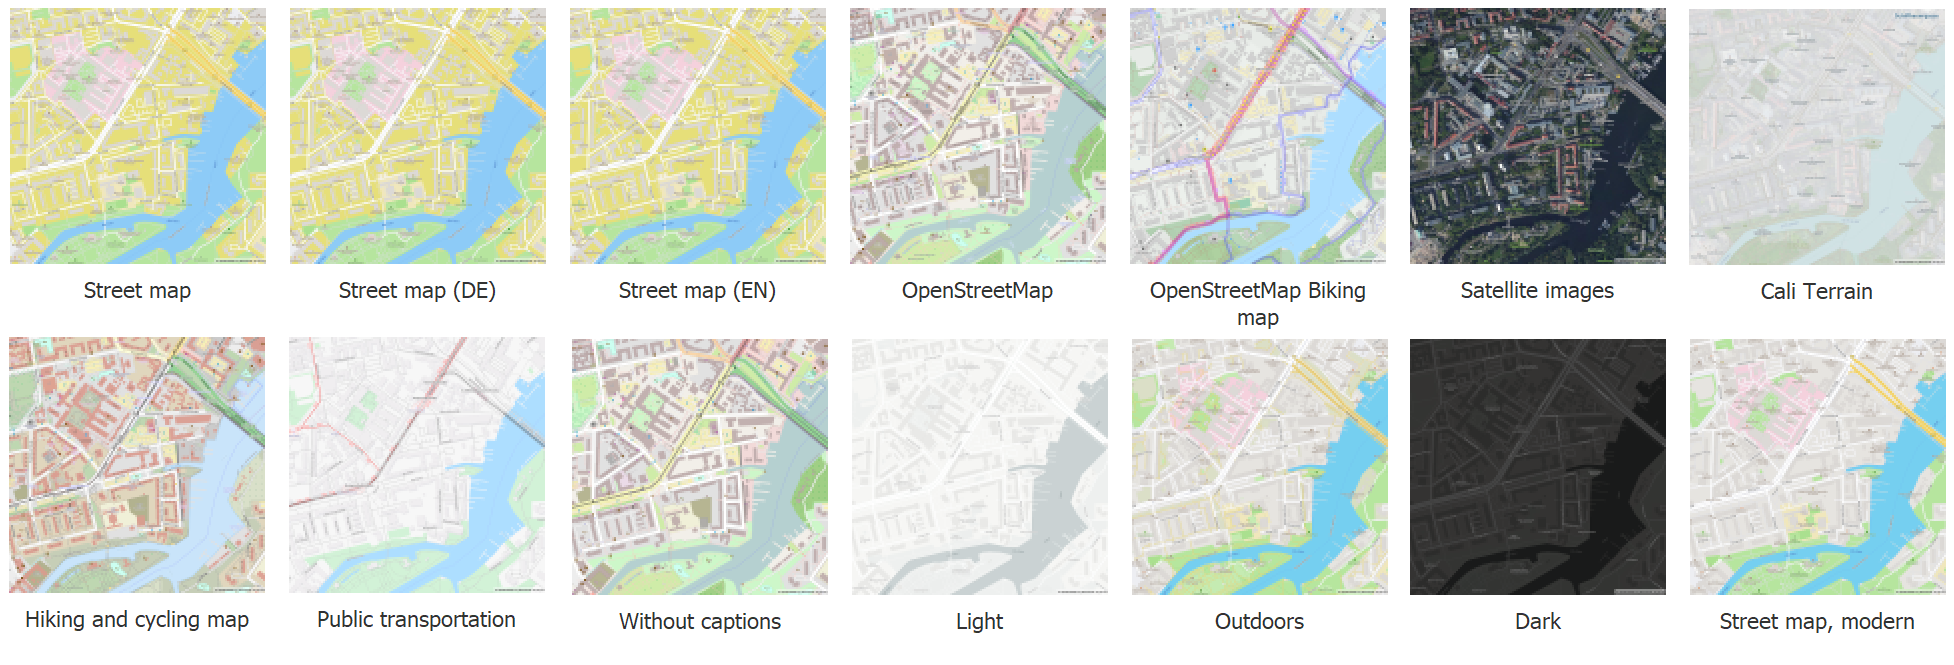
If you want to change the Map style, there are several options under Map style with a preview image to choose from. It is best to try out the individual map styles to find the one that suits you best.

Map styles in Stages
In AquaSoft Photo Vision you can choose from Street map, OpenStreetMap, OpenStreetMap Biking map, Hiking and cycling map, Public transportation, Without captions, Light and Dark. In the AquaSoft Video Vision you can see Street map, OpenStreetMap, OpenStreetMap Biking map, Satellite images, Cali terrain, Hiking and cycling map, Public transportation, Without captions, Light, Outdoors, Dark and Street map, modern. |
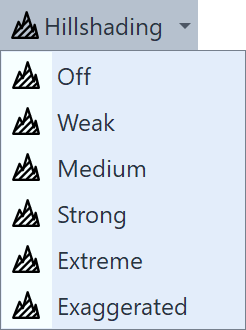
 Insert hill shading You can also customize the Hillshading to your liking. Depending on the region, this shading can make the map look particularly vivid. In the mountains, however, the strong settings can appear exaggerated, whereas in flatter regions the "Exaggerated" setting can also be useful. Try it out. |
Under Map size you can set the resolution of your map. Choose a default resolution from the drop-down menu or enter your own values under Height and Width. Normally, the Full HD resolution is useful here. However, if you want to fly over the map using a camera pan, higher resolutions or other aspect ratios are useful.
With the check mark (Apply map and close) you confirm the selection and insert the current map image into the project.
|
The map section can still be changed after insertion. To do this, right-click on the image in the Timeline or in the image list. Select Edit map there. The map wizard opens and you can select a new section. The map graphics are saved in the directory where the ads file is also saved. If the ads file has not yet been saved, the map will be stored under "My Pictures" in a folder called "SlideShowMaps". |