|
<< Click to Display Table of Contents >> The Layout designer |
  
|
|
<< Click to Display Table of Contents >> The Layout designer |
  
|
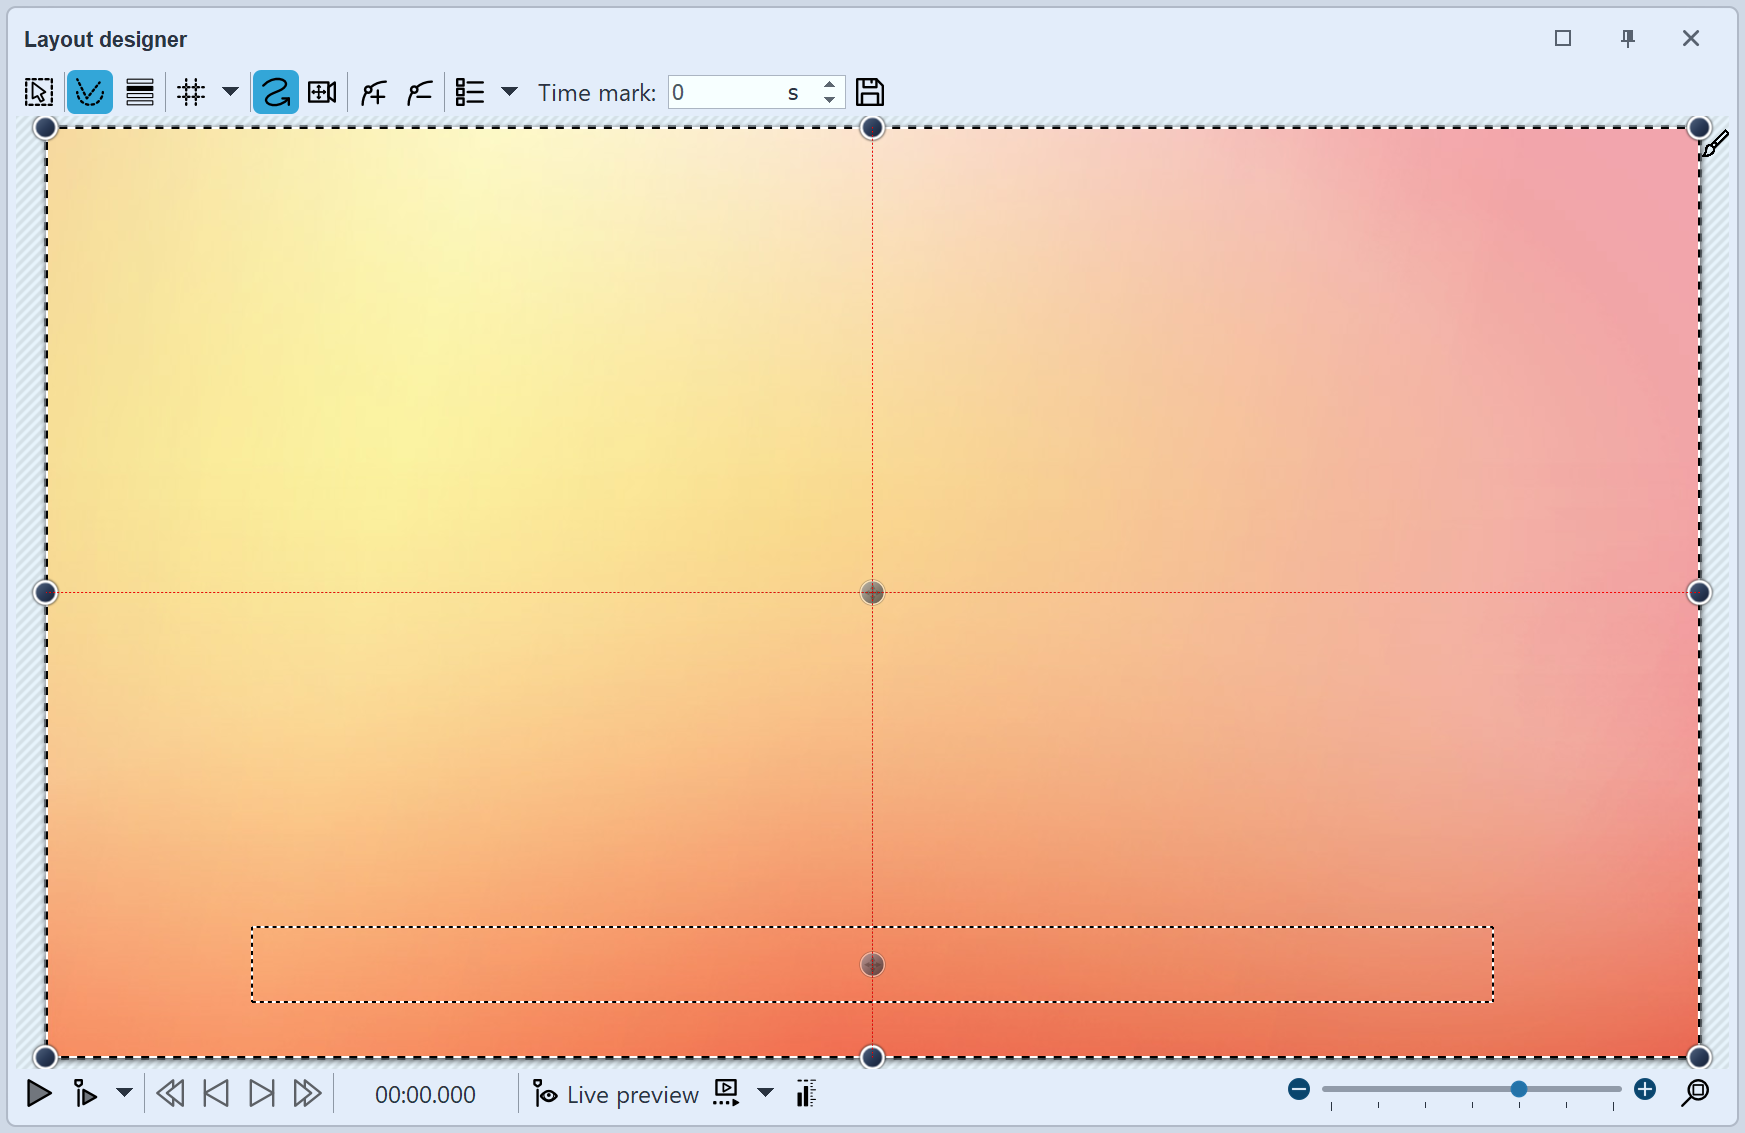
In the Layout designer you can see the preview of your presentation. Here you can see how images and texts will be rendered on the screen. The Layout designer is your workspace for placing objects. Move images, videos, text, and more where you want them, and use the handles on the objects to zoom in or out. In the Layout designer, you also set the flow of Motion paths and Camera pans.

Preview in Layout designer
The following icons are available for viewing in the Layout designer:
|
Selection frames can be dragged across the entire Layout designer area to select multiple objects. |
|
Displays paths and path points of all selected objects. |
|
Displays objects that would obscure the selected one. |
|
Selection of the grid to which the images and objects can be aligned. |
At the bottom of the Layout designer you will find buttons to control the playback behavior.

|
Plays the presentation from beginning to end. |
|
Plays the presentation from the point where the Playhead is located or from the marked object (switchable). |
|
Activates the Live preview in the Layout designer. |
|
STAGES Preview the motion path directly in the Layout designer and edit the motion path as it runs. |
|
VIDEO VISION STAGES Select whether proxy videos should be shown in the Layout designer during design and/or playback . |
|
Displays the volume level during playback in the Layout designer. |
|
Restores the normal view/default zoom in the Layout designer window. The slider to the left of it zooms in and out of the Layout designer view. |
When you play the presentation in the Layout designer, the bar changes.

|
Pauses the playback. |
|
Ends the playback. |
|
Jumps to the previous image when Player is paused. |
|
Jumps to the next frame. |
|
Displays the timecode from the position of the playhead in the Timeline. |
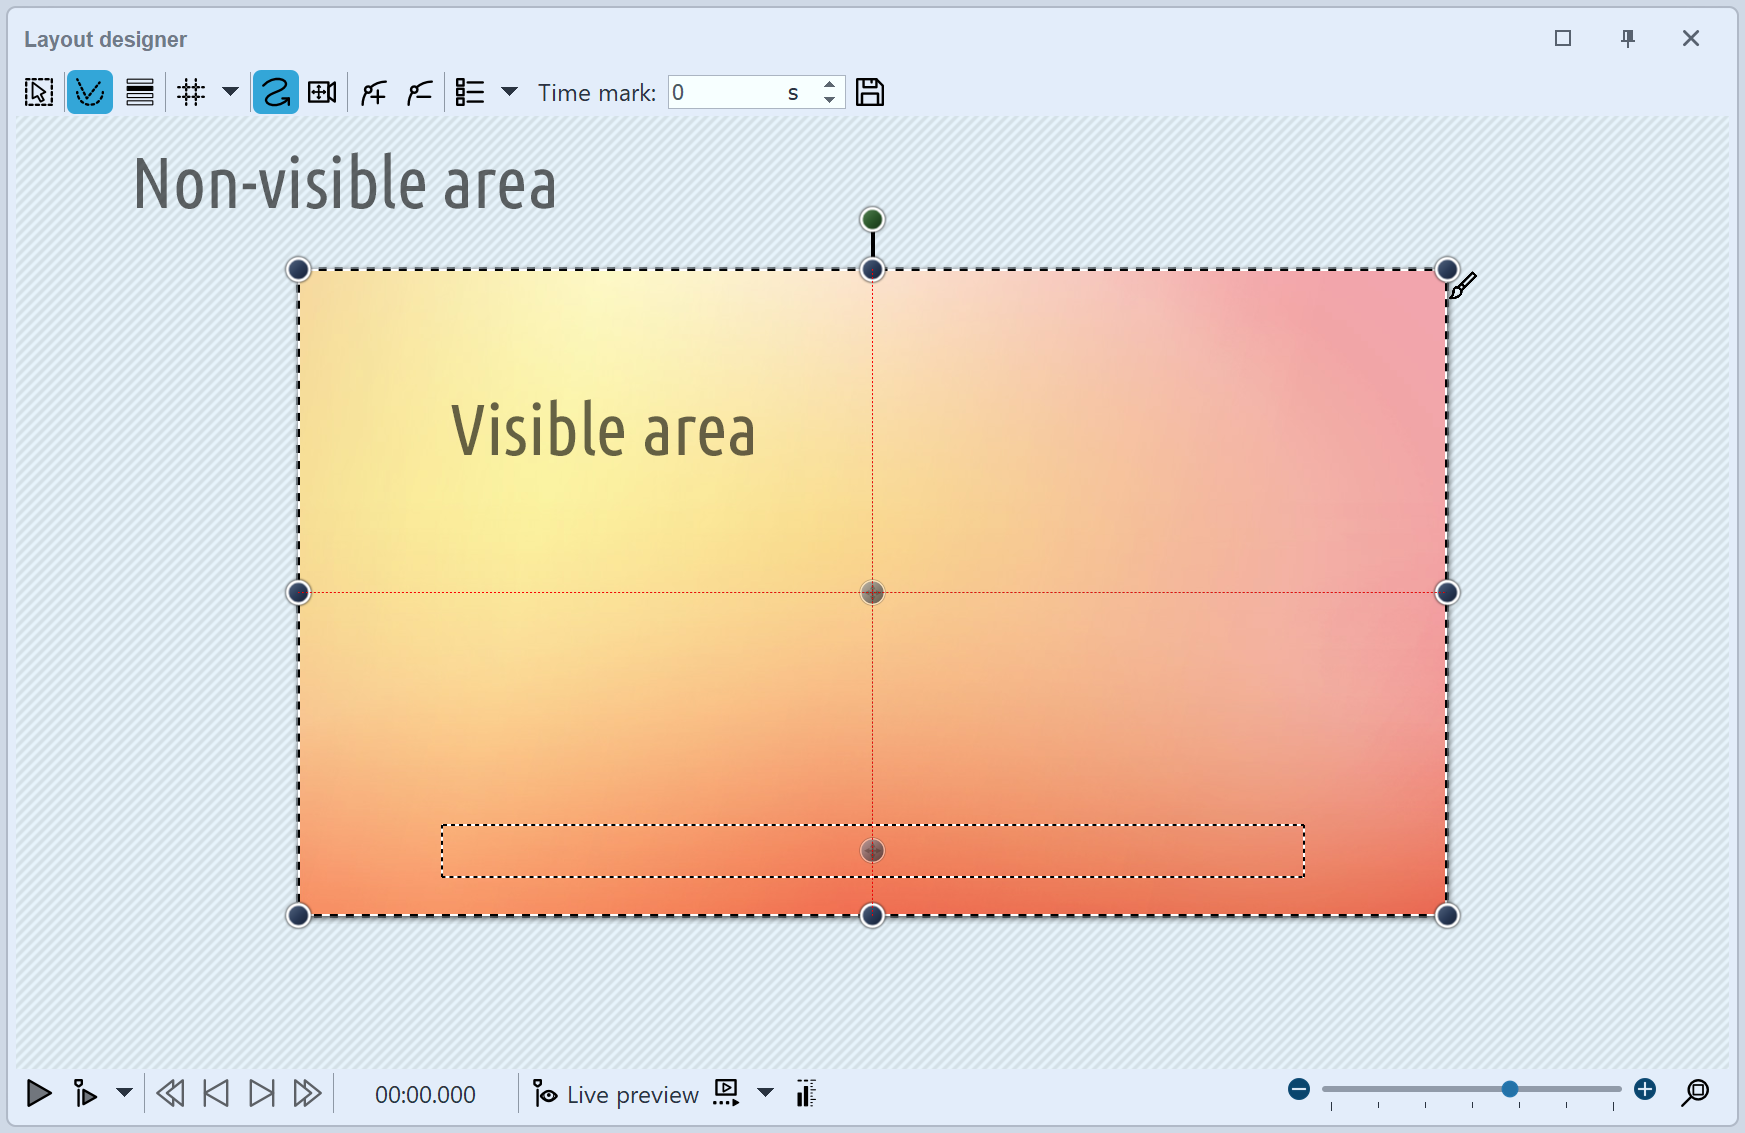
 Areas in the Layout designer There are two areas in the Layout designer. The visible area contains all the elements that will later be visible when the presentation is played. The elements placed in the non-visible area are not visible when the presentation is played. The non-visible area can be used to lead motion paths beyond the edge of the image. This way, you can have elements of your project fly in or out of the visible area. Movements can therefore already take place outside the visible area and then merge into the visible area. For example, you can have images and text move across the screen from left to right. Use the slider at the bottom right of the Layout designer to zoom in and out of the visible area. |
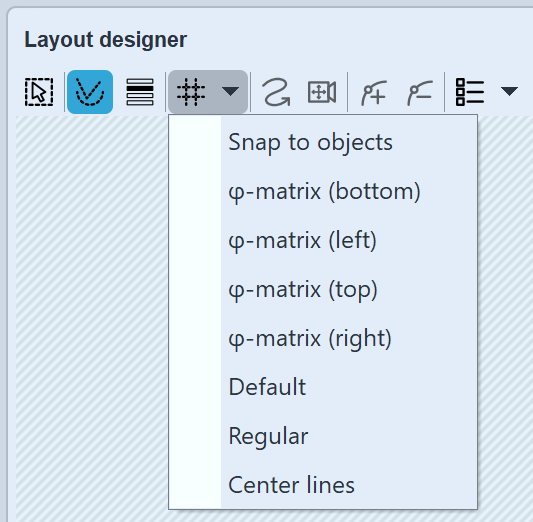
In the Layout designer you can show a grid. There are several options for this:
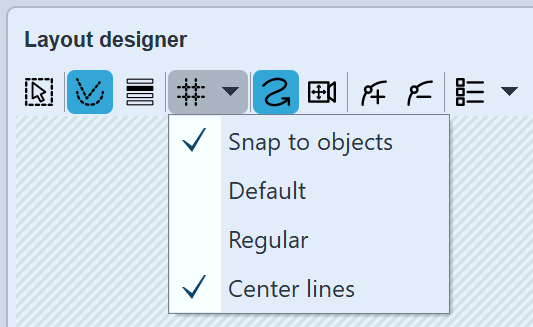
 Grid options (Stages)  Grid options (SlideShow) |
Snap to objects |
Objects, such as images or text, orient themselves to the objects available in the Layout designer and snap to them. |
Default |
The grid is divided to match the aspect ratio. |
Regelmäßig |
The boxes of the grid have the same height and width. |
Center lines |
A horizontal and a vertical center line are displayed. |
Phi-Matrix |
Displays lines for the golden section. |
All grids can be combined with each other. To do this, select the various grid options. A check mark will then appear in front of each active option. With another click you can deactivate the option again.
You can reduce and enlarge the view in the Layout designer with the -/+ slider, but also with the combination of the Ctrl key and turning the mouse wheel. Furthermore, when you move the mouse over the Layout designer, a horizontal and vertical scroll bar appears at the bottom and right, respectively.