|
<< Click to Display Table of Contents >> Insert sounds |
  
|
|
<< Click to Display Table of Contents >> Insert sounds |
  
|
 Sound object In the Toolbox you will find the Sound object under Objects. You can use the Sound object to insert music, noises, sounds, comments, etc. In AquaSoft Photo Vision the Sound object is located in the Toolbox under Objects in the Default section, in AquaSoft Video Vision and AquaSoft Stages in the Audio section. |
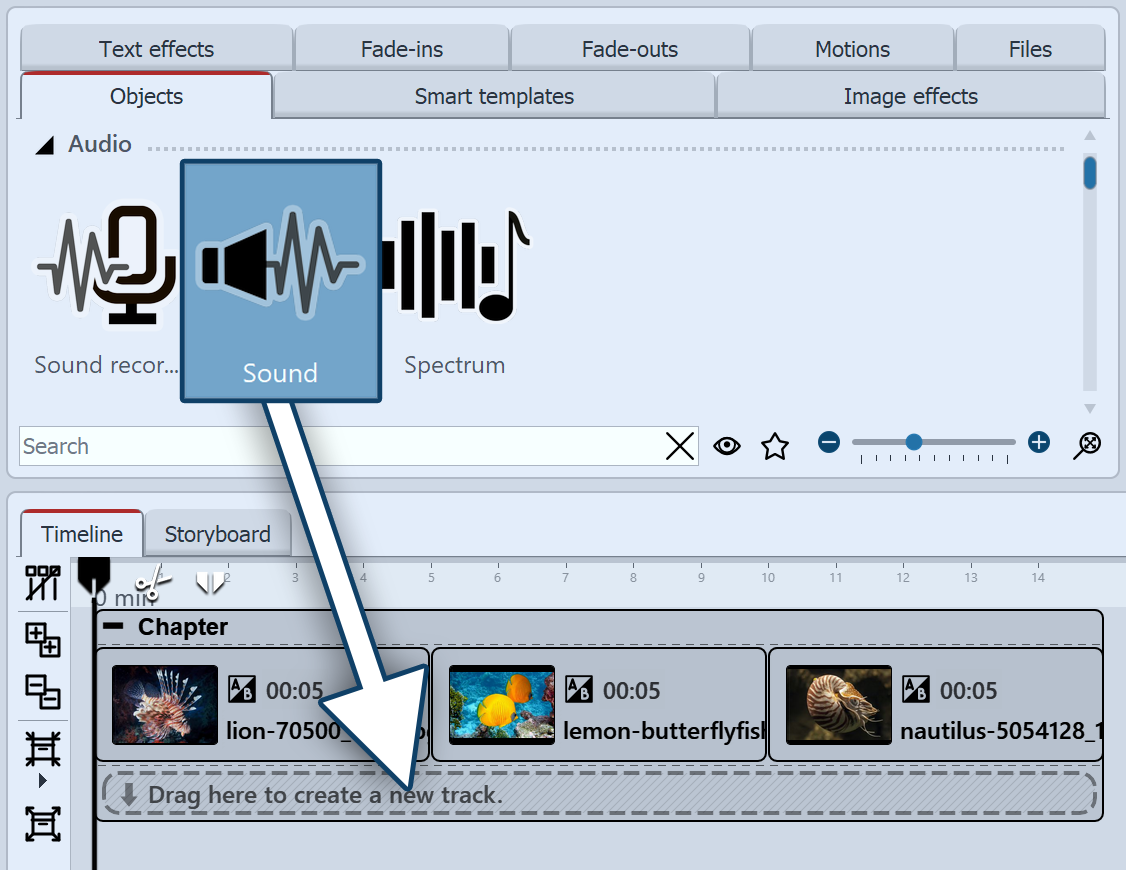
You can insert the Sound object into your project by dragging it to the desired location in the Timeline while holding down the mouse button.
You can also insert the Sound object into the project by double-clicking on it.
You can set the volume for a sound individually. You can find out how to do this in the chapter Individual volume control.
The Sound object is used, for example, when a piece of music or a commentary is to be played for a fixed number of frames. |
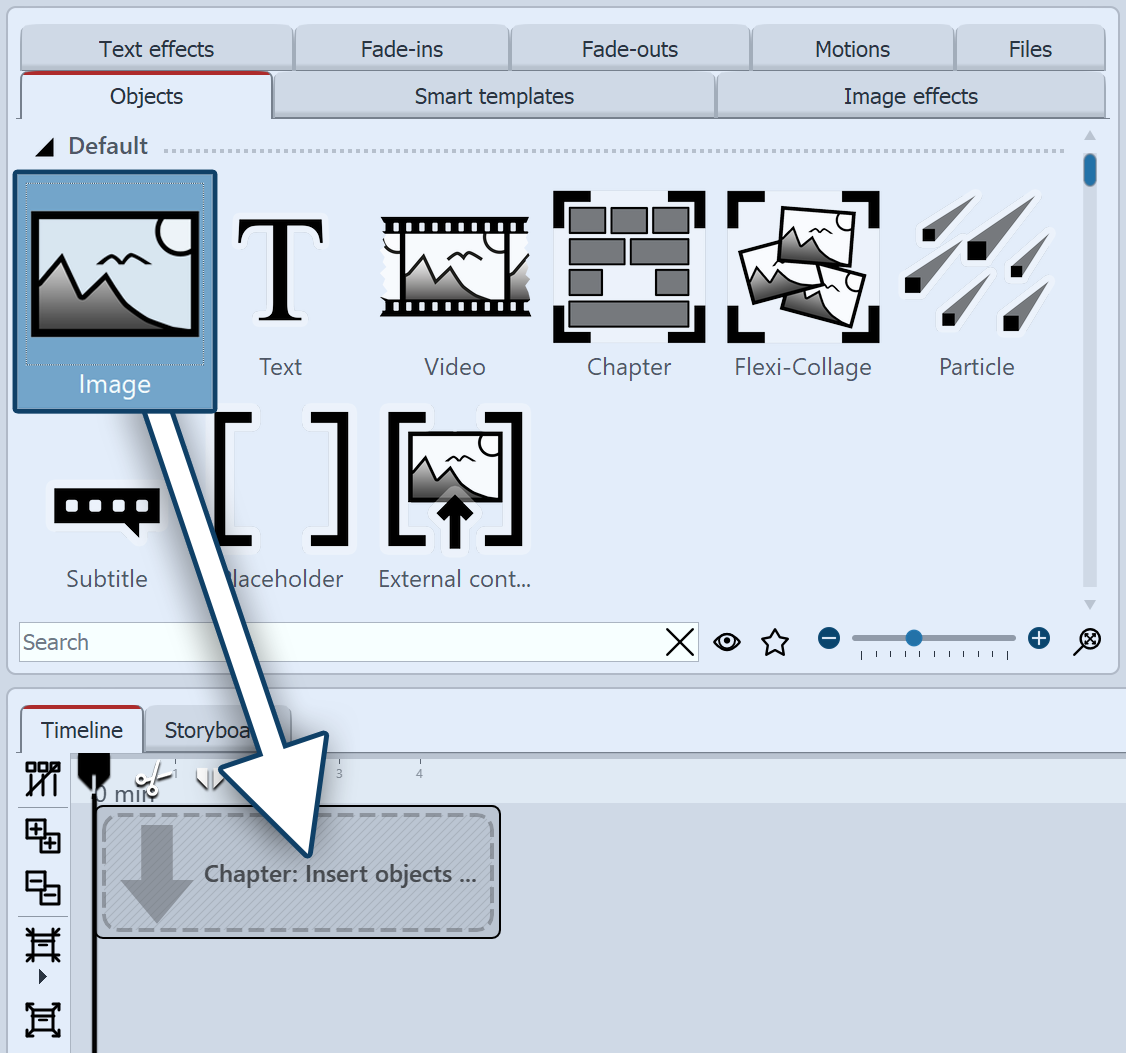
 Use the Start Chapter object or drag a Chapter object from the Toolbox to the Timeline. Drag an Image object onto the empty Chapter object. Then select multiple images or drag an image object into the Chapter object for each new image. The images should be next to each other in the Timeline. |
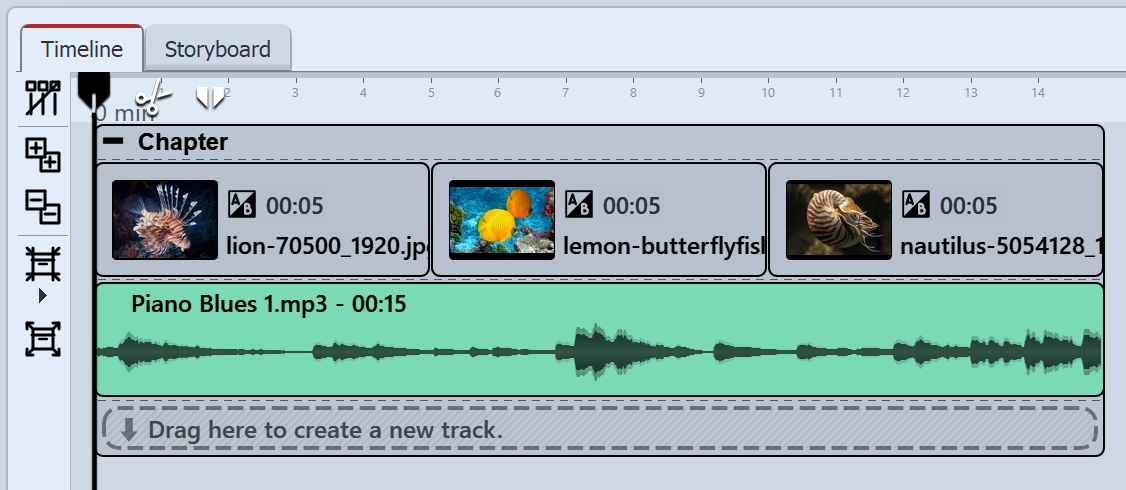
 Now drag the Sound object into the track under the image group and select a sound file from your computer. In this way, you create a new sound track. |
 Sound inserted under images 1.3 Adjust sound length If the sound file is too long, you can adjust the duration of the Sound object in the Properties area under Duration. Another option is to drag on the right edge of the Sound object with the mouse button pressed (the mouse pointer becomes an arrow with two tips) and thus adjust its length. Sound objects can also be cut with the Playhead, just like videos. |
You can record your own sound commentary with the help of the Sound recording object or via the Sound Wizard. See the Sound Wizard chapter to learn how to record a commentary.