|
<< Click to Display Table of Contents >> Working with keyframes |
  
|
|
<< Click to Display Table of Contents >> Working with keyframes |
  
|
1 What can you use keyframes for? STAGES
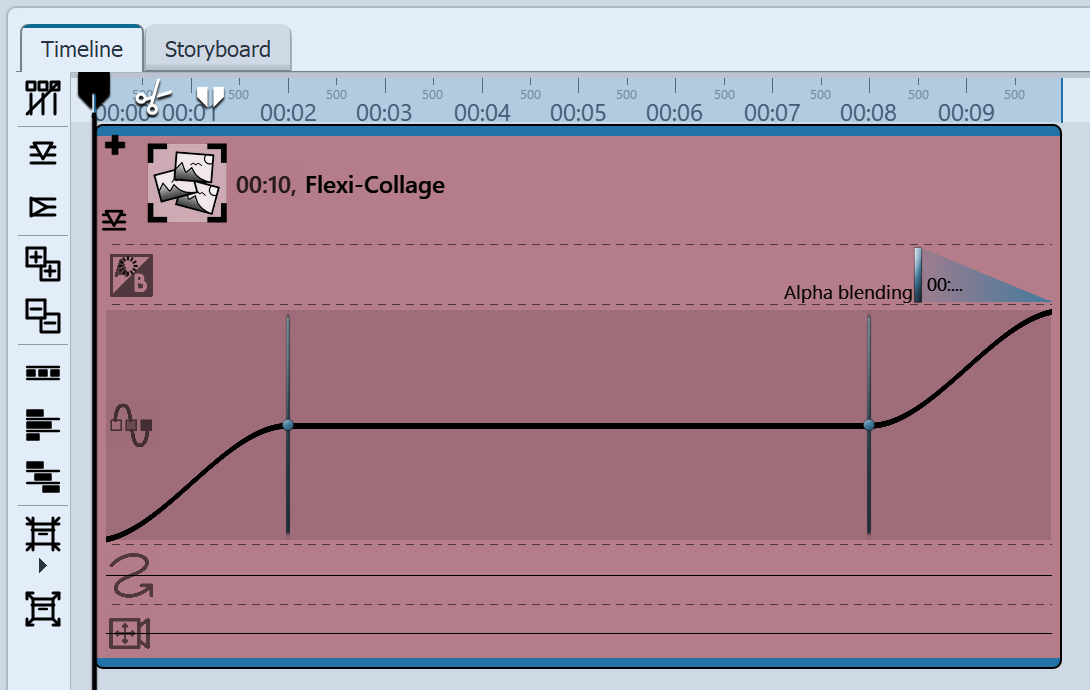
 For each animation, the object contains multiple keyframe tracks In Stages, you can control the transparency, fade-in and fade-out, camera pan, motion path, and text fade-in in the Timeline via keyframes, among other things. This makes it easier for you to time the effects with each other. If you are working with music or sound, the effects can be precisely matched to the sound using the keyframe track, but the effects can also be better matched to each other using the keyframes. The values that lie between two keyframes are automatically generated by Stages. This allows you to control a transparency gradient, motion, or crossfade entirely using keyframes. |
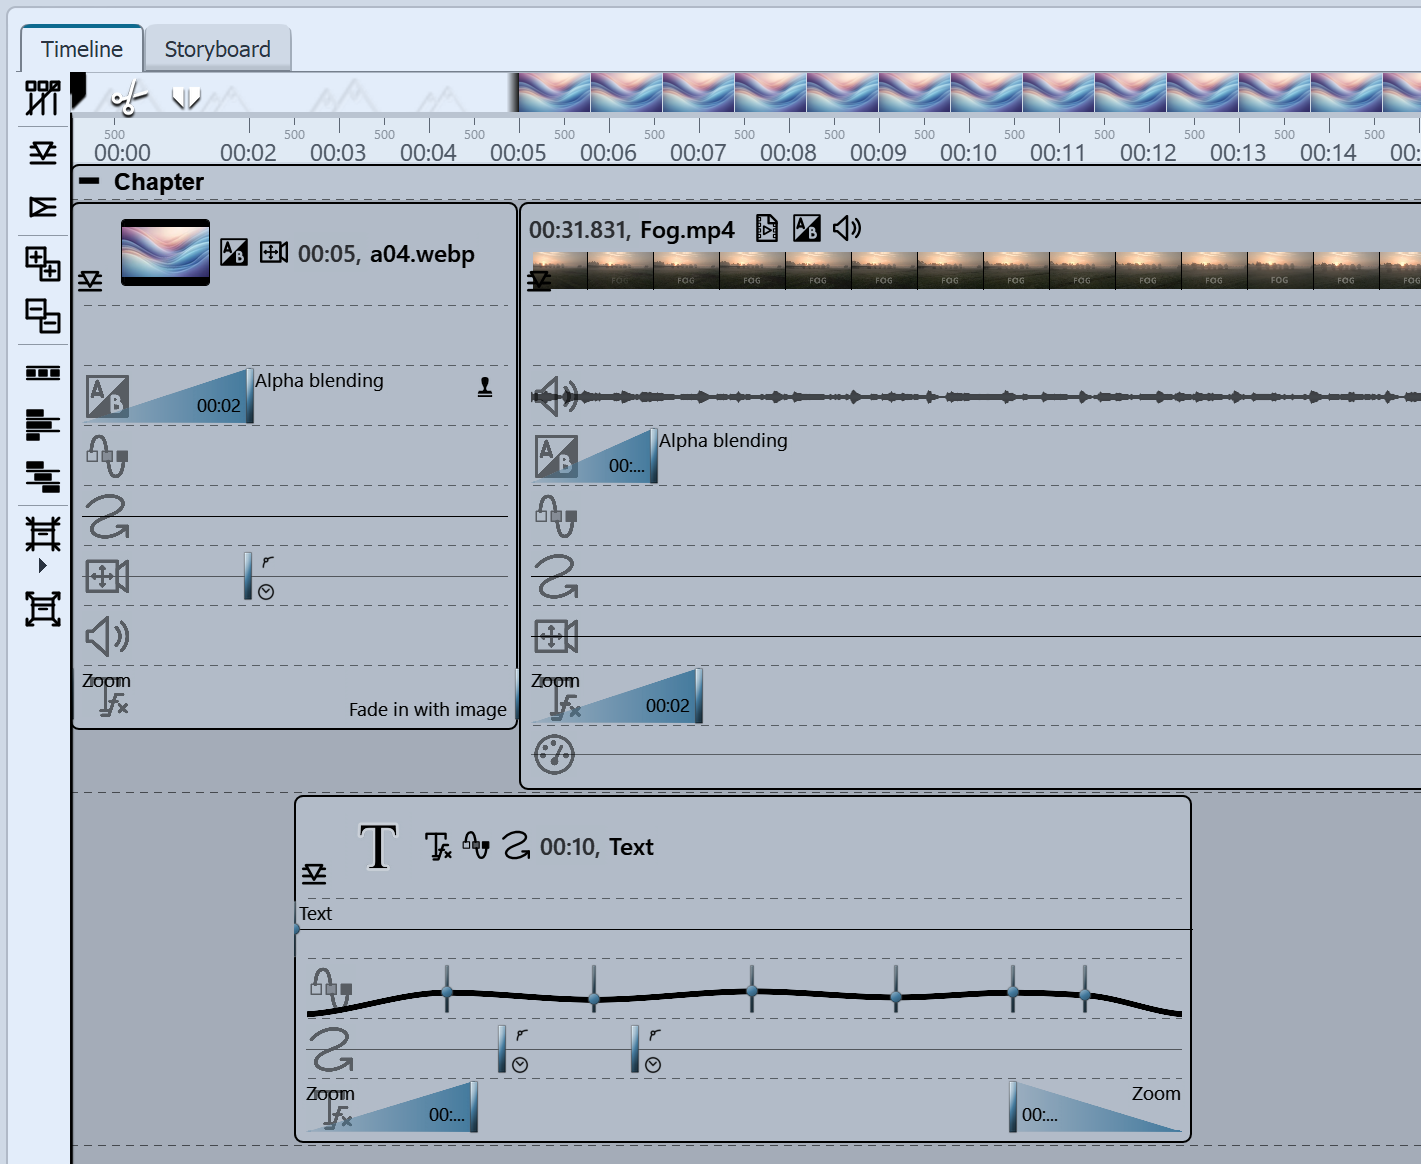
Each object in the Timeline has keyframe tracks that can be used to control various effects.
 Expand keyframe tracks The keyframe track expand and collapse icon is located on each individual object. If you want to save space in the Timeline and do not want to display each individual keyframe track, simply leave the others collapsed. Then only use the button for expanding the keyframe track that is located on the respective object. |
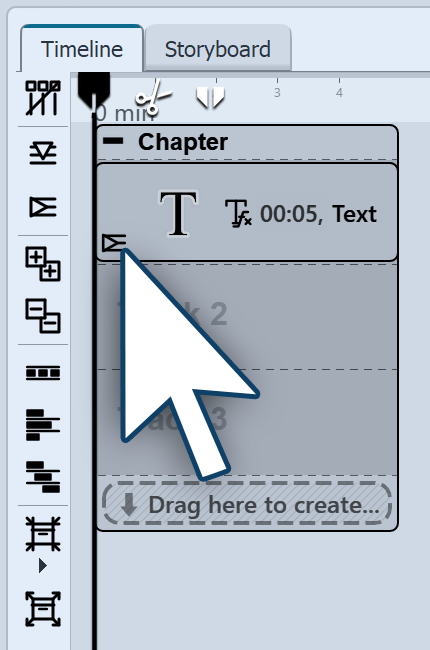
On the left edge of the Timeline there are ten small buttons that make it easier for you to work with the tracks and the keyframes. You can use them to expand and collapse all tracks at once, show or hide all keyframe tracks, and decide how to arrange objects. To learn more, see Symbols in the Timeline.
 Opened keyframe tracks First, expand the keyframe tracks of the object. Depending on the type of object, different keyframe tracks are available. You can see which effect or property can be set in each track by the icons at the beginning of each keyframe track. If you want to edit the keyframes in a specific track, first click in the respective track. This is then highlighted by a slight enlargement. Then click anywhere within that track to create a keyframe. This keyframe can create a new motion mark in the track for the camera pan, whose properties you can specify in more detail in the Layout designer, for example. A keyframe in the transparency track creates a new point in the transparency curve. You can already see this curve with its ups and downs directly in the keyframe track. |
When you expand the Keyframe tracks, you see a separate icon at the beginning of each track. The icon indicates which effect you are affecting with the respective keyframe track.
|
Duration and type of fade-in or fade-out. |
|
Duration and modulation of opacity (transparency curve). |
|
Time interval between the marks of a motion path. |
|
Time interval between the marks of a camera pan. |
|
Time course of the change in volume. |
|
Duration and type of text effect. |
|
Playback speed of a video. |
|
Text or image with property "Leave in place (do not hide)". |
|
The videos "Was sind Keyframes und wozu nutze ich sie?" and "Keyframes, Kurven und Effekte" provide a detailed introduction. |