|
<< Click to Display Table of Contents >> Functions in the Image editor |
  
|
|
<< Click to Display Table of Contents >> Functions in the Image editor |
  
|
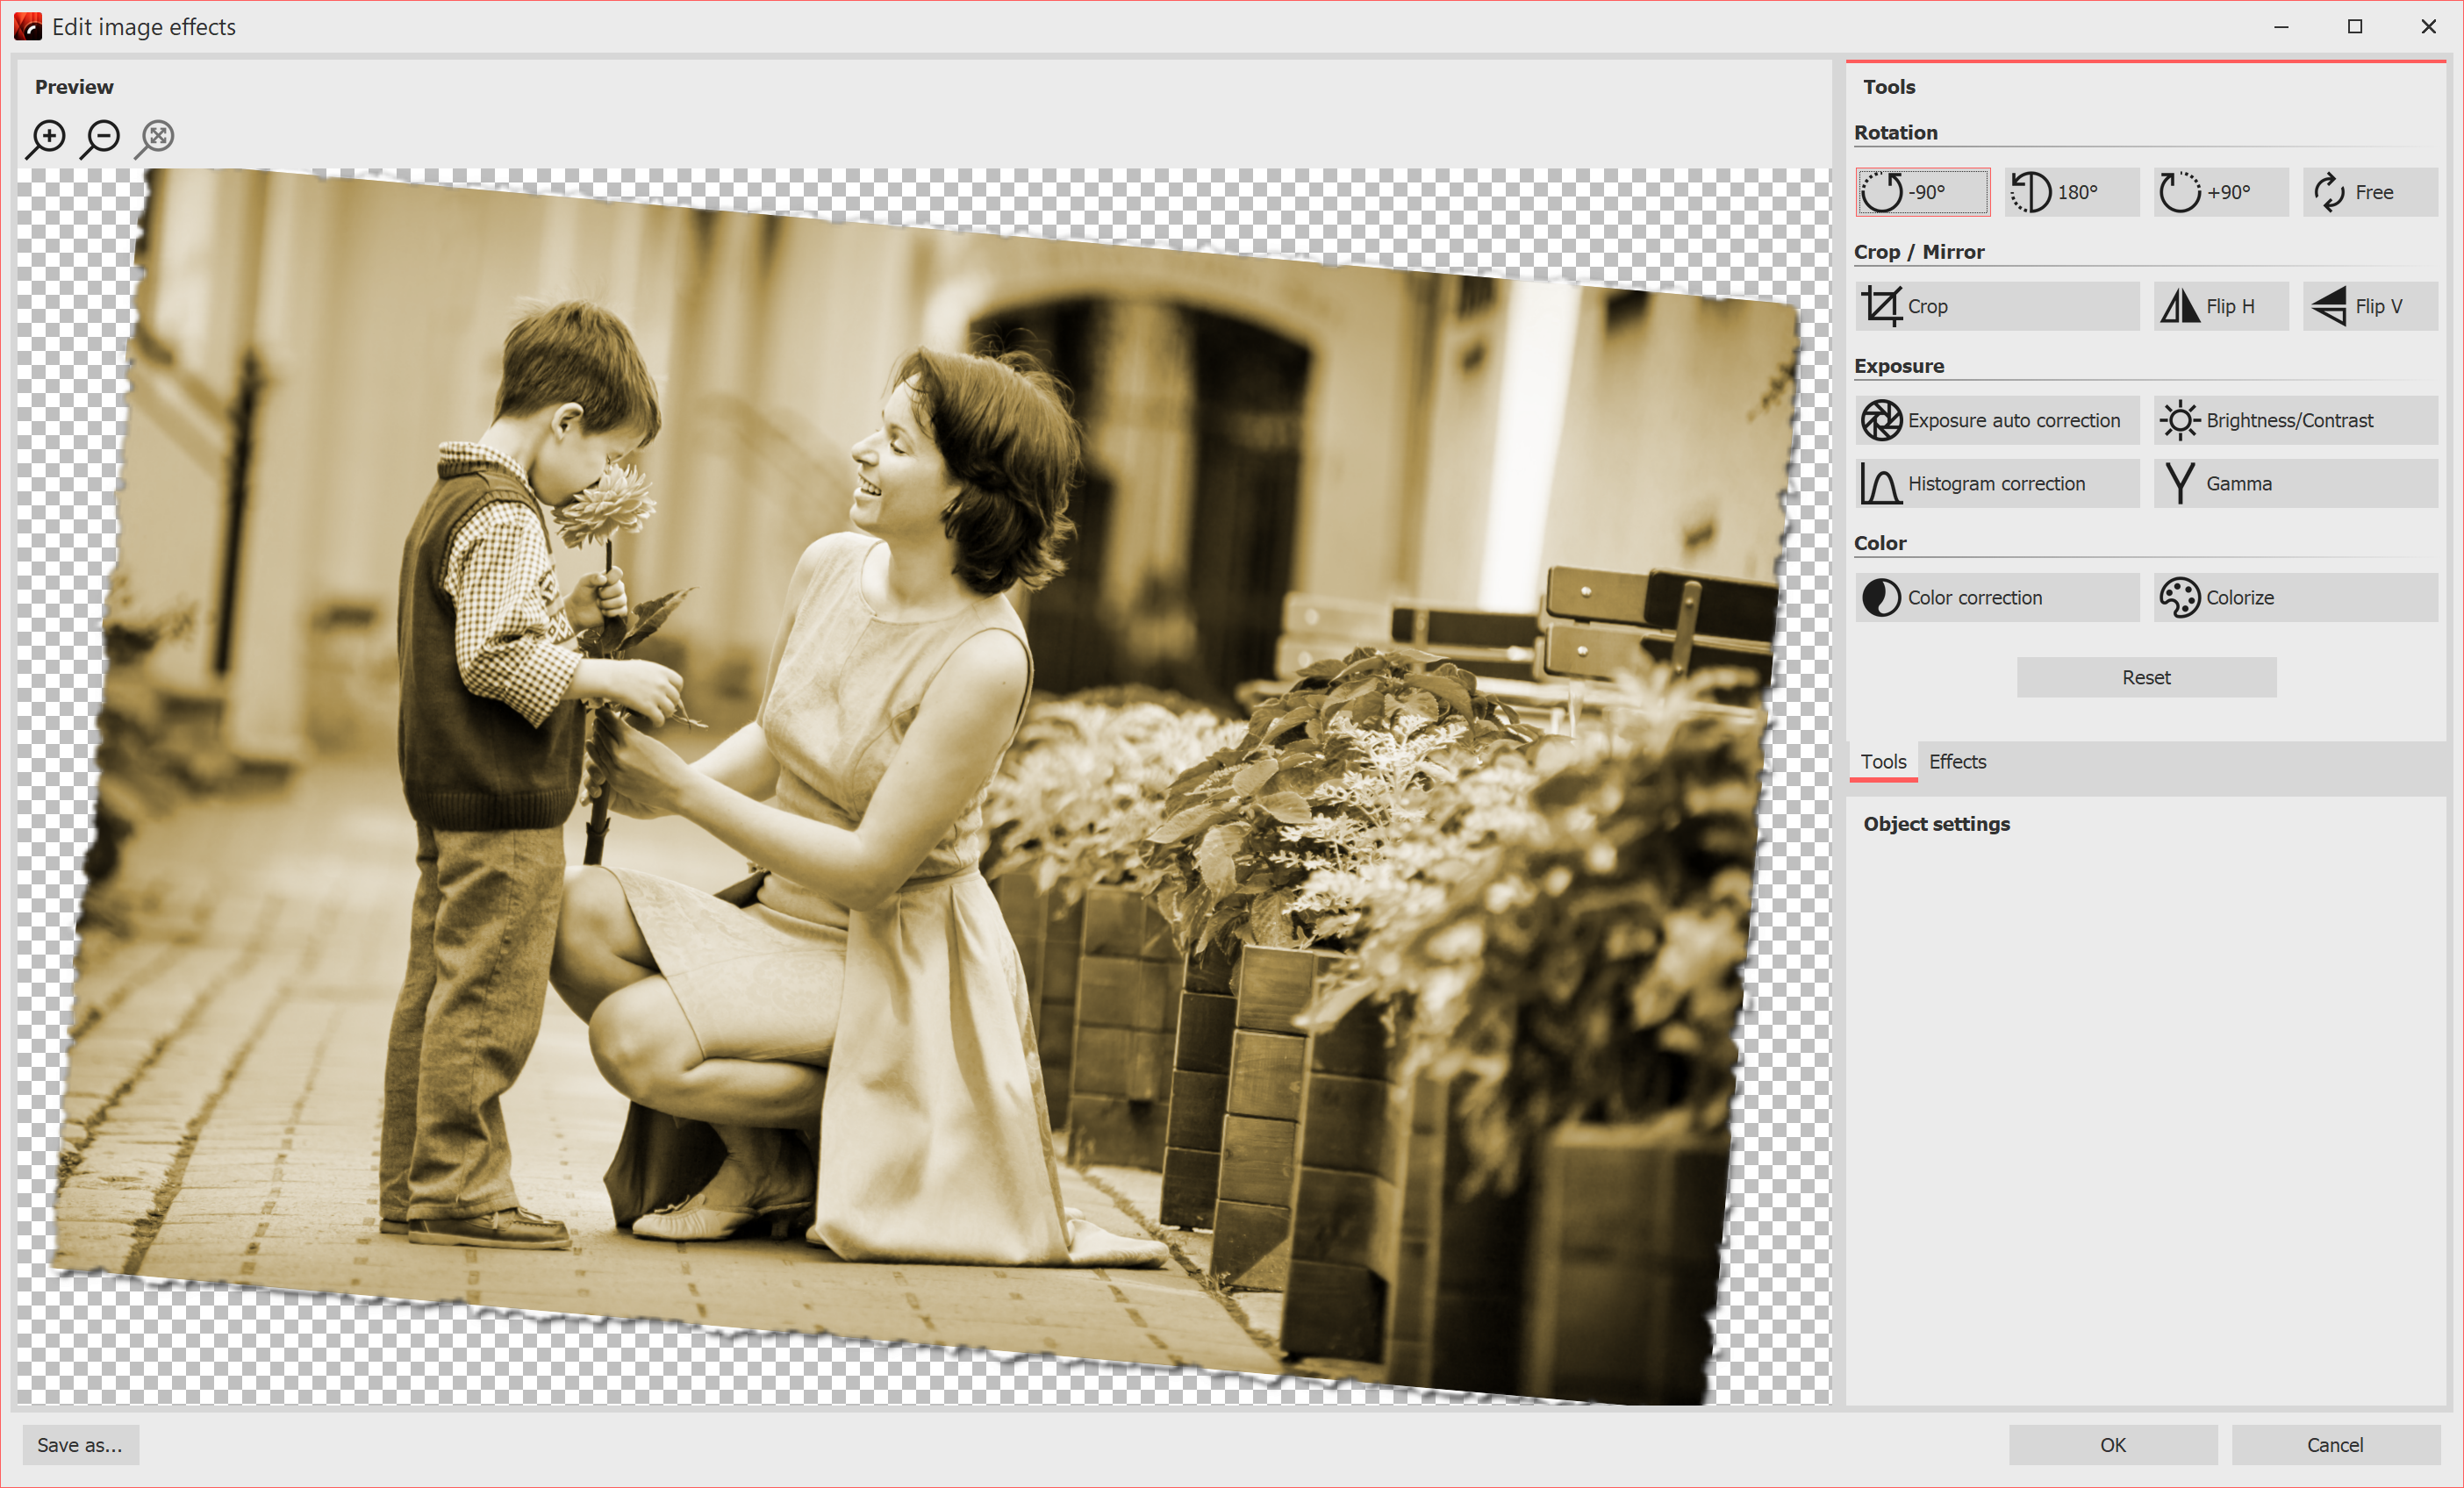
1 Tools in the Image editor Right-click the image and select the Edit image option. The Image editor opens. With the tools available here you can, e.g.
|
 Image editor |
2 Effects in the Image editor VIDEO VISION STAGESIn addition to the Tools tab, there is also the Effects tab. It is located in the center right corner. With the help of the Plus icon you can apply effects to the image, for which you will find further setting options in the Object settings section. Among other things you can •blur or sharpen the image •add a shadow •add transparency •add a border Effects can also be nested and combined with each other, greatly increasing the possibilities for creating new image effects. From simple image enhancements to elaborate effects, you have many design options. |
|
For further understanding of the effect editor, please also read the blog post "Wie ein Spiegelungseffekt entsteht". |
3 Save image with effectAt the bottom left of the image editor you will find a button that will let you save your image with the applied effects as a PNG file on your computer. |