|
<< Click to Display Table of Contents >> Individual volume control |
  
|
|
<< Click to Display Table of Contents >> Individual volume control |
  
|
The volume of each track, whether background music or Sound object, can be adjusted individually. This is done in the Timeline via round marker points.  Adjust volume individually 1 Change volume curveThe volume can be varied within a piece of music with the help of a line. The up and down of the line corresponds to the variation of the volume. The higher the waves in the envelope the louder. |
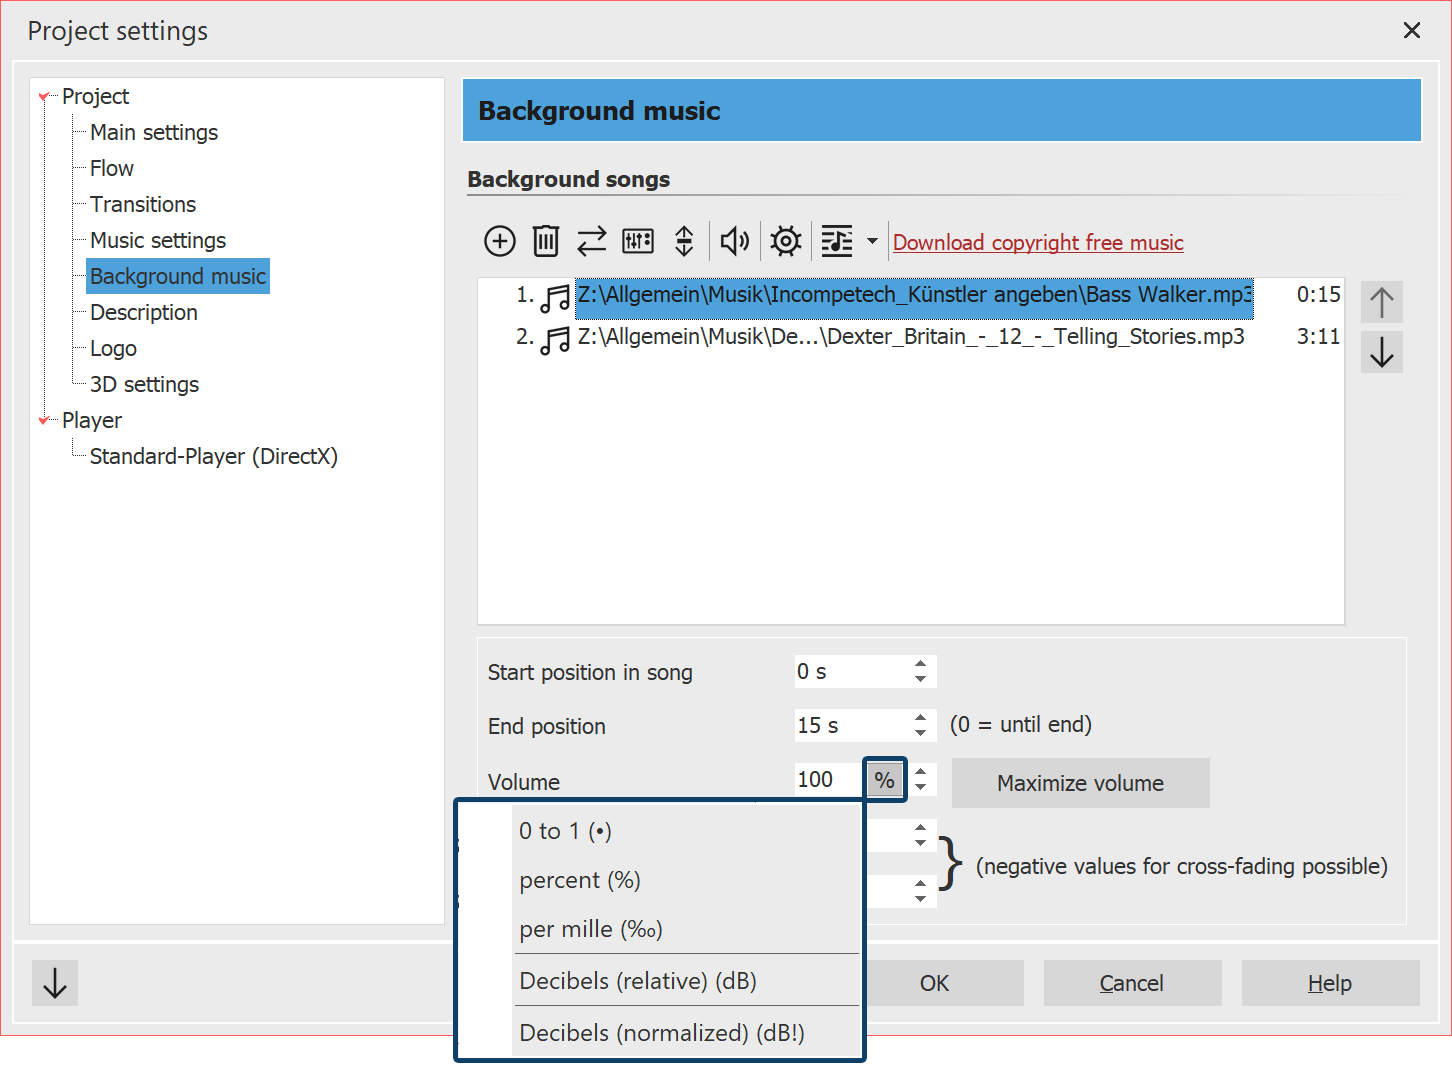
 Change unit for volume 2 Matching the volume of multiple soundsWhen using music and sounds from different sources, it often happens that they have different output volumes. The volume of each individual song of the background music, of the video sound, of spoken image comments and sound objects can be lowered or increased individually. If you use the unit Decibels normalized (dB!) instead, they all get the same volume level.The volume unit for each sound can be switched by clicking on it. Here, 1- = 100% = 1000‰. This corresponds to no change in the existing volume of the inserted sound. Likewise, you get no change to your volume at 0 decibels (relative). •+1 dB is estimated to be the smallest volume change perceptible to the human ear. •+6 dB makes the volume perceived about twice as loud. •-6 dB means a halving of the perceived volume. To set all sounds to a uniform volume level, give them the unit decibel normalized (dB!). Then select for all sounds e.g. ±0 dB!, so that all have an identical volume. For Decibel normalized (dB!), the existing sound in the background is first maximized if possible (i.e. the volume of the sound is raised so that the loudest part corresponds to 100%) and mathematically changed to the loudness target value. Example: You have three tracks in the background music track. When playing, the first one is okay in terms of volume, the second one is too quiet, the third one is louder again. If you now enter ±0 dB! for each title in the background music title list, all titles will be perceived with a uniform volume. To make all titles uniformly somewhat quieter, you could then enter -3 dB(!), for example. (A higher value than ±0 is not recommended, this could lead to overdriving of the first and third title). |
3 Crossfading: Two titles merge into each otherIf you want two titles to merge smoothly, use the volume curve. Set two points on the Volume curve at the end of track 1. Do the same at the beginning of track 2.
|
|
The background music is automatically dimmed when a Sound object or a Video object is started. You do not need to set this manually. In the music settings, you can configure the fade volume and duration for the entire project. If you do not want the music settings to apply to a particular Sound or Video object, deselect the Background music fade option in its properties on the Sound tab. |