|
<< Click to Display Table of Contents >> The Timeline |
  
|
|
<< Click to Display Table of Contents >> The Timeline |
  
|
With the help of Timeline you coordinate the timing of your images, texts, sounds and videos. This way you can display different elements one after the other, simultaneously or time-shifted.
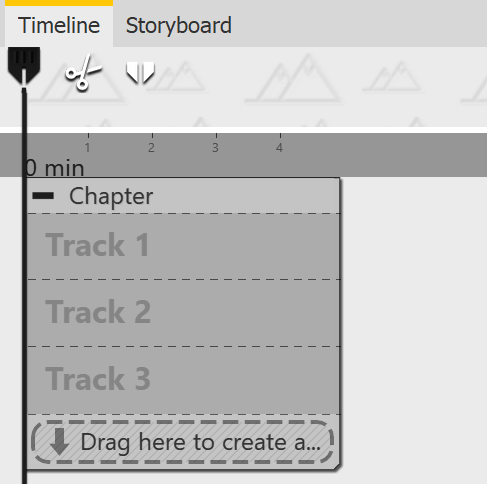
 Empty Timeline in Premium When you start the program or create a new project, you will find a Chapter object at Timeline that allows you to start directly with several tracks. You can define how many tracks the start chapter has under Extras / Program settings / Timeline / Chapter tracks. There are specially marked Permanent tracks in this start chapter. You can read more about this in the chapter Properties of objects: Chapter. To learn how to work with multiple tracks, refer to the chapter Multiple tracks. |

Timeline with multiple tracks (Ultimate)
In the lower right corner there are two small sliders, one vertical and the other horizontal. With these you can set how high or how wide the objects are displayed in the Timeline.
The magnifying glass icon at the very bottom right restores the default Timeline zoom.
You can also zoom in or out of the view in the Timeline using the mouse wheel.
•Change width: ctrl key + mouse wheel
•Change height: shift key + ctrl key + mouse wheel
At the top of Timeline you can see the background track. It shows the overall context of your project and helps to see what the background looks like at the start of an object located in the Timeline.
The background track calculation indirectly helps to see older objects left lying around when playing "from here" in the layout designer, which are not actively drawn at the selected playback position.
You can influence the height of this track at its lower edge. Change the height of the background track by moving the mouse over its lower edge until a small double arrow appears. Now drag the background track larger or smaller while holding down the mouse button. You can also close the background track in this way.
At the bottom of Timeline you will find a scroll bar for longer projects, with which you can scroll horizontally in your project. The following buttons also help you navigate or navigate to objects in the Timeline:
|
Jump to beginning / Jump to end (button active only if Timeline-beginning/Timeline-end is not visible on the screen). |
|
Jump to the beginning of the chapter / Jump to the end of the chapter. |
|
Jump to the selected object. |
|
SetPlayhead to the stop position of the Players. |
|
Stages Jump to chapter or Flexi-Collage. Selection is made via list. |
You can also navigate in the Timeline with the help of the mouse wheel:
•Horizontal navigation: mouse wheel
•Vertical navigation: shift key + mouse wheel
If there is a large number of objects in the Timeline, it is convenient to choose a smaller display to get a better overview.
For a better overview, you can collapse open chapter objects or Flexi-Collages . To do this, use the small Minus icon located at the top left of each object that allows tracks.
On the left side of Timeline you will find the following icons that support your work in Timeline:
|
Removes all Timeline markers. |
|
Open all containers (chapters and Flexi-Collages). |
|
Close all containers (chapters and Flexi-Collages). |
|
Combine selection in a container (chapter, Flexi-Collage or Stages 3D scene). |
|
Remove the enclosing container (chapter, Flexi-Collage or Stages 3D scene). |
|
Stages Open / close all keyframe tracks. |
|
Stages Arrange selected objects horizontally / vertically / in steps. |
Stages users can find more symbols and special functions described in the Working with Keyframes section.
The Timeline also shows you which effects, animations, etc. are assigned to the objects. You can see this by the small symbols that are displayed on the respective object in the Timeline. The following symbols are available:
|
|
|
|
|
|
|
|
|
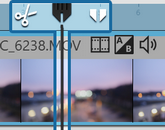
 Playhead shows playback position In the Timeline there is a vertical line that allows you to set the playback position. This line is called "Playhead". At the top of the Playheads you will find two icons that serve you as editing tools (more about this in the chapter Editing videos). Drag the Playhead or click the mouse in the Timeline to the point from where you want to start the preview and then click the "From Here" button. You can influence the behavior of Playheads under Tools / Program settings / Timeline / Behavior. |
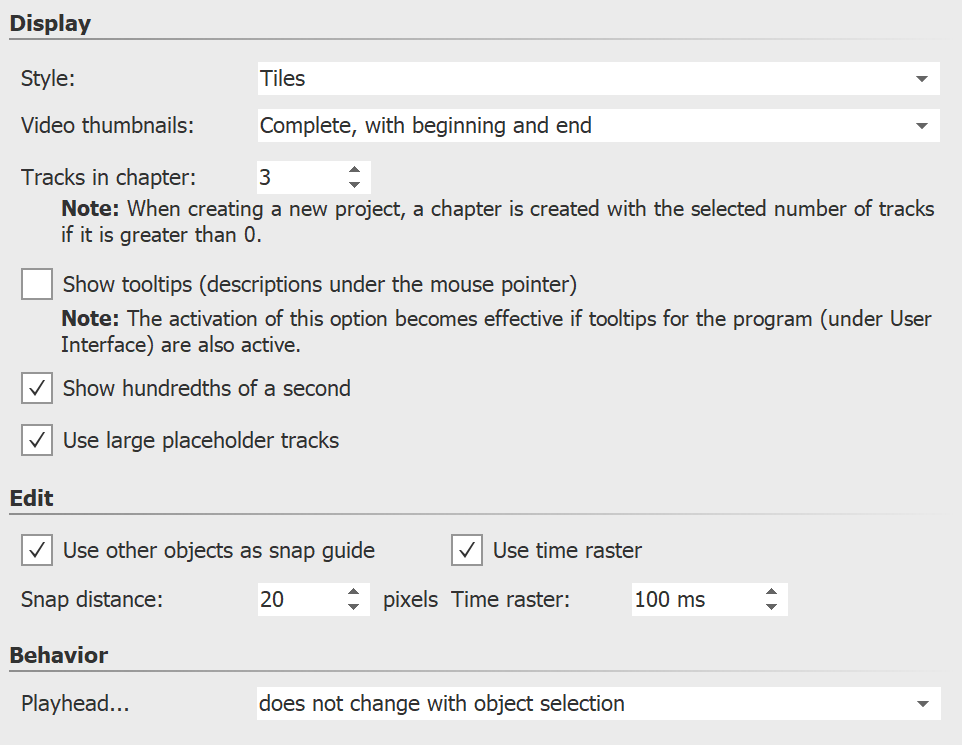
 Settings for Timeline Under Extras / Program settings / Timeline you can make further configurations of the Timeline. Here you can change the snap-in behavior and the display in the Timeline. To save space in the Timeline, you can remove the checkmark from "Use large placeholder tracks". This will cause the "Drag here to create new track" hint in chapter objects and Flexi-Collagen to be displayed only minimized. If you want to place an object directly under another object or at a specific time, the snap behavior can help you position objects accurately. |
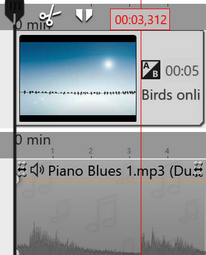
 Timeline with marking Press the Shift key and click on the Timeline (see picture on the left). A red line appears, which you can move by holding down the mouse button. The line goes across your inserted objects and the background music track. You can also set markers while the project is currently running as a preview in the Layout designer. Always press the spacebar at the time you want to insert a marker. The markers have a magnetic effect and help you align your images in multiple Timeline tracks or match them to music bars. |