|
<< Click to Display Table of Contents >> Cutting videos |
  
|
|
<< Click to Display Table of Contents >> Cutting videos |
  
|
First insert one or more videos into your project as described in the Insert videos chapter . You now have various options for shortening or cutting your videos. The original file is never edited or changed. The editing is always calculated live in your project without changing the original video.
|
For video editing, we recommend the program setting Extras / Program settings / Timeline / Behaviour - Playhead does not change when objects are selected. |
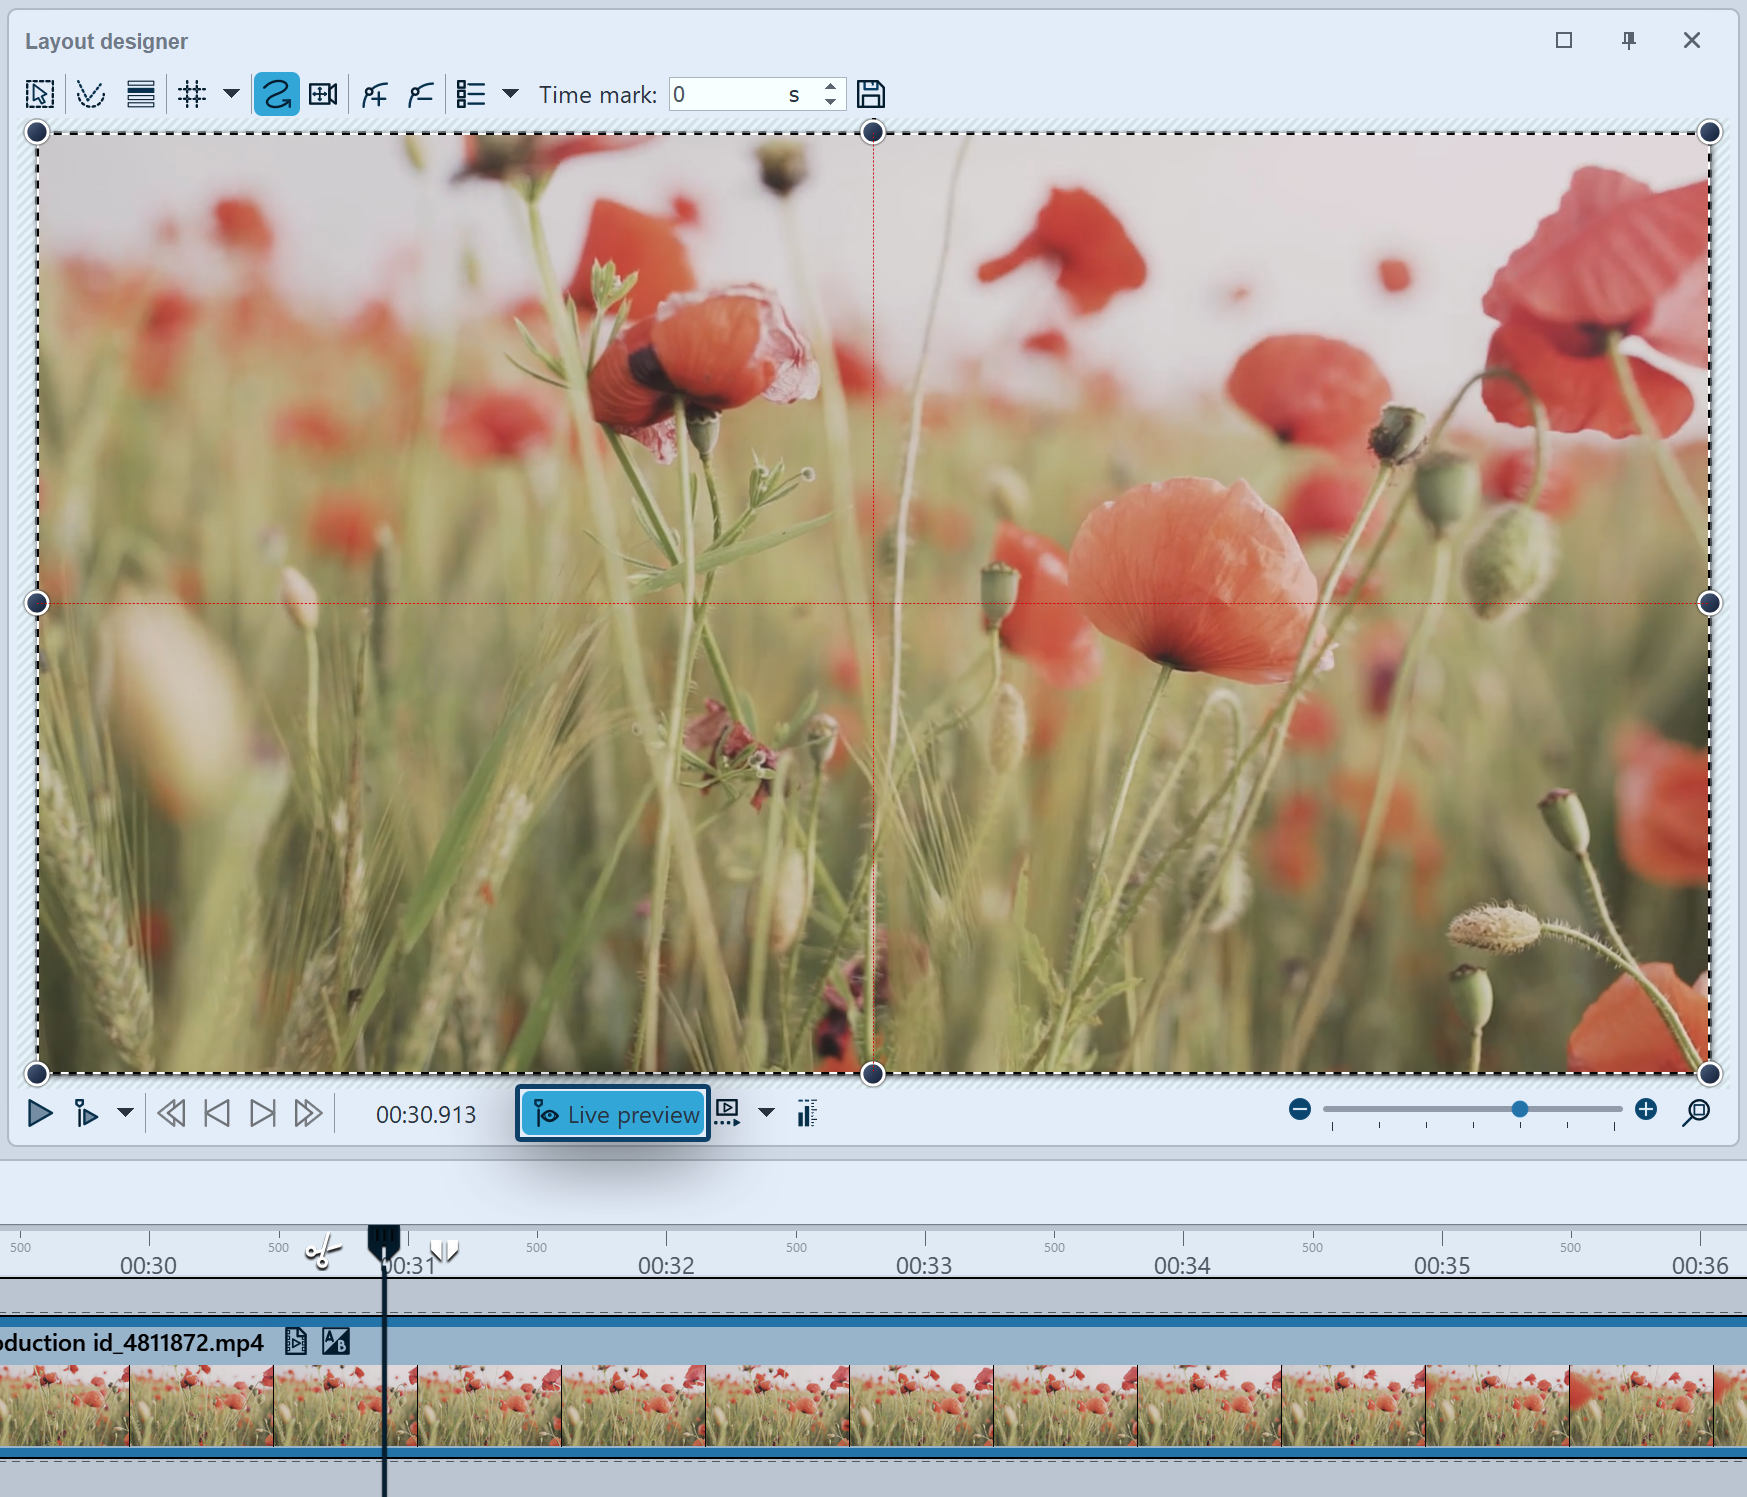 Live preview for cutting the video activated Activate the Live preview in the layout designer to cut a video . There are two icons for cutting a video, which are located to the right and left of the Playhead in the Timeline. |
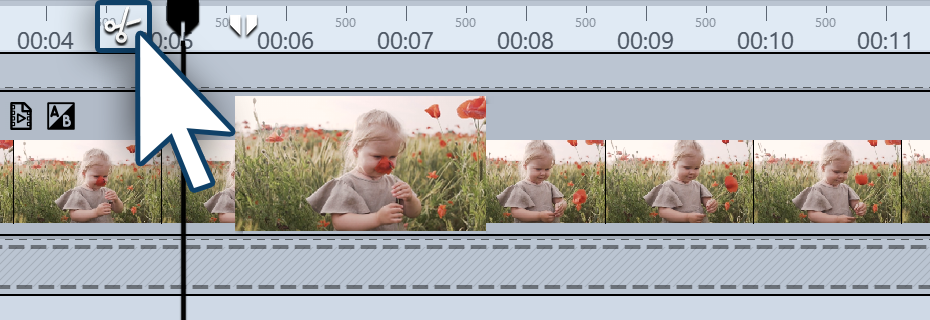 Playhead in the timeline 1.1 Cut using the Scissors icon At the left of the Playhead you will see a Scissors icon. With this you can cut the selected video at the point where the Playhead is located. After the cut, you will have two video objects. You can now select an unnecessary video part and remove it with the DEL key on your keyboard or by right-clicking. |
The variant just described, with which you can make simple cuts, is particularly suitable for cutting off the beginning or end of a video and then removing it. With multiple cuts, you can also cut longer video clips into pieces to remove unwanted passages. There is also another variant for this - cutting with a split Playhead, which is described below.
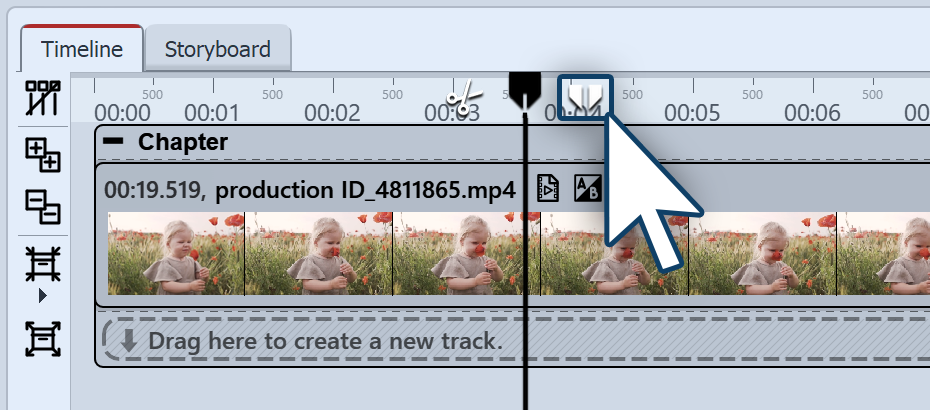 Playhead with tweezers Icon 1.2 Remove a part of the video With the Tweezer icon you can specify a starting point and an end point. The section between the two points is removed from the video by clicking the Cut symbol (an X between two arrows). |
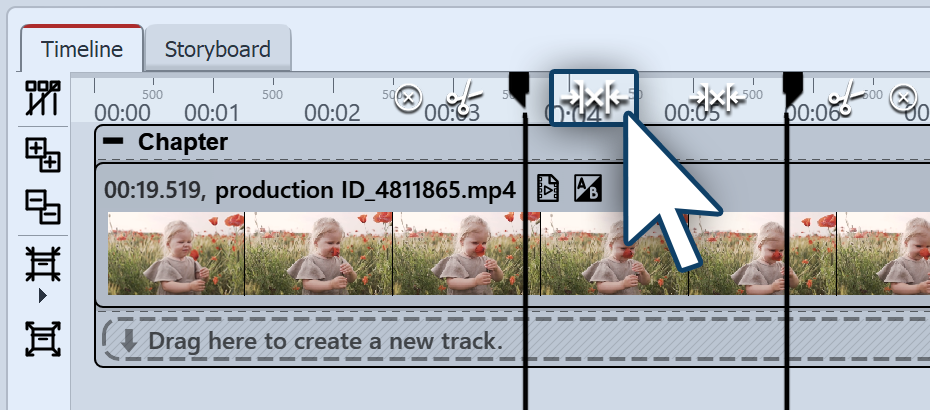 Cutting a piece out from the middle The section between the two Playheads is removed from the video when you click on the cut symbol (an X between two arrows). Please note that the video object to be cut must be selected in the Timeline. If you click on the front or rear Scissor symbol on the split Playhead, the cut is made at the corresponding point. If you want to return to the simple playhead, click on the Close symbol (cross in the circle). |
|
Do you want to see every frame of your video so that you can accurately cut it? |
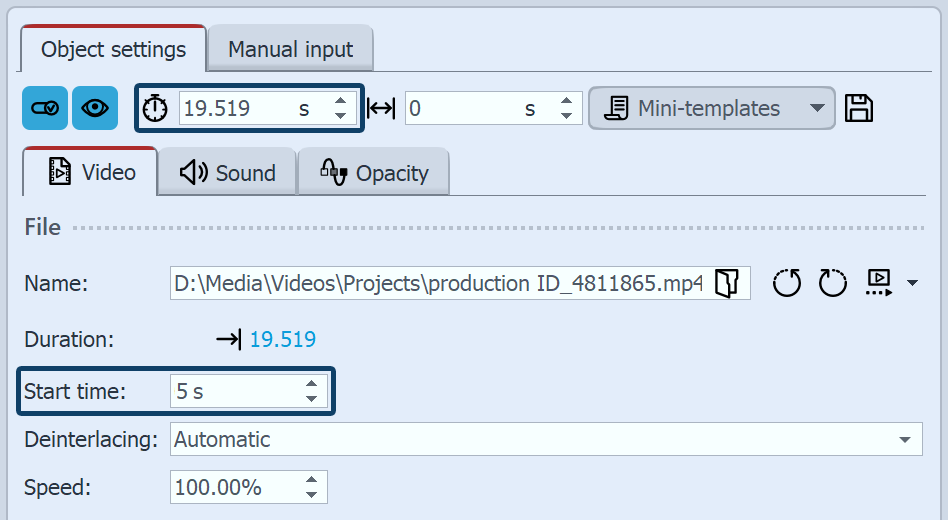 Shortening the beginning and end of the video You can shorten the beginning and end of a video directly via the time entry in the Properties window. Enter the desired length of the video in the Duration field if you wish to shorten the end of the video. Via Start time enter the time value at which the video should start. (This is the time by which the beginning of the video is reduced.) |
|
In our video "Videos schneiden (Erste Schritte)" you will learn step by step how to edit videos. |
3 How do I find the right cutting position?There are several ways to find or mark the point where you want to cut. Above all, the Live preview helps you when cutting your video material. Select your video in the Timeline and activate the Live preview in the Layout designer. Now move the Playhead over your video object and release it at the position where you want to make a cut. Click on the Scissors symbol at the top left of the Playhead to split the video. In AquaSoft Stages you will also see a video thumbnail with additional information from the current position as you move the Playhead over your video. Furthermore, the keyframe track can be opened with the waveform for the video sound, which can provide additional orientation for editing. Set the Playhead to the stop position of the player: Play your video in the Layout designer. Pause or stop the preview at the point where you want to cut. Now click on the Marker lines: Play your video in the Layout designer. Press the Enter button at the point where you want to cut. A red marker line appears in the Timeline. Stop the preview. Now move the Playhead to the marked position and click on the Scissors symbol to cut. Single frames: Do you want to see every single frame of your video in the Timeline in order to cut it precisely? To do this, right-click on the video in the Timeline and select the Zoom to frame level command. Click with the mouse in the time scale of Timeline to move the Playhead to the desired position. Use the left/right cursor keys to move the Playhead in the Timeline in frame steps (60 fps). |
|
Tips for transitions between videos or videos and photos can be found in "Videos überblenden (Erste Schritte)". |