|
<< Click to Display Table of Contents >> Text design |
  
|
|
<< Click to Display Table of Contents >> Text design |
  
|
In the text field you can enter your own text for your image or text object. You can change the font size, color and type of the text. You can also give the whole text a text effect For this there are text-friendly effects available. However you can also create effects yourself in the image editor.
|
You can find a project under File / Open / Sample project which contains various formats. The sample project can be found under the title "Ideas for captions". |
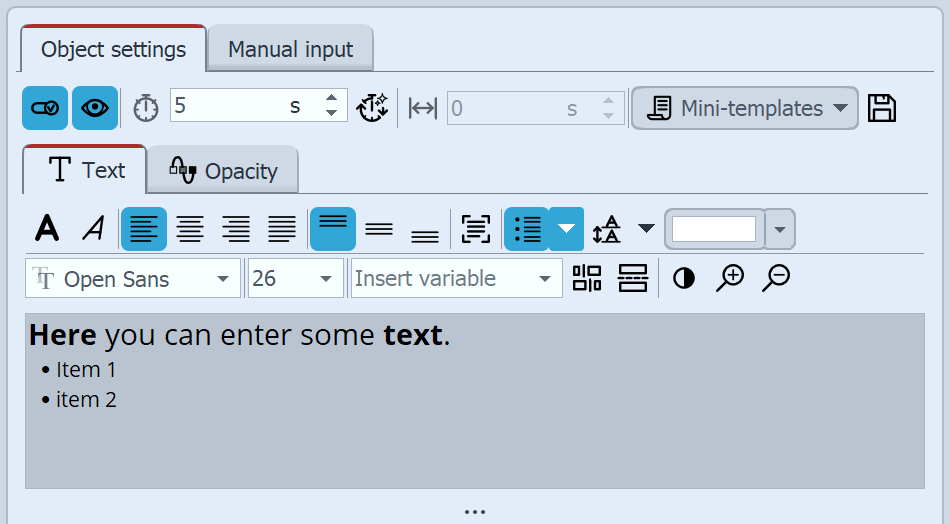 Combining text styles In the properties field, click on the text tab. Here you will see an empty field. Click the field and enter your text. If you need more space, drag the text box to make it larger with the help of the shaded area, which is located centrally below the text box. With the magnifying glass icons you can zoom in or out to make the writing in the text field seem bigger or smaller. If you need more space, drag the text field larger using the three dots located centrally below the text field. You can use the magnifying glass icons to enlarge or reduce the display of the font in the text field. The background color of the text field can be adjusted so that you can see the text better. To do this, you can switch between light and dark by clicking on the black and white button. If you want to make changes to certain areas of the text, highlight the field and then set, for example, the font or color. If you want to customize the entire text, you can click in the text box and use the key combination Ctrl + A to select all. |
|
If red rectangles are displayed when selecting a font in the font list, this is an indication that the corresponding symbols cannot be displayed in this font and will be replaced by a standard font in the project. |
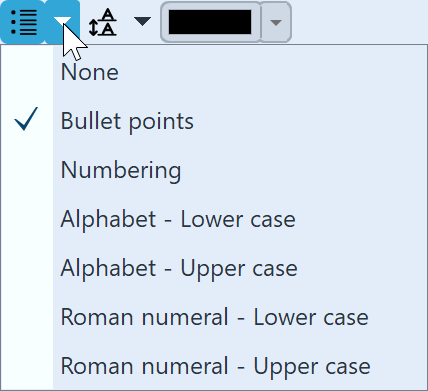 Enable list style For additional formatting of text you will find at the List button the possibility to use bullets and numbering in a list. Select the desired type of display. Clicking Enter in the text field adds another enumeration. The color of the markers results from the text color. |
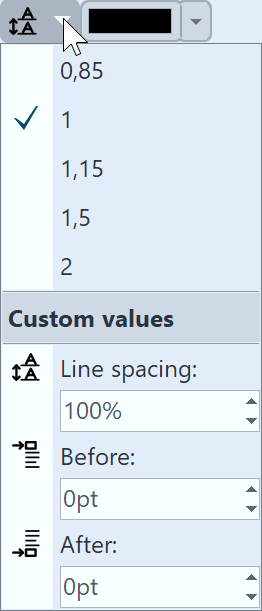 Change line spacing To increase or decrease the space between two lines of text, place the cursor in the text input field at the end of the desired line. Then click the Line spacing button and select the desired spacing value. If you want to adjust the line spacing for the entire text, you can click in the text input field and use the key combination Ctrl + A to select the entire text. Then change the line spacing. It will be changed for the entire text. |
 |
|
Activates the contour (letter border) for the text in the text field. You can also select the color for the letter border (contour color). |
|
Activates the shadow for the text in the text field. You can also select the color for the shadow (Shadow color). |
|
Activates the text effect for the text in the text box. By clicking the arrow located next to image editor, a separate text effect can be created. However you can also use a ready-made effect from the Toolbox. You can find these in the image effect tab in the section Text friendly. |
Opacity |
The value affects the opacity of the text while leaving the opacity of the letter border. This allows the interior of a text to be transparent while still displaying the outline. |
|
If you want to use image effects for texts, see our blog post "DiaShow 10 neue Funktionen: Bildeffekte für Texte"for more tips and design ideas. |
In the text properties, you can add a background directly to the text. This makes it easier to read in front of animated images and videos and can be used as an independent stylistic device.
Depending on the setting, the text can be highlighted with a single color or with complex shapes, either with or without a border.
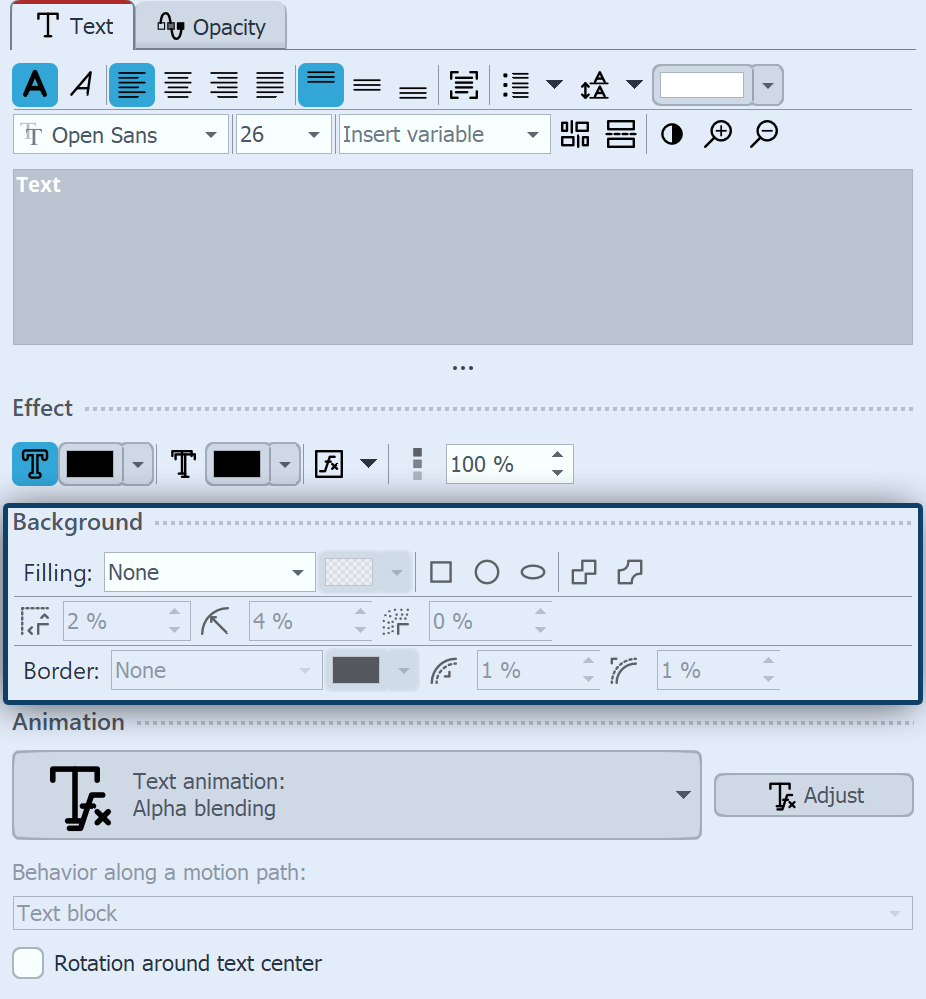 Settings for text background Settings for the filling By selecting a fill type, your text is highlighted in color. Once a fill type has been selected, the desired color can be set in the color selector. This color can also be semi-transparent. Visible text parts combined Complete text letter by letter Settings for the border
|
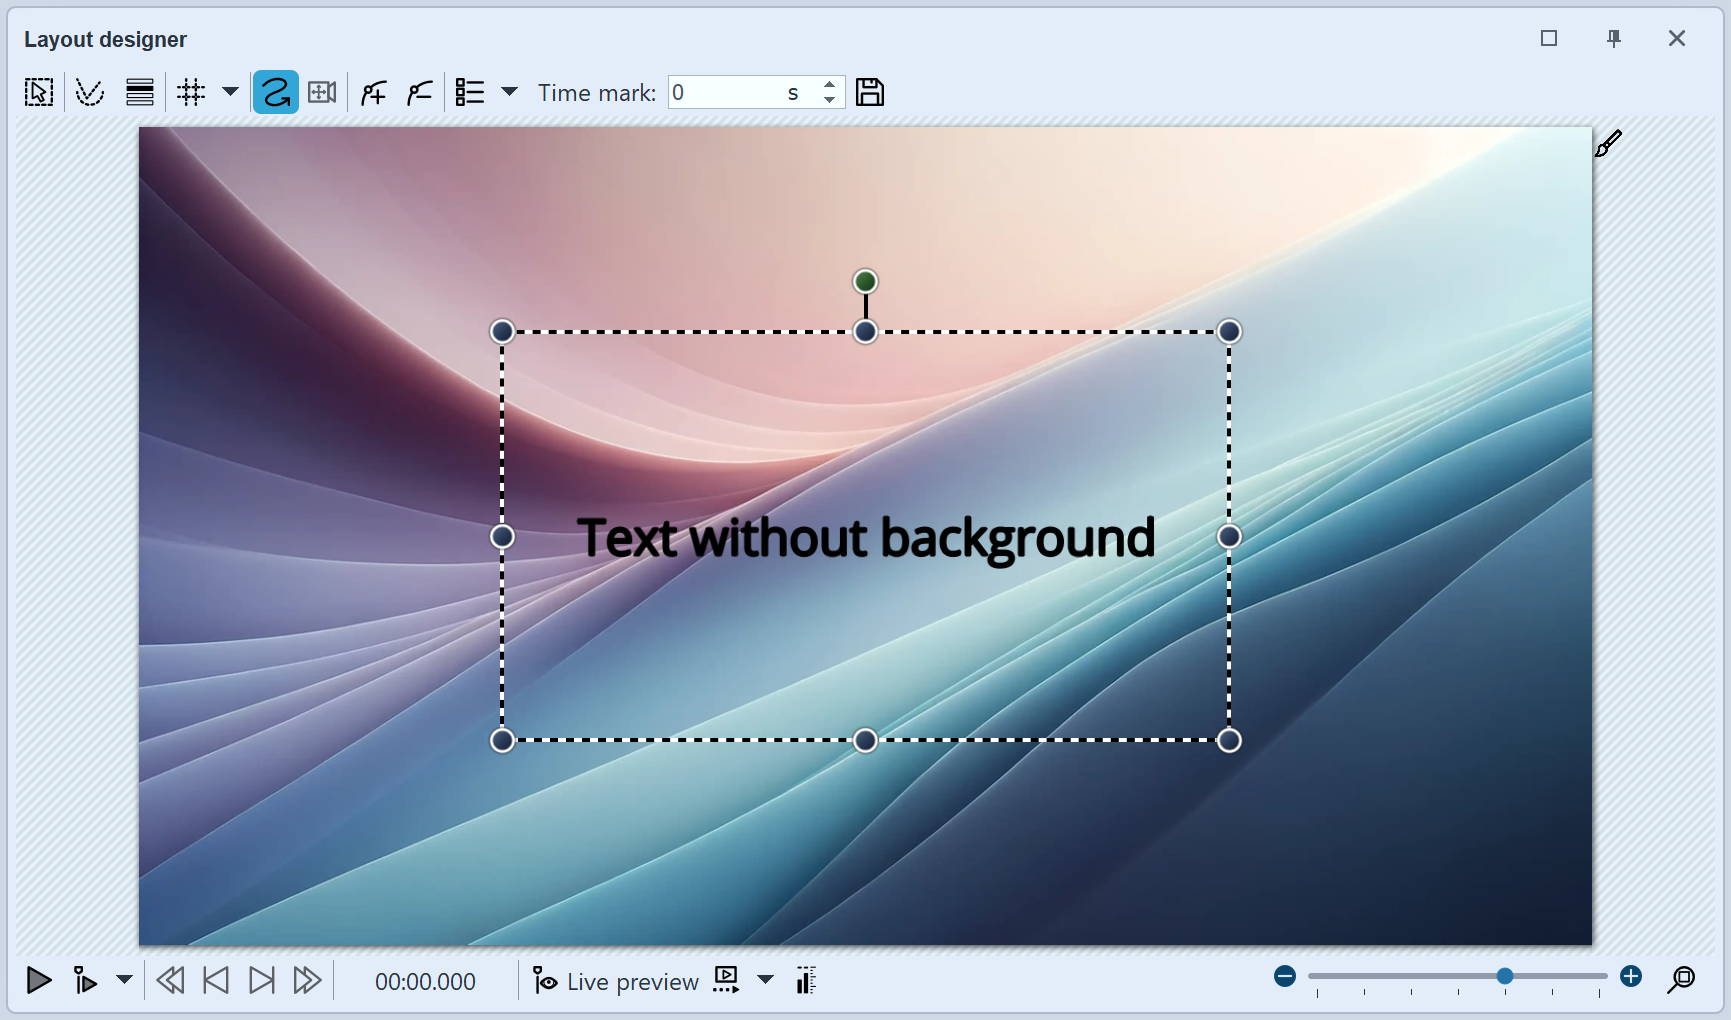 Text without background fill 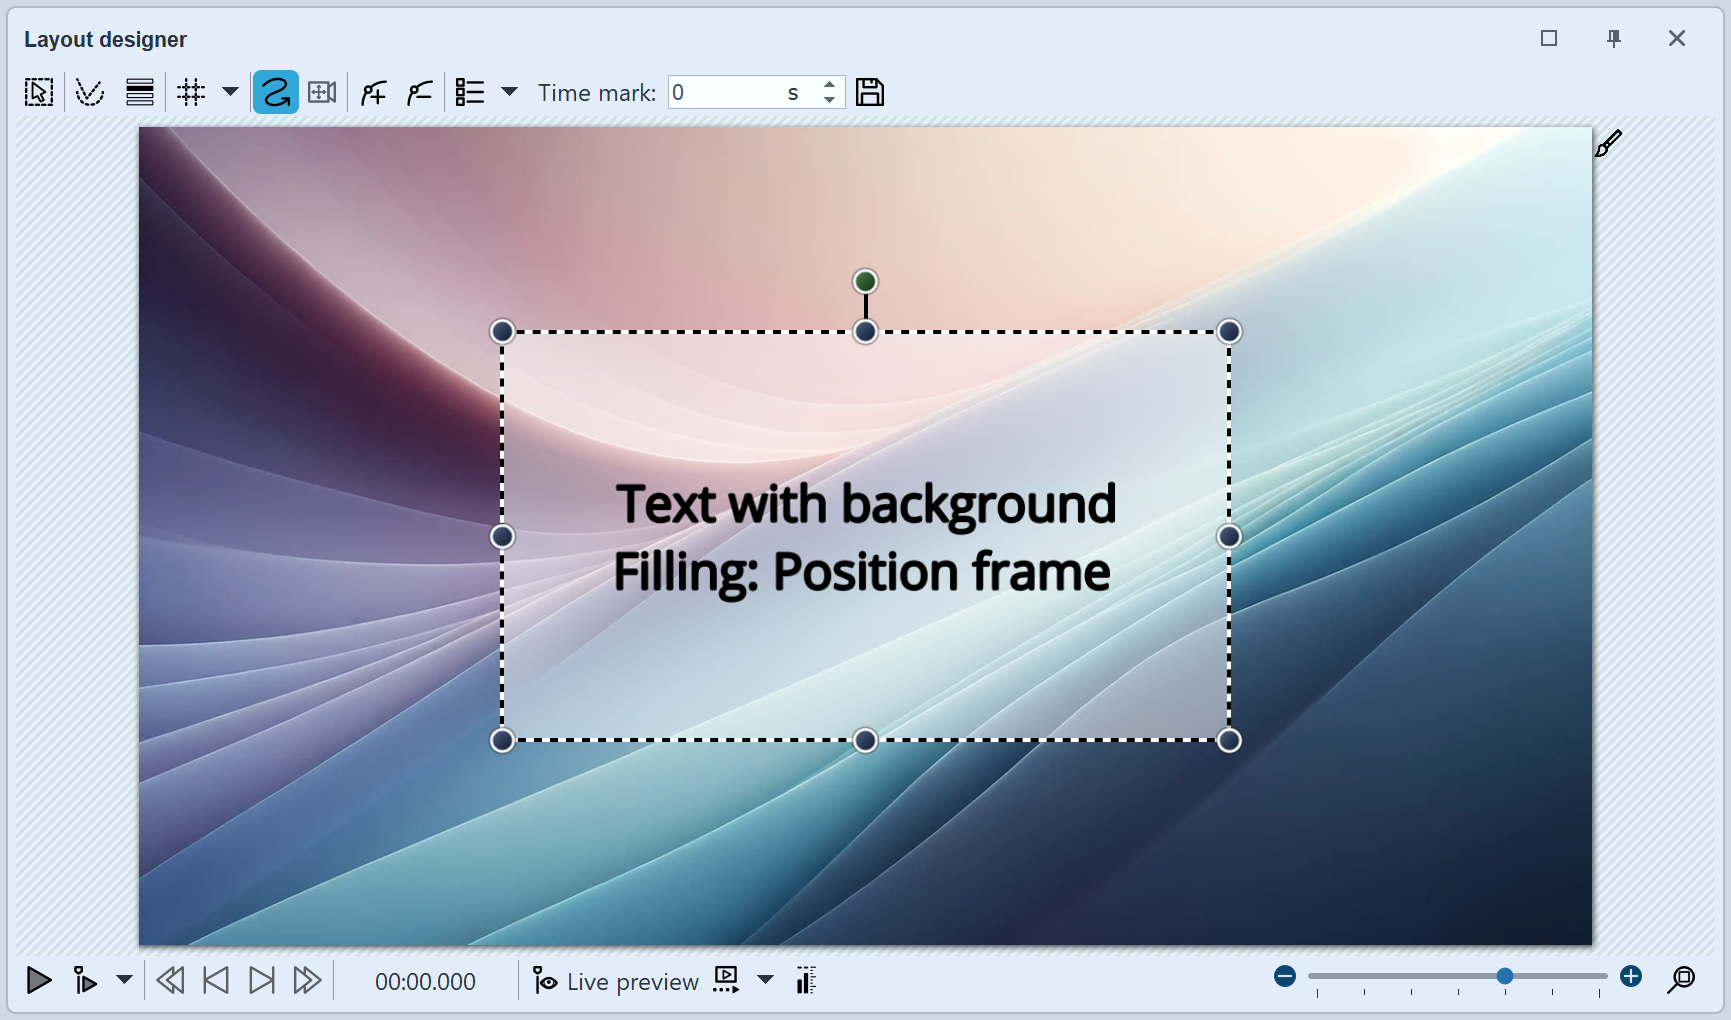 Text with fill variant "Position frame" |
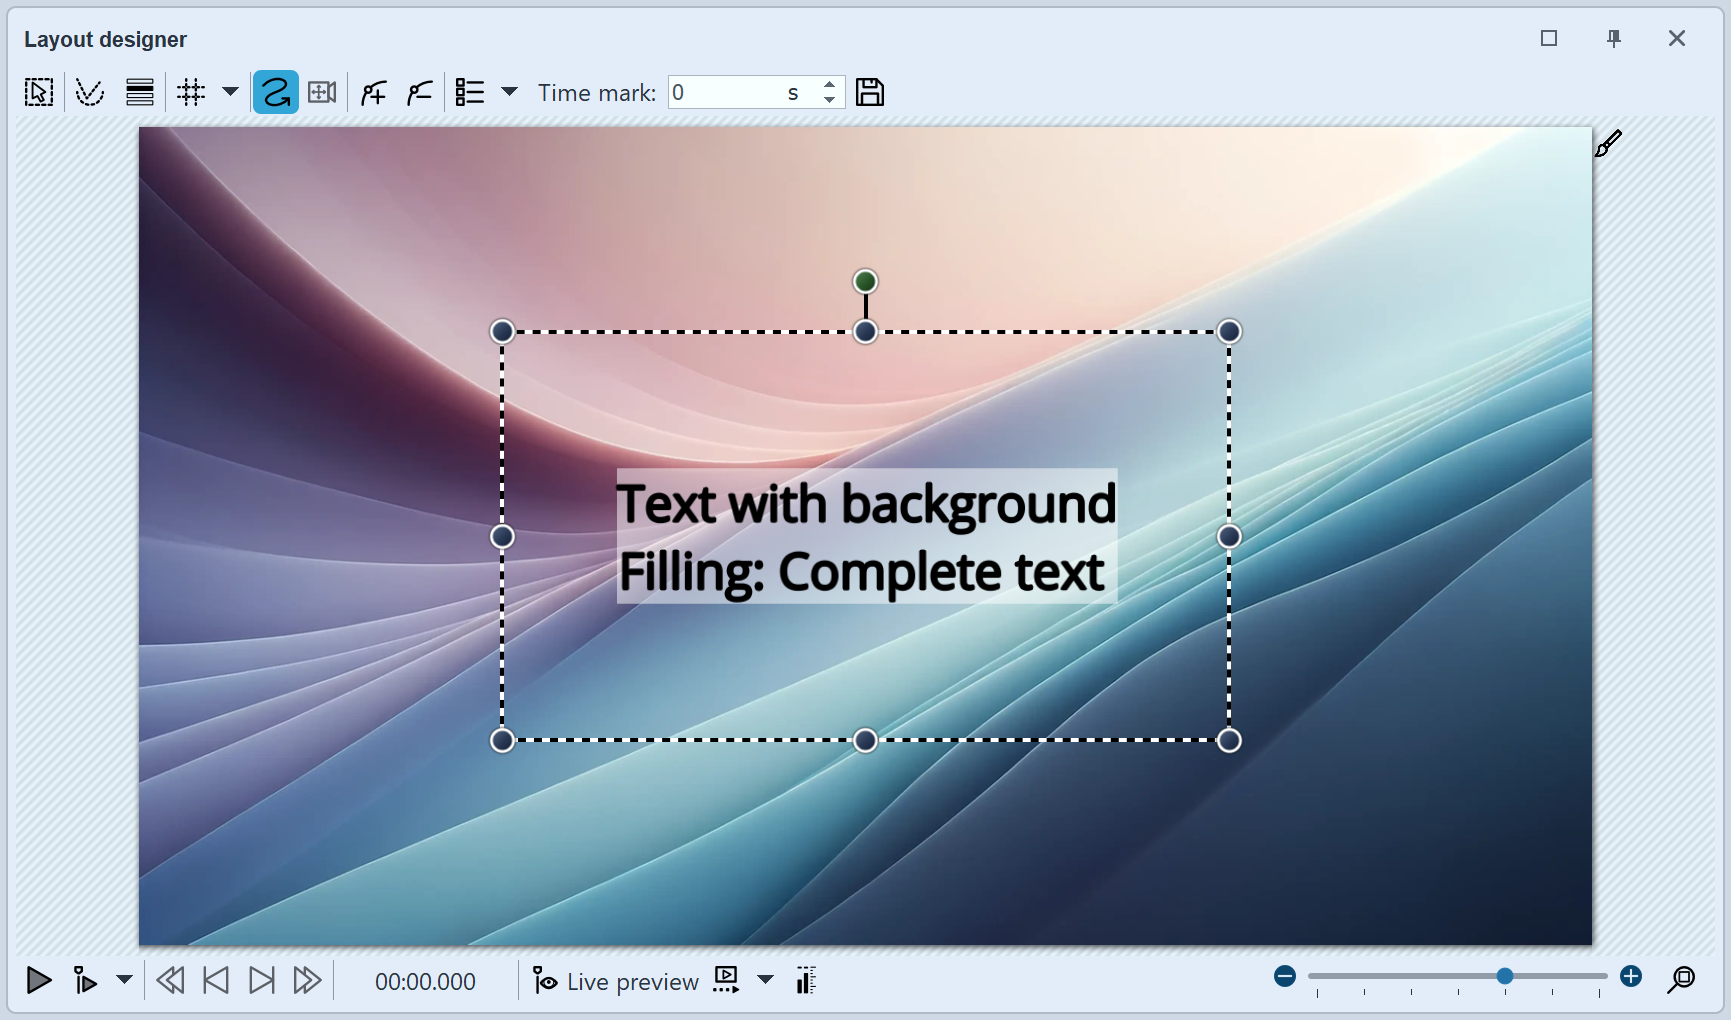 Text with fill variant "Complete text" 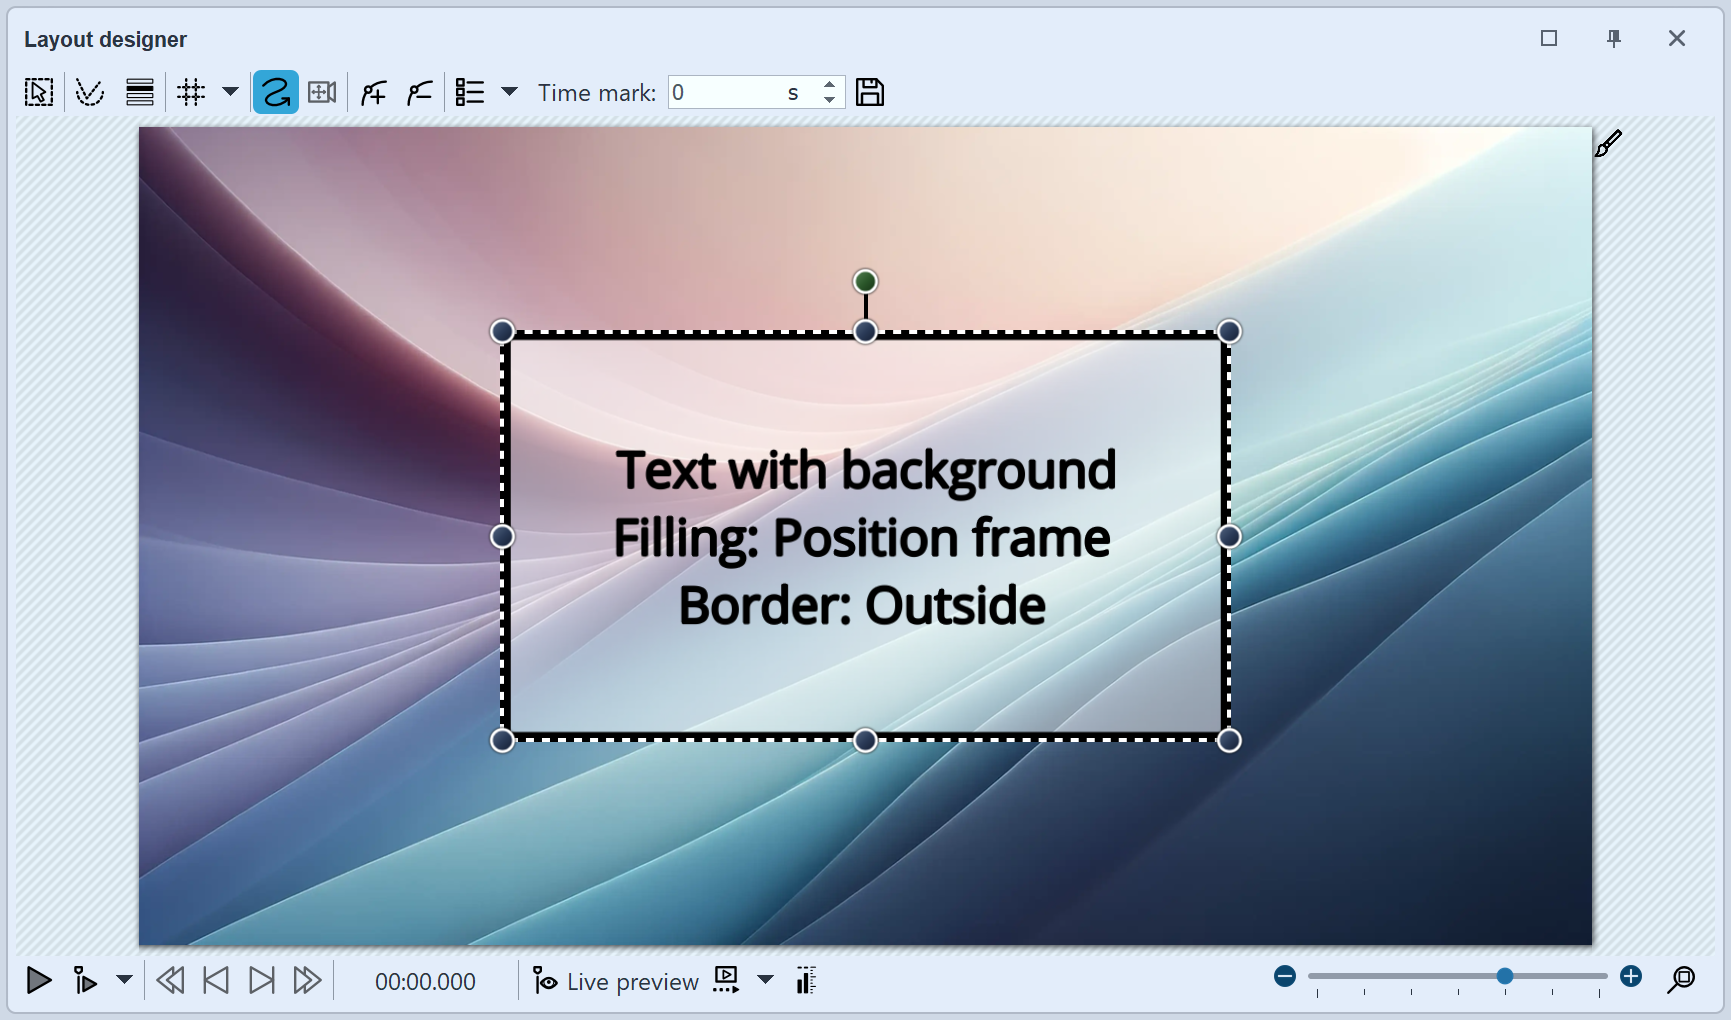 Text with fill variant "Position frame" and border "Outside" (selection frame drawn smaller) |
|
If you want complex or color-banding gradients as a background, design these with a separate text object in front of the dynamic shape Gradient. |
|
Under Toolbox/Objects in the Captions section, you will find templates that you can use for your project. Drag the desired object into the Timeline and adjust its content. |