|
<< Click to Display Table of Contents >> Using a background |
  
|
|
<< Click to Display Table of Contents >> Using a background |
  
|
In the Toolbox under the objects tab, you will find the backgrounds field. Against these backgrounds you can arrange text, images and videos. In the following guide you will learn how to insert two portrait pictures on top of one background.
|
Under file / open / example project you can find a preprepared project related to this guide. This means that it is easy for you to see what the resulting project will look like. You can find the sample project under the title "portrait pictures on top of background". |
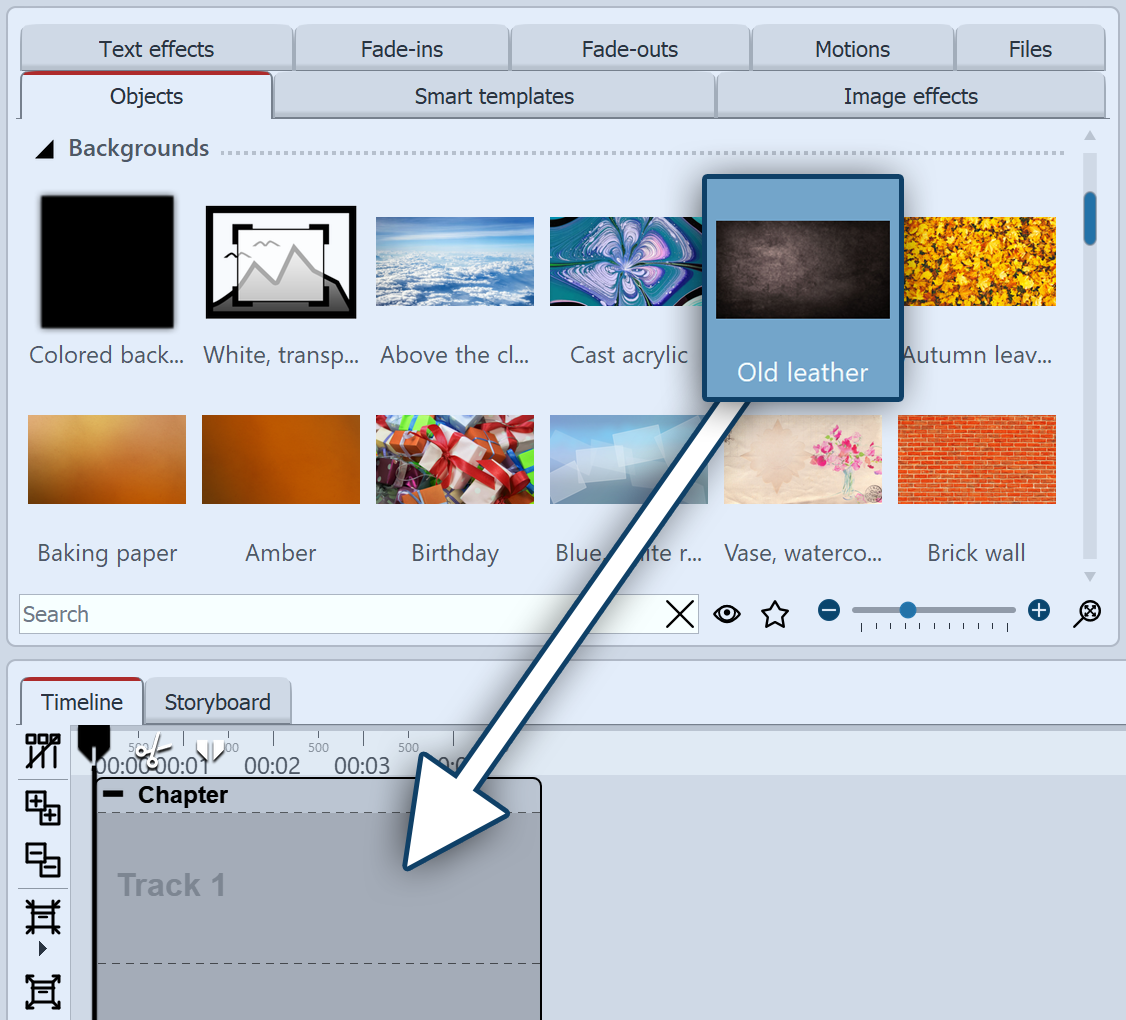 Drag a background image into the chapter Drag a chapter from the Toolbox into the Timeline. In the Timeline you will now find an empty chapter with the words "insert images here". In the Toolbox go to the objects tab in the backgrounds field. Choose a background and drag it into the now empty chapter object. In the properties field, lengthen the duration under display duration. To do this, enter a value of 10s and confirm with the Enter key . |
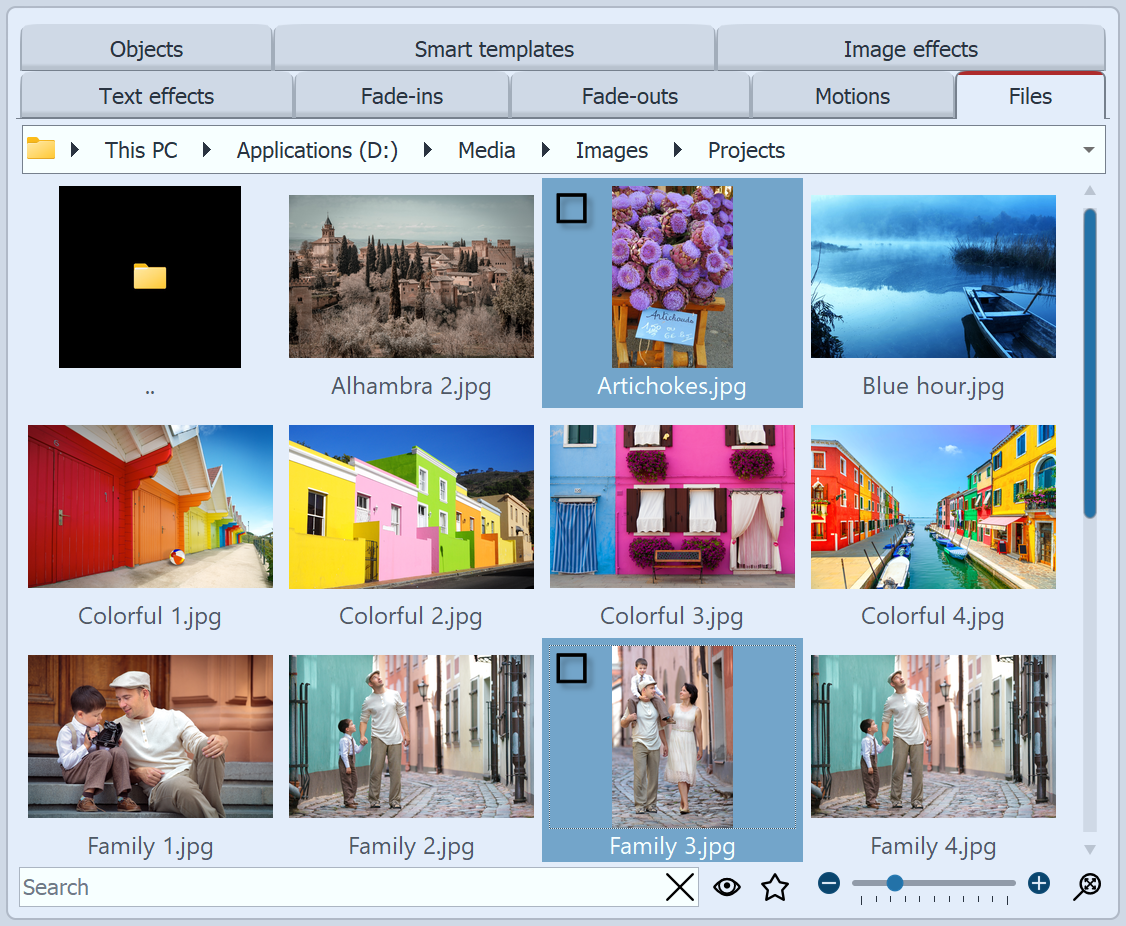 Choosing images In the Toolbox open the Files tab. Here you can select a directory on your computer. You will see straightaway an overview of your pictures. So you can see immediately which images are in portrait style. In this example, portrait style images are required. Select the first portrait style image. When you have found the second portrait style image, hold down the Ctrl key and then click on the image. By doing this you have selected two pictures simultaneously. Now drage the images into the chapter object, so that they are located in the track underneath the background image. |
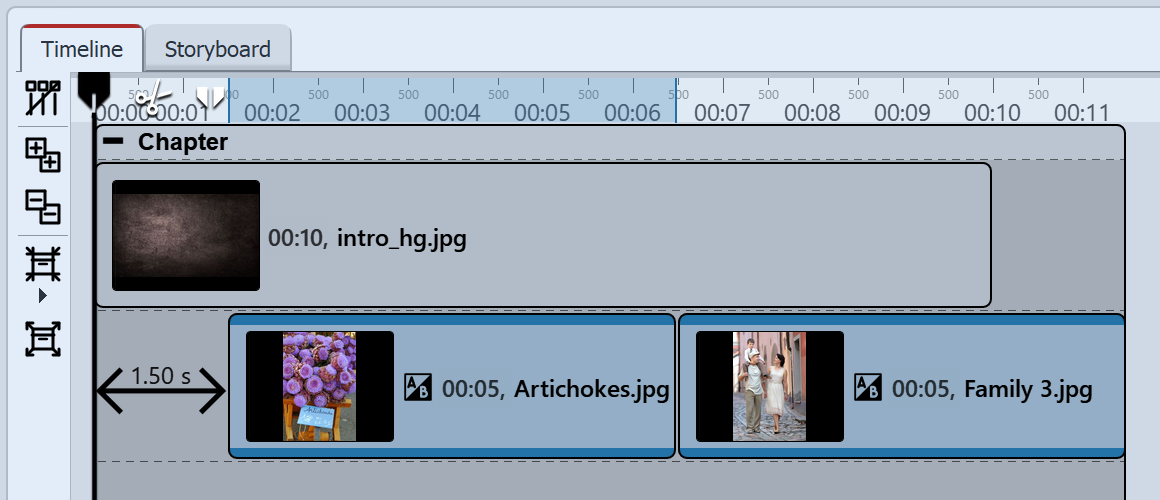 Images are located in track under background image |
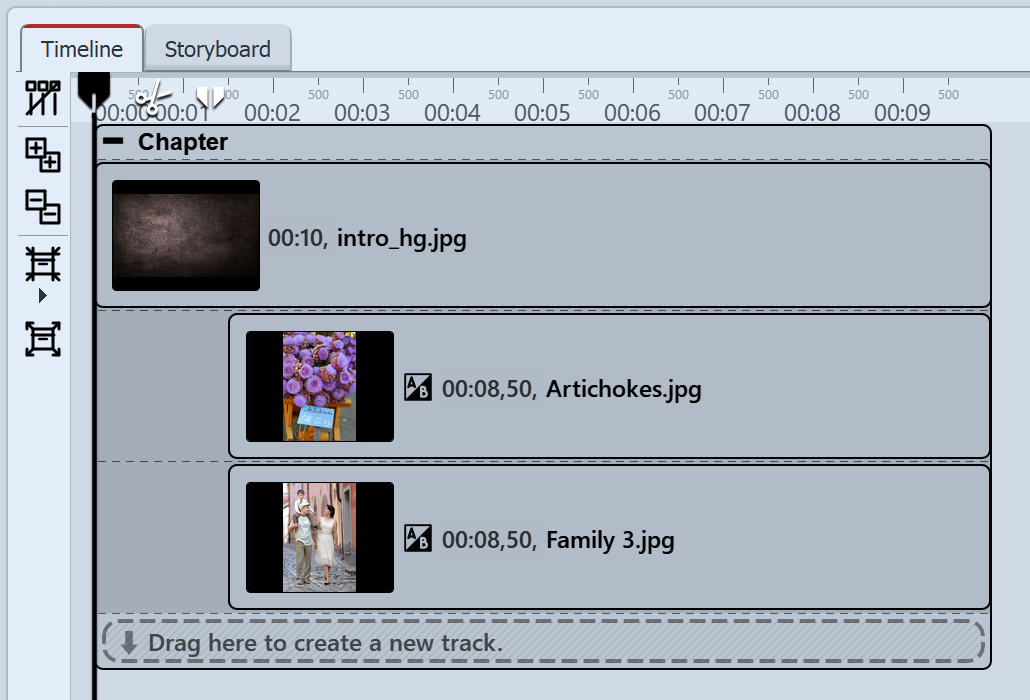 Images are now displayed simultaneously |
After inserting them, the images are located in the same track. However, the images should be displayed simultaneously. For this they must be arranged underneath one another. Click on the second image and drag it precisely under the first. It is also possible to move the images so far to the right that they have a spacing of 1.5 seconds. This means that you will see the background image first and, somewhat later, the portrait style images appear. Extend the display duration of the images under Properties / Duration to 8.5s. |
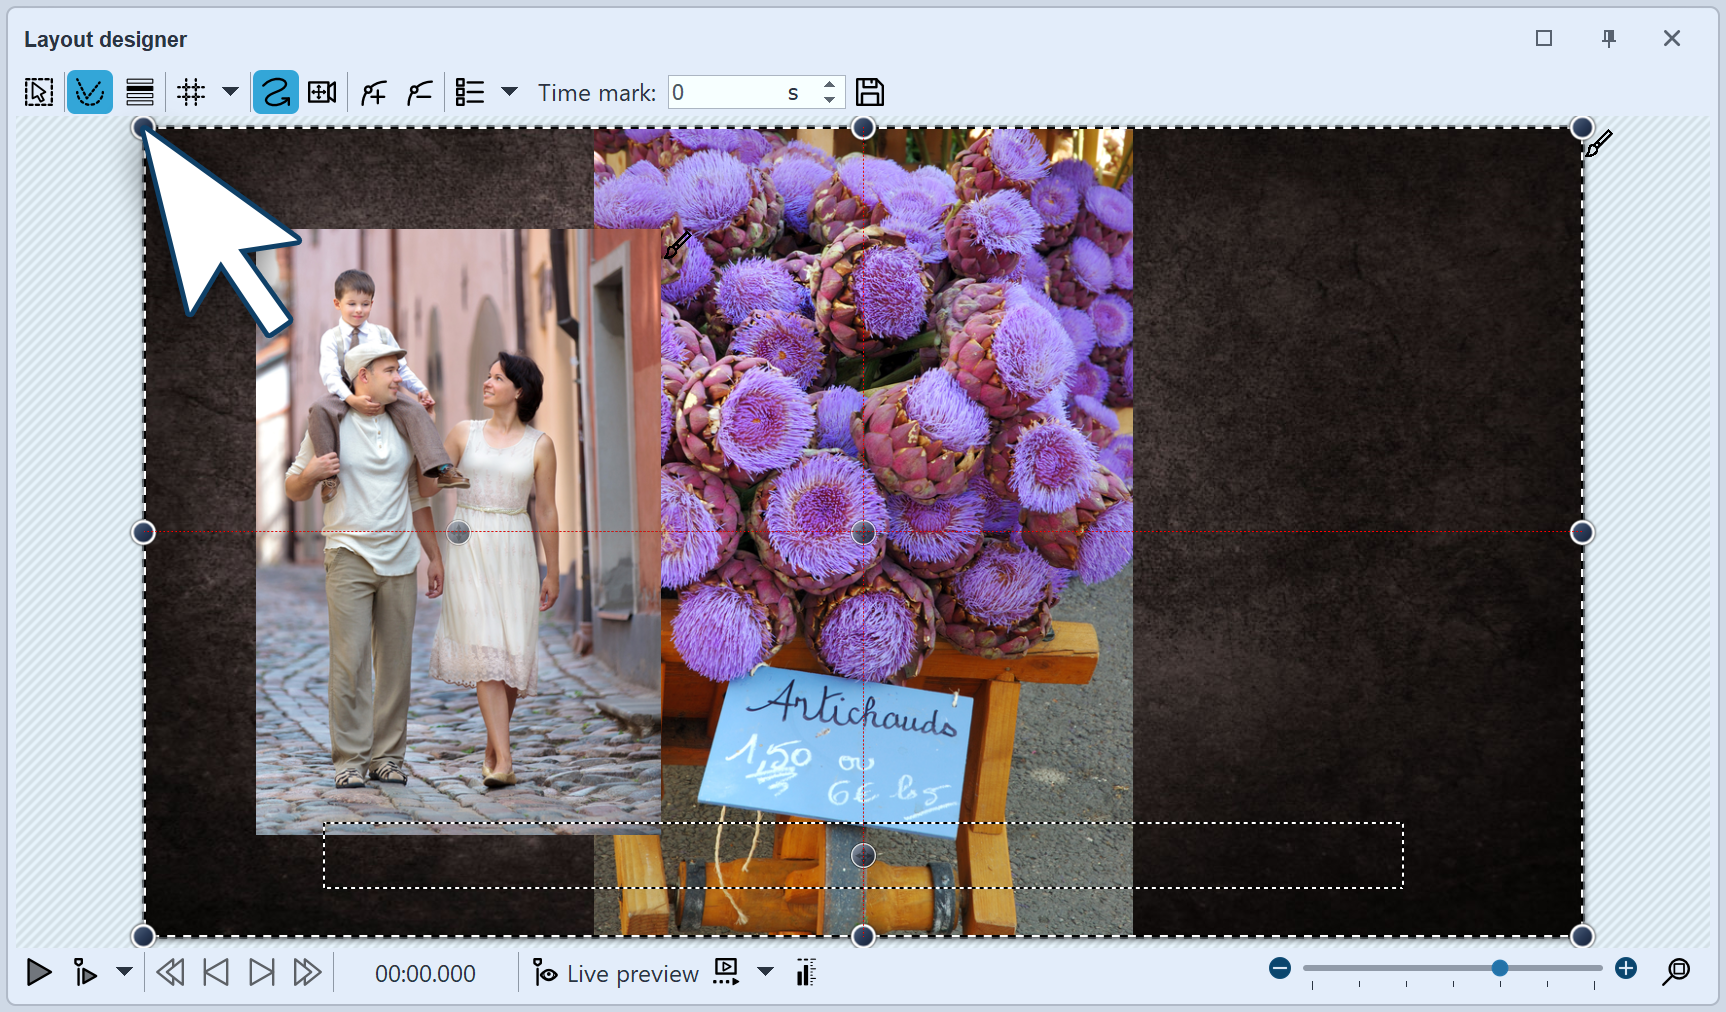 Bilder im Layoutdesigner verkleinern und positionieren |
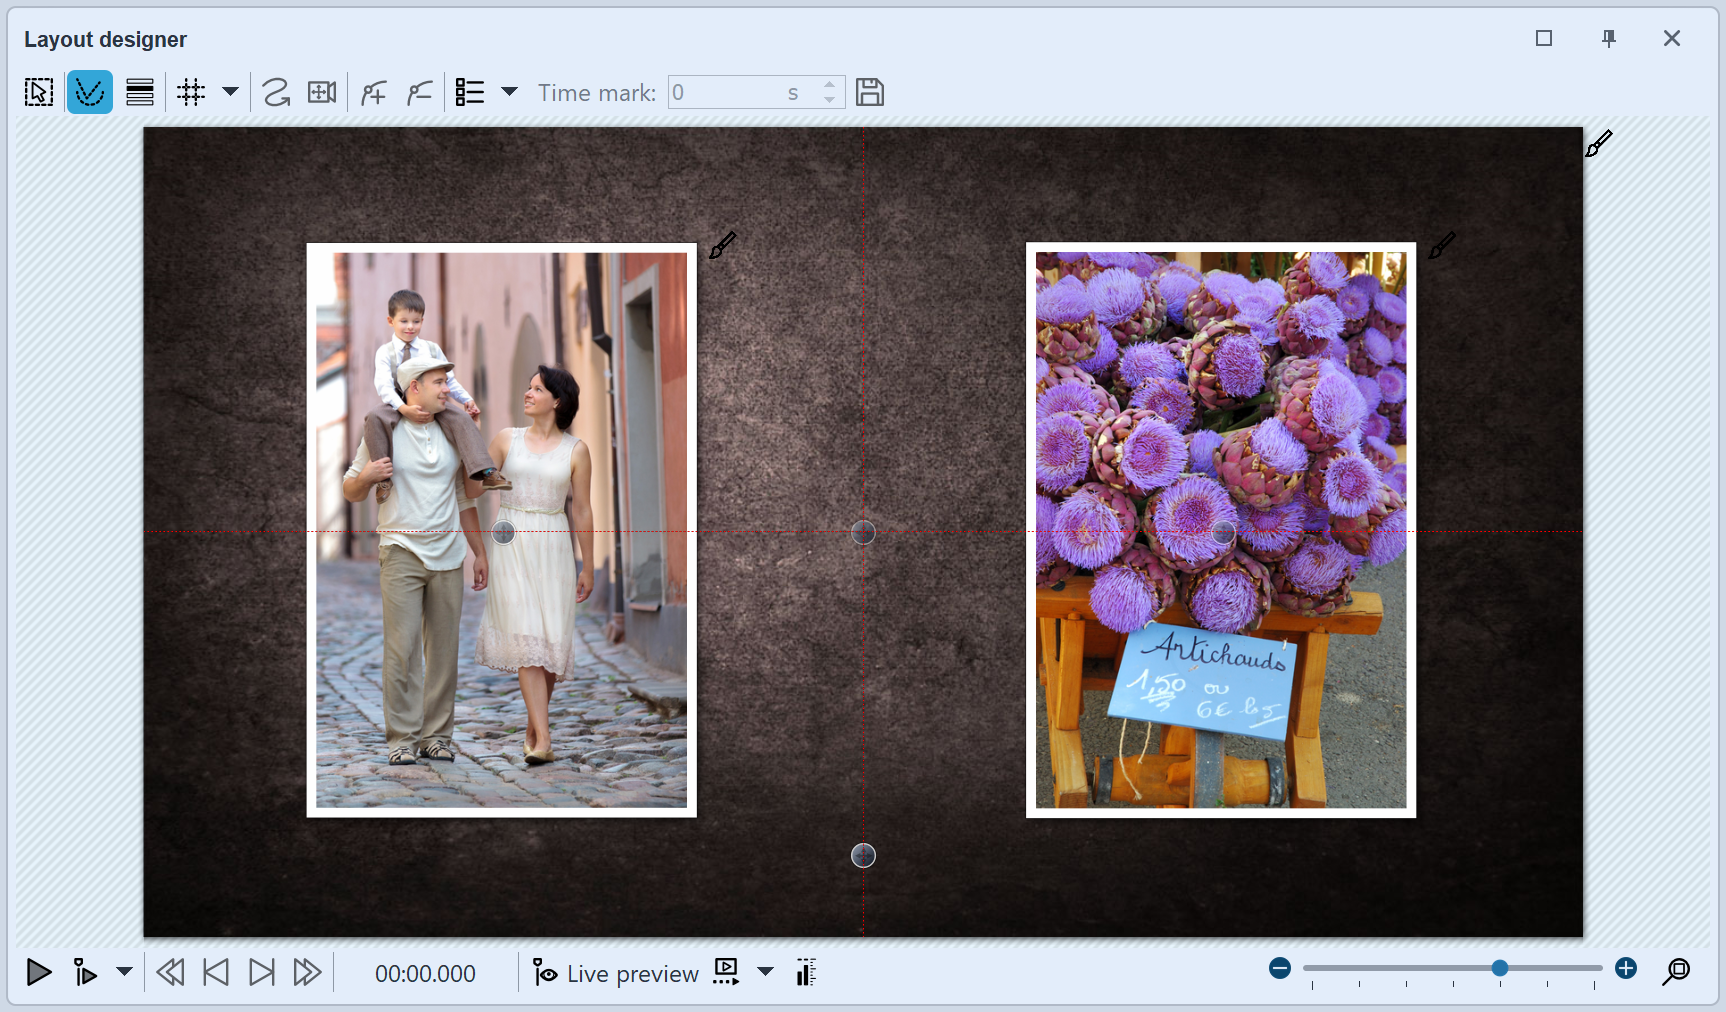 Bilder sind jetzt gleich groß, stehen nebeneinander und haben einen Bildefffekt-Rahmen |
If you look in the Layout designer, you will probably see only one image. This is because the two images are there, but one above the other. Drag the round drag points in the top left to the bottom right, in order to shrink the image. Repeat this step for the second image. Position both images so that they are side by side. |
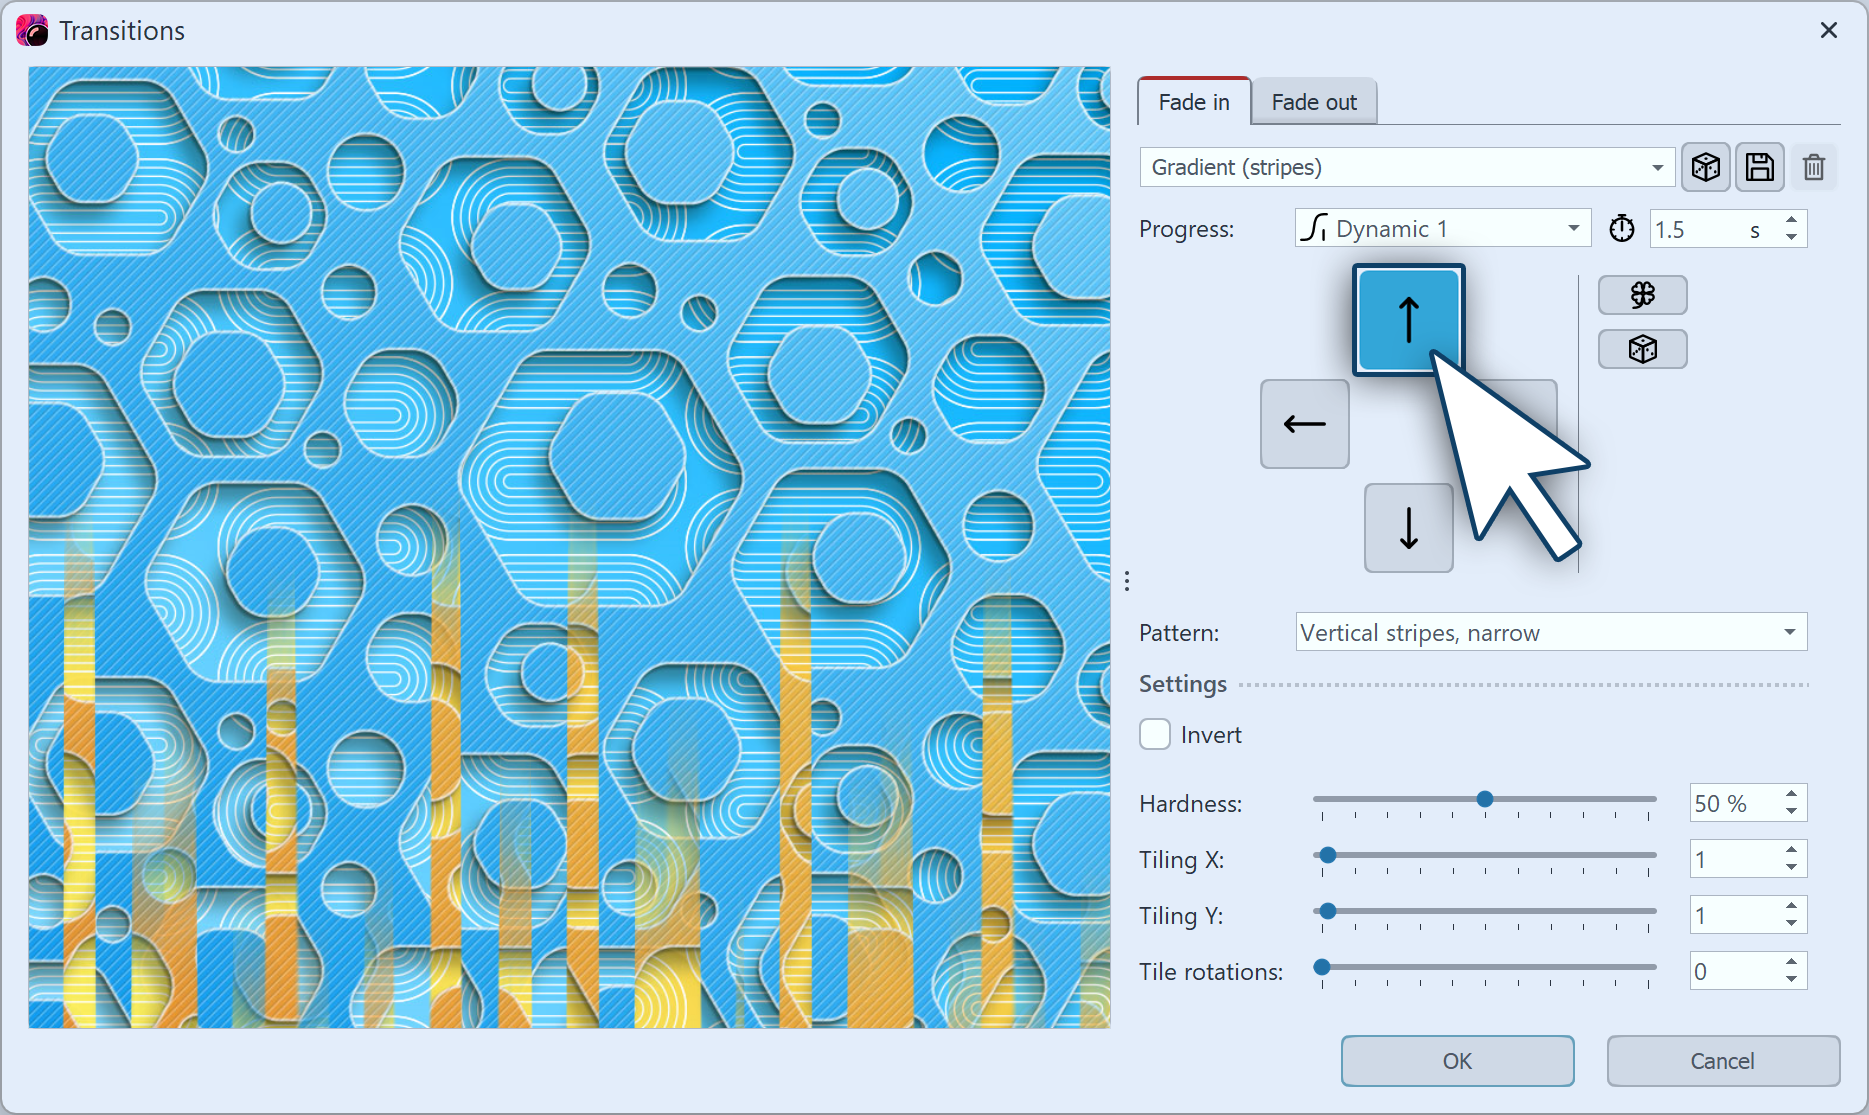 The fading in can be adapted to each case To give the images more impact, you can assign a frame. You will find frames in Toolbox in the tab Image effects. There go to the frames section and drag the image effect Unobtrusive white border onto each upright image. Assign a fading in to each image. The effect is harmonious if you use the same transition for each image. For example, you could choose the transition Course, Strips and adjust it so that the fading in extends downwards in one image and upwards in the other. |