|
<< Click to Display Table of Contents >> Determining an image's display detail |
  
|
|
<< Click to Display Table of Contents >> Determining an image's display detail |
  
|
With the camera panning tool you can also crop your photo or video so that only the portion of the image will be shown, which you have previously determined using the sampling frame.
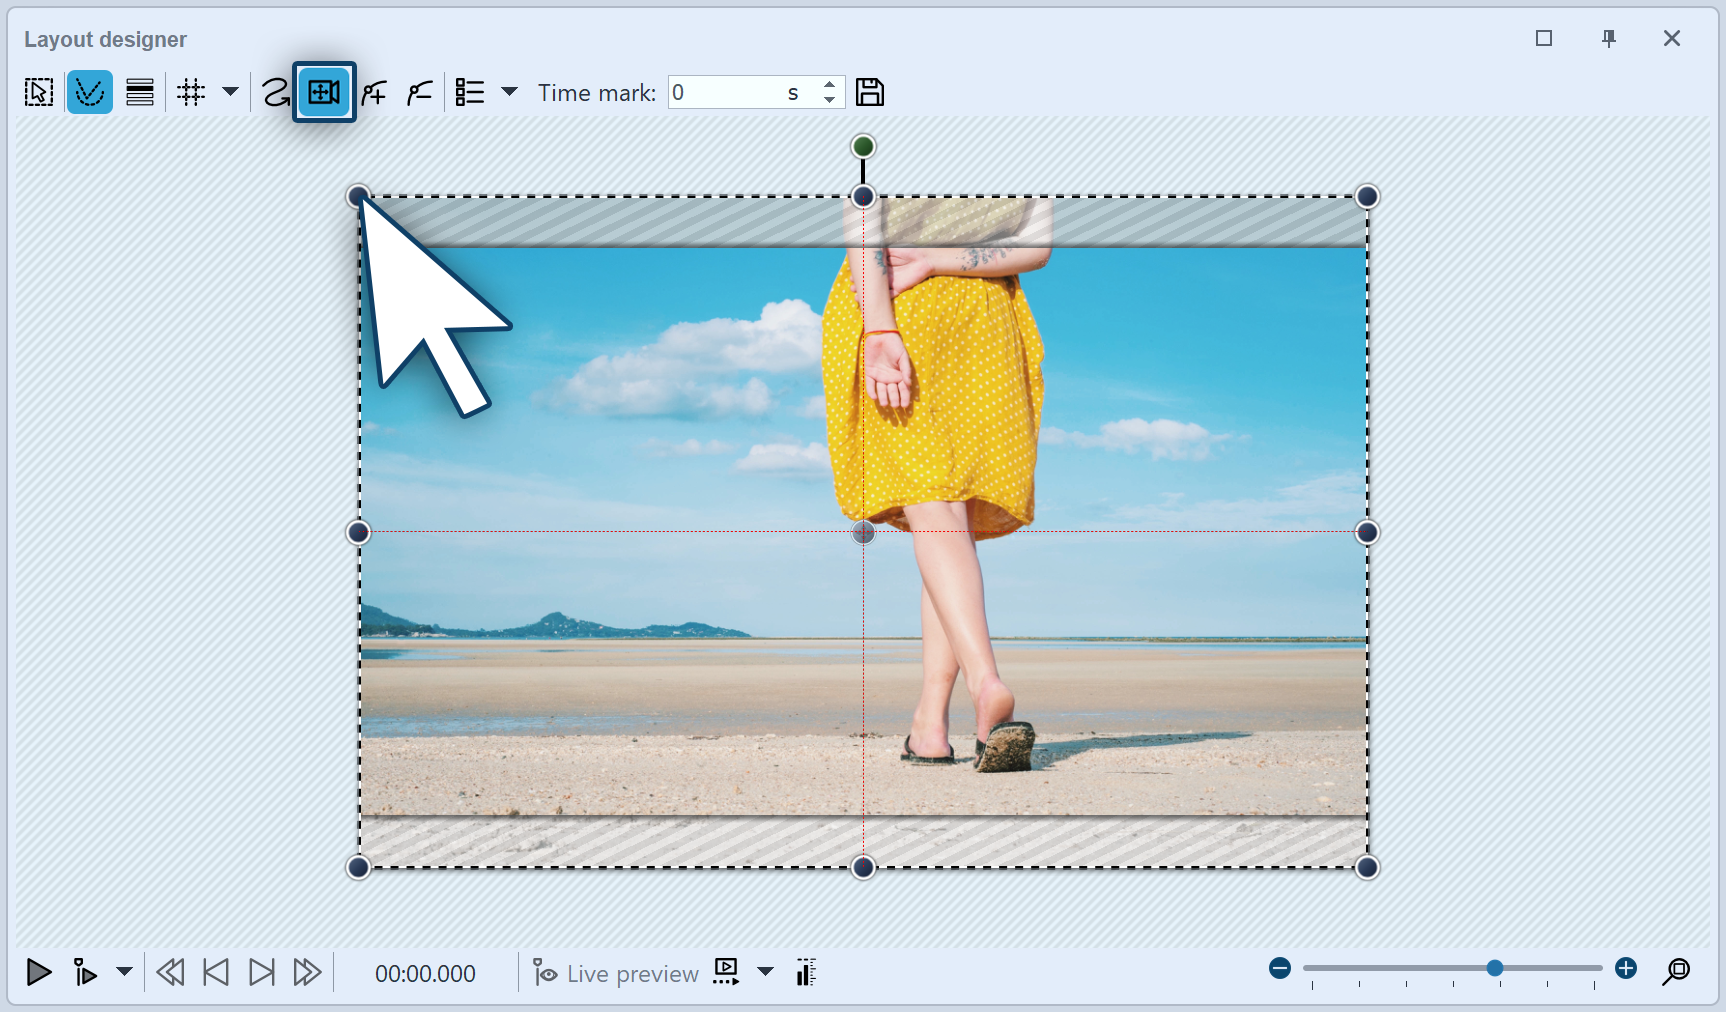
 Activate camera panning mode First activate the camera panning mode in Layout designer by clicking on the small camera icon. |
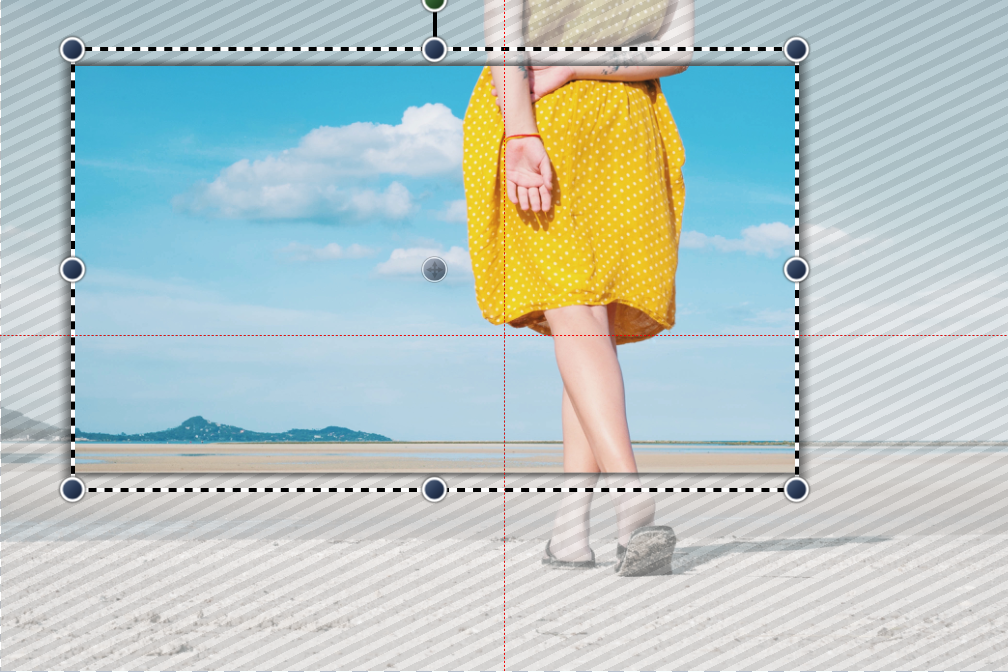
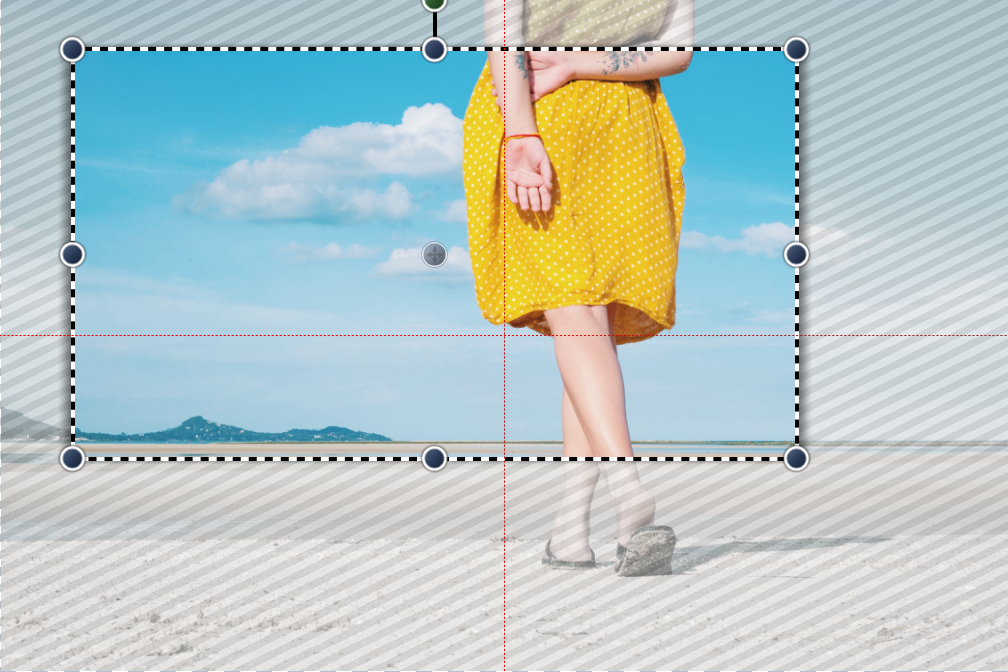
 The border displays the overhang You will now see that there is a border in the Layout designer, on your previewed image, which is surrounded by a striped texture. This border displays the section of the image which will later be seen. |
 The border fits the aspect ratio Drag the frame until you can see within it the section of the image you wish to use. |