|
<< Click to Display Table of Contents >> 3D object effects |
  
|
|
<< Click to Display Table of Contents >> 3D object effects |
  
|
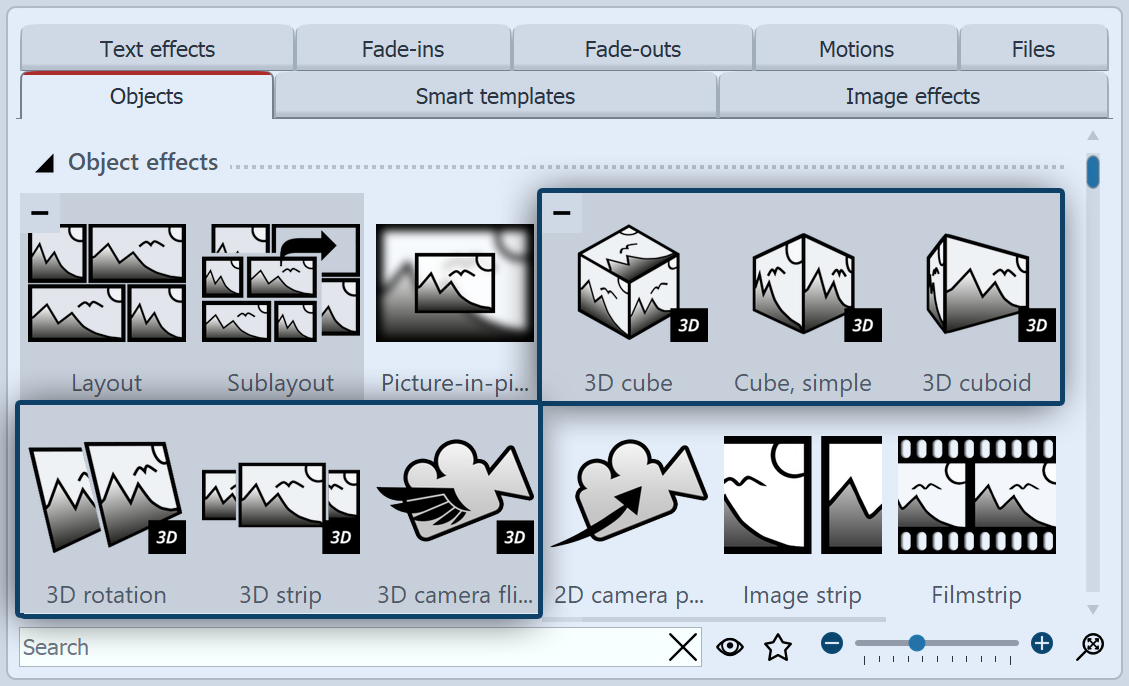
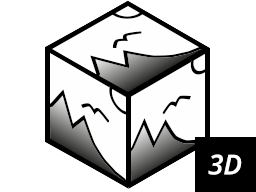 3D cube 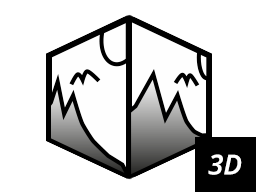 Cube, simple 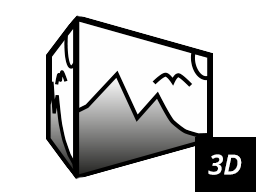 3D cuboid 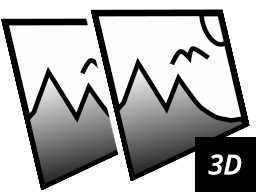 3D rotation  3D strip  3D camera flight You can find the five 3D effects 3D cube, Cube, simple, 3D cuboid, 3D rotation, 3D strip and 3D camera flight in the Toolbox under the Objects tab in the Object effects section. What they have in common is that they are animations with 3D scenes. |
You can fill the templates with photos, videos or text objects. For each effect you will find different settings to influence the animation.
1 Using the 3D object effects
 3D objects Drag the desired effect from the Toolbox to the Timeline. Depending on the selected effect, you will see one or more placeholder tracks. Fill •the 3D cube with six images one below the other (one image in each red marked area) •the Cube, simple with several images one after the other •the 3D cuboid with up to six images one below the other (one image in each red marked area). Each side can also have a color fill. •the 3D rotation with one or more objects •the 3D strip with several images in a row • the 3D camera flight with multiple images one below the other. |
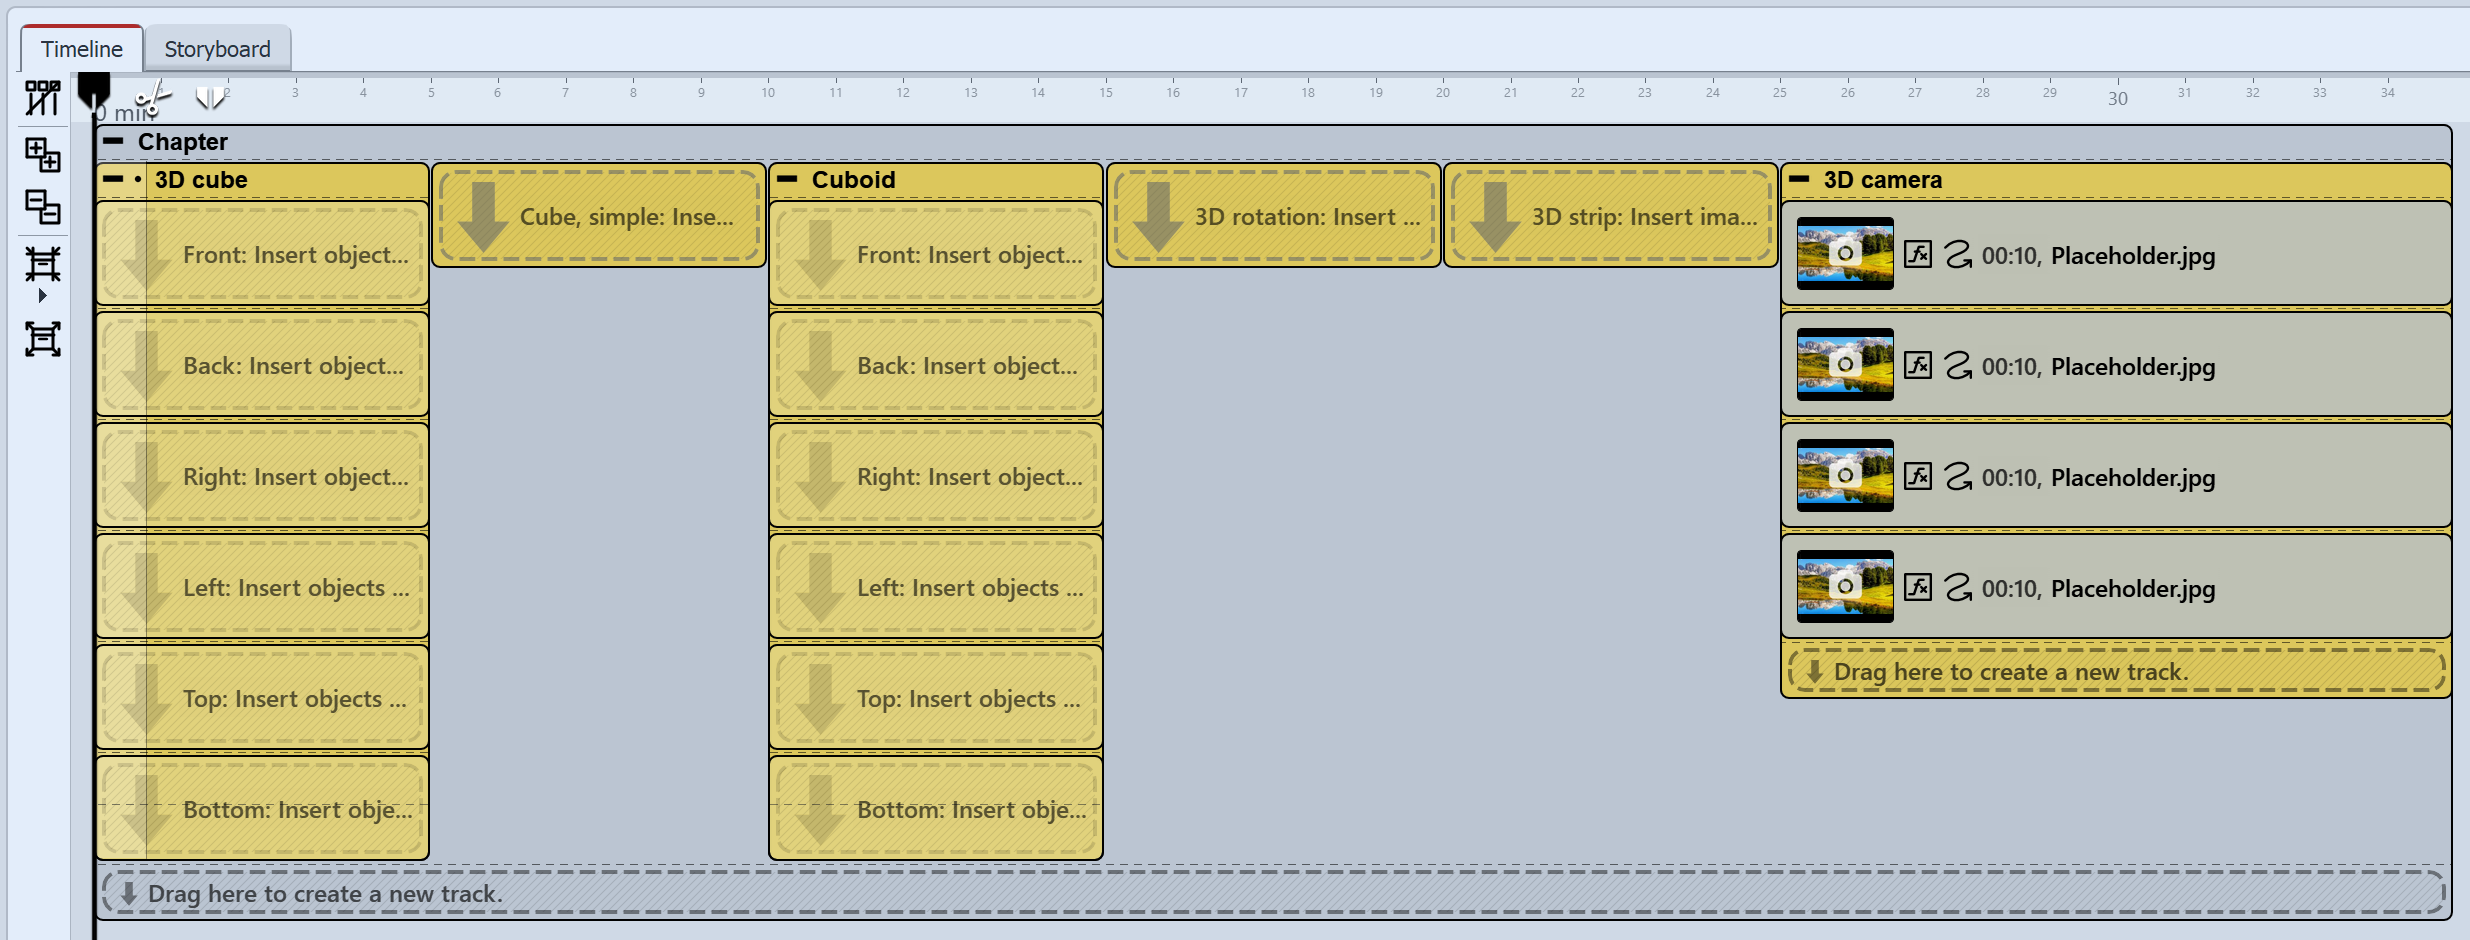 Die 3D-Objekt-Effekte in der Timeline To fill the effects, drag your images directly from the file browser of the Toolbox - on the empty effect areas (Cube, single, 3D rotation, 3D strip) - into the named placeholder areas (3D cube, 3D cuboid) - or on the placeholder images (3D camera flight effect). Release the image when the Insert file hint appears. |
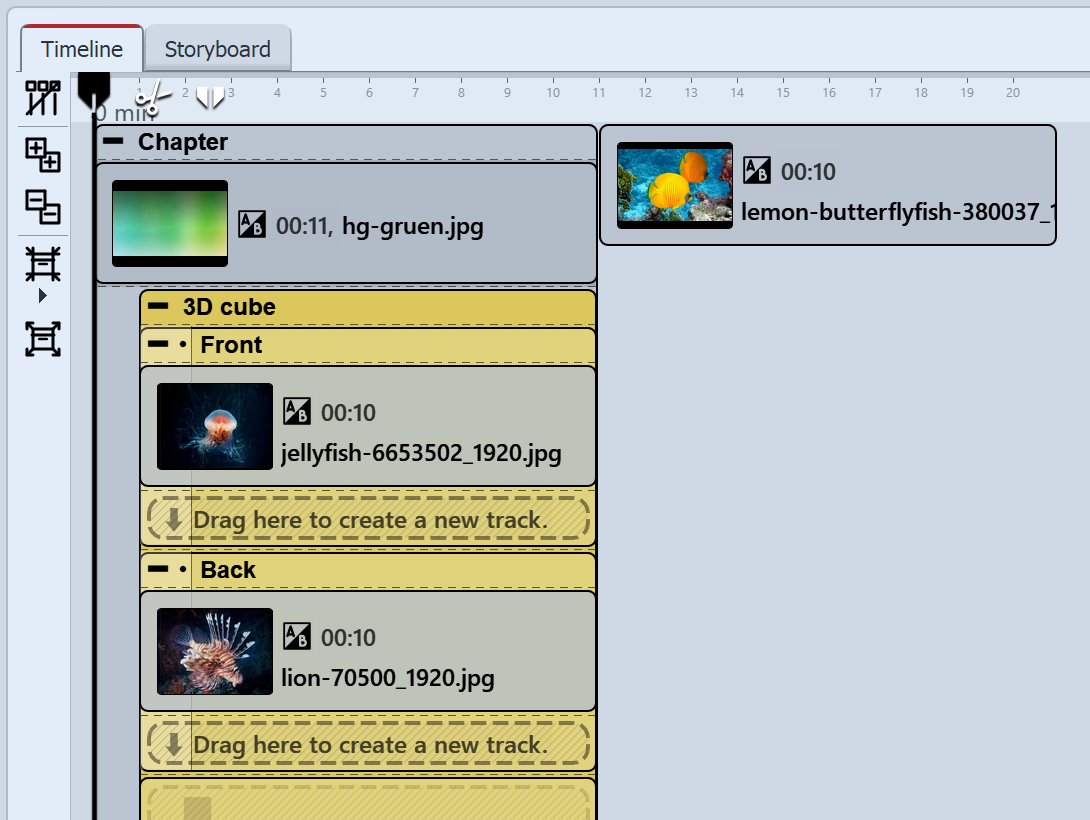 Effect with background in the Timeline Depending on what is in your project before the inserted 3D object effect in the Timeline, the animation appears against a black background or a predecessor image.To show your 3D object effect against a specific background, place the effect in a chapter object. In the top track, above the 3D effect, you can now insert any background. |