|
<< Click to Display Table of Contents >> Color curve adjustment |
  
|
|
<< Click to Display Table of Contents >> Color curve adjustment |
  
|
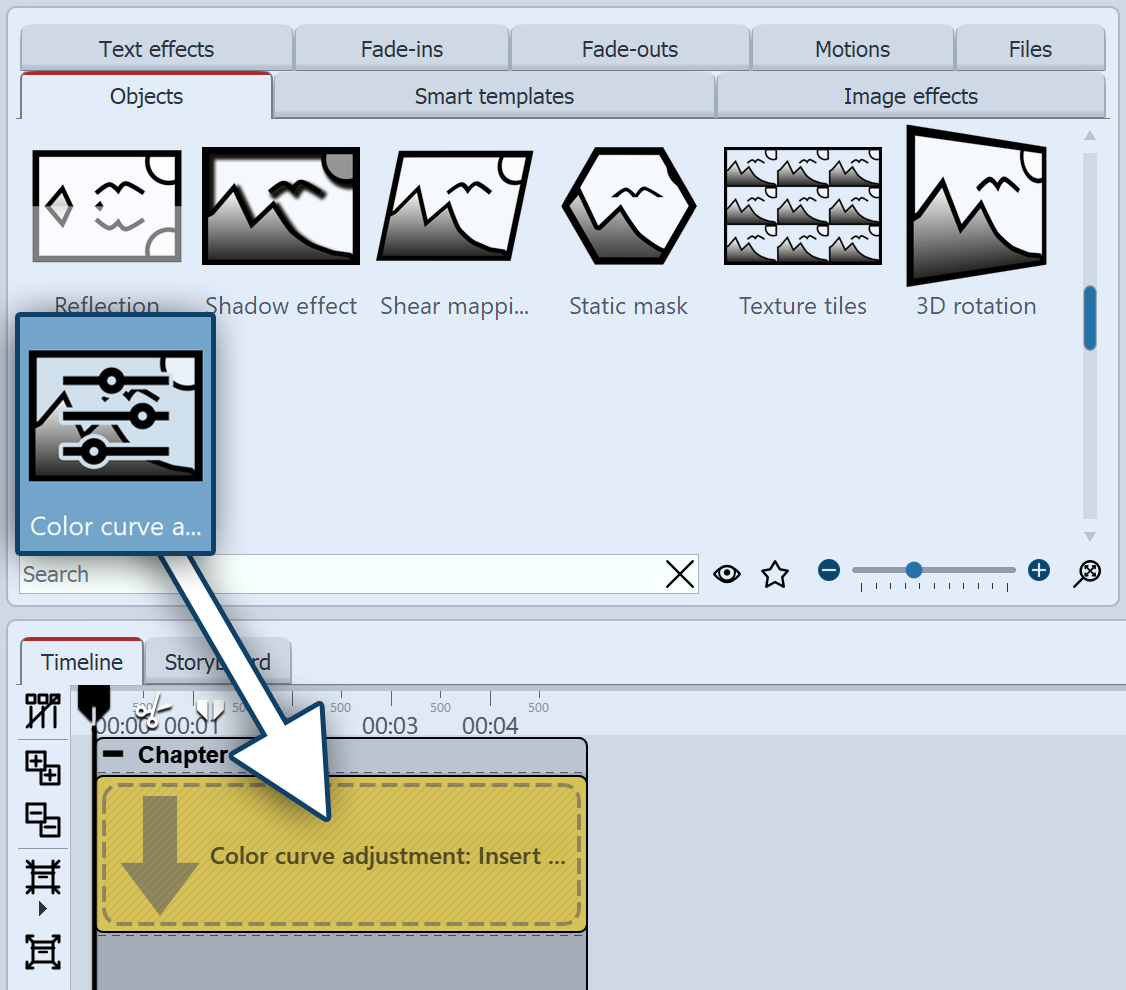
 Color curve adjustment You can find the Color curve adjustment in the Toolbox below the Objects tab in the section Live effects. With this effect you adjust the black and white point and, as a result, the contrast and the brightness of an object. |
1 Insert the "Color curve adjustment"
 Adding Color curve adjustment Drag the effect from the Toolbox onto the desired location on the Timeline.
|
2 Settings of the effect
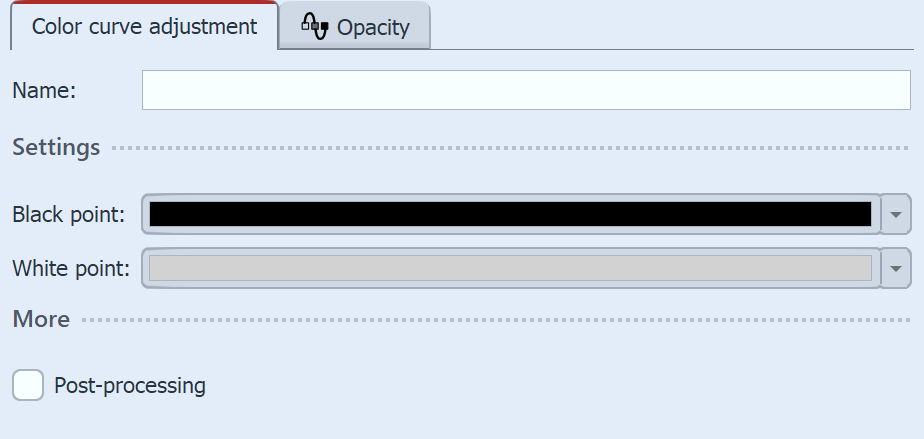
 Settings for the Color curve adjustment In the Properties window you can now set the black point and the white point. There are three possible applications: •Changing the contrast •Color matching •Combination of color matching and contrast changing Depending on which hue you choose for the black and white point, the image will change. Using the eyedropper, which you can find in the Color selection dialog, you can select the darkest point in the image for the black point. Similarly, for the white point, you can choose the lightest part of the image. If you experiment instead, you can also give the image or video a different hue. |