|
<< Click to Display Table of Contents >> Text-in-Sprache |
  
|
|
<< Click to Display Table of Contents >> Text-in-Sprache |
  
|
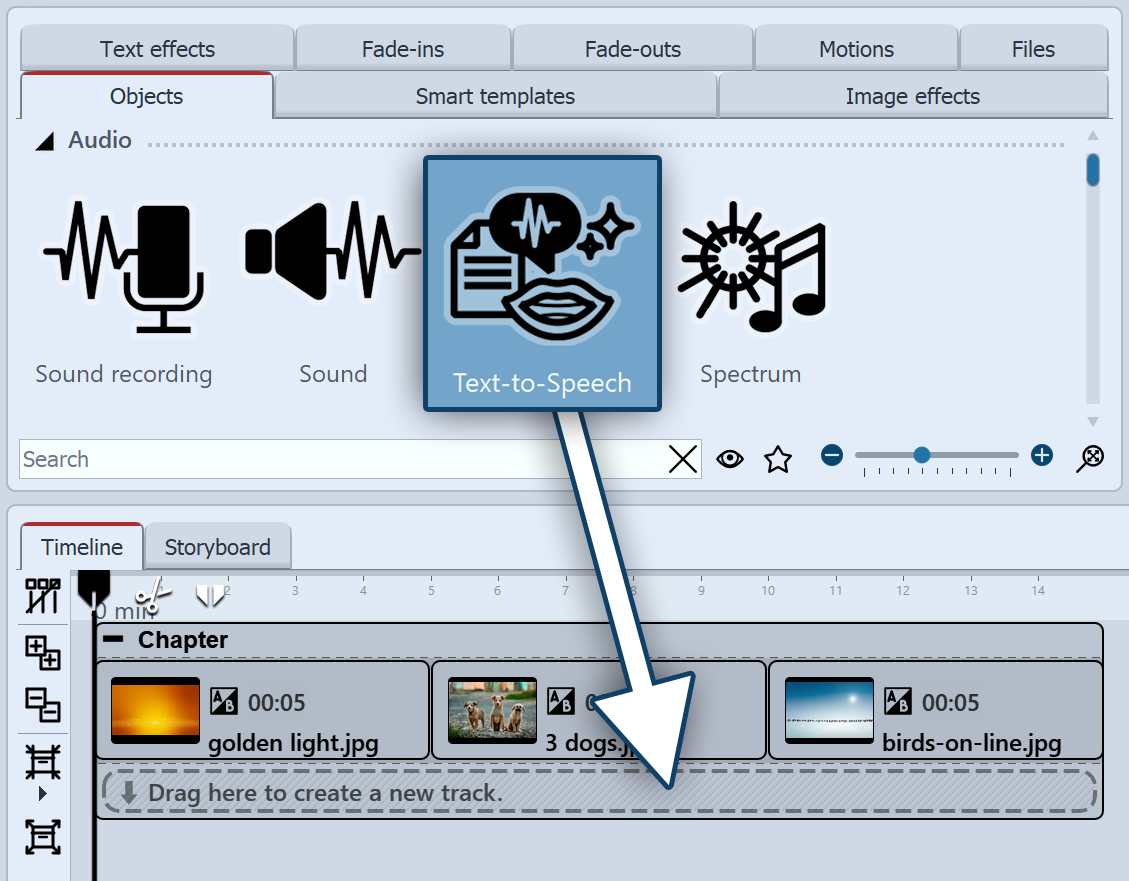
 Text-to-Speech Text-to-Speech allows you to generate a sound file from the text entered. This is inserted into Timeline as a sound object. You can find the effect in the Toolbox under the Objects tab in the Audio section. |
 Using Text-to-Speech Drag the Text-to-Speech object from the Toolbox to the Timeline to the position where you want a comment to be spoken. The Text-to-Speech dialog opens. |
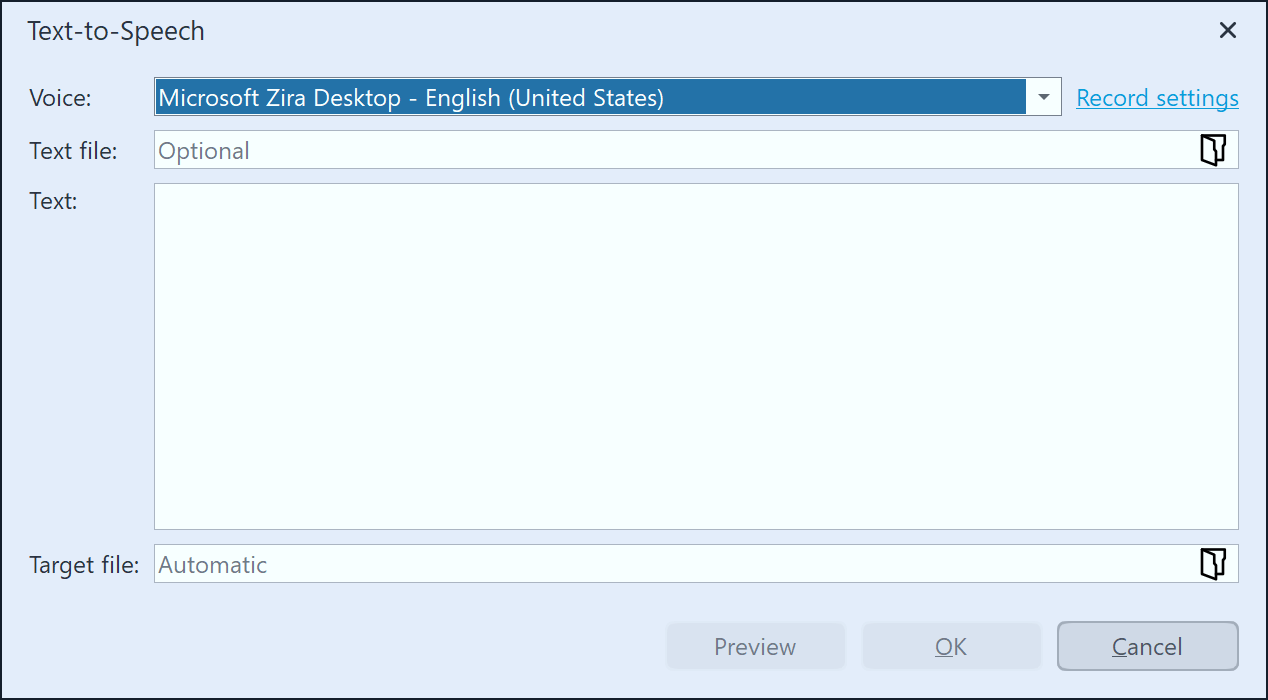
 Input dialog for Text-to-Speech Select the voice with which you want your text to be spoken. You can choose from the desktop voices supplied by Windows for the voice output. Recording settings takes you to the dialog for differentiating the settings for the sound recording, which you do not normally need to change. Select a File name and the directory in which the sound file is to be saved. Enter the text to be spoken in the text field. Optionally you can open an existing text file (*.txt). As soon as text is available, the Preview button is activated, with which you can listen to the voice output. Click OK to create a Sound object and insert it into the Timeline.
|
The sound file is saved in the project directory by default if the project has already been saved. |
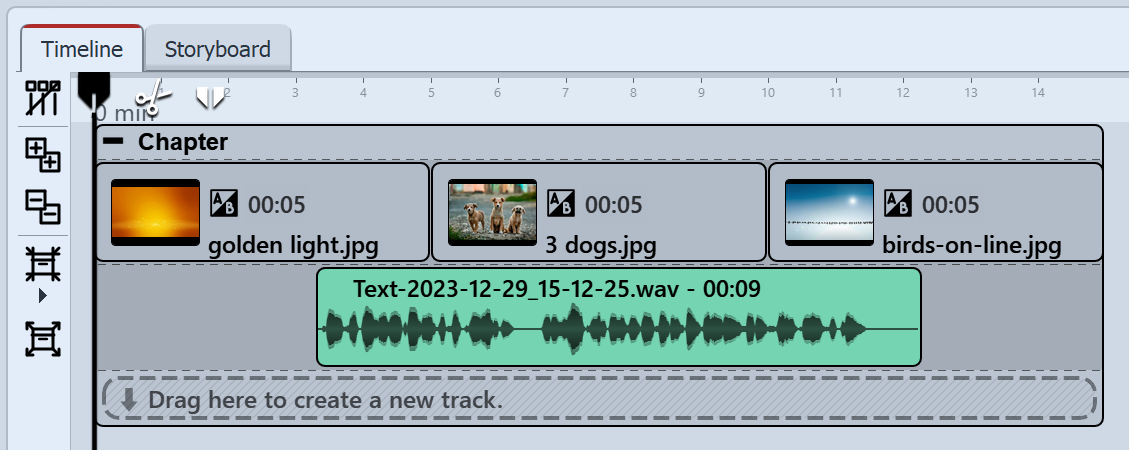
 Sound object with generated language in the Timeline You will now see the Sound object in the Timeline. You can move or cut the sound object.
|