|
<< Click to Display Table of Contents >> 2 Fit images to aspect ratio |
  
|
|
<< Click to Display Table of Contents >> 2 Fit images to aspect ratio |
  
|
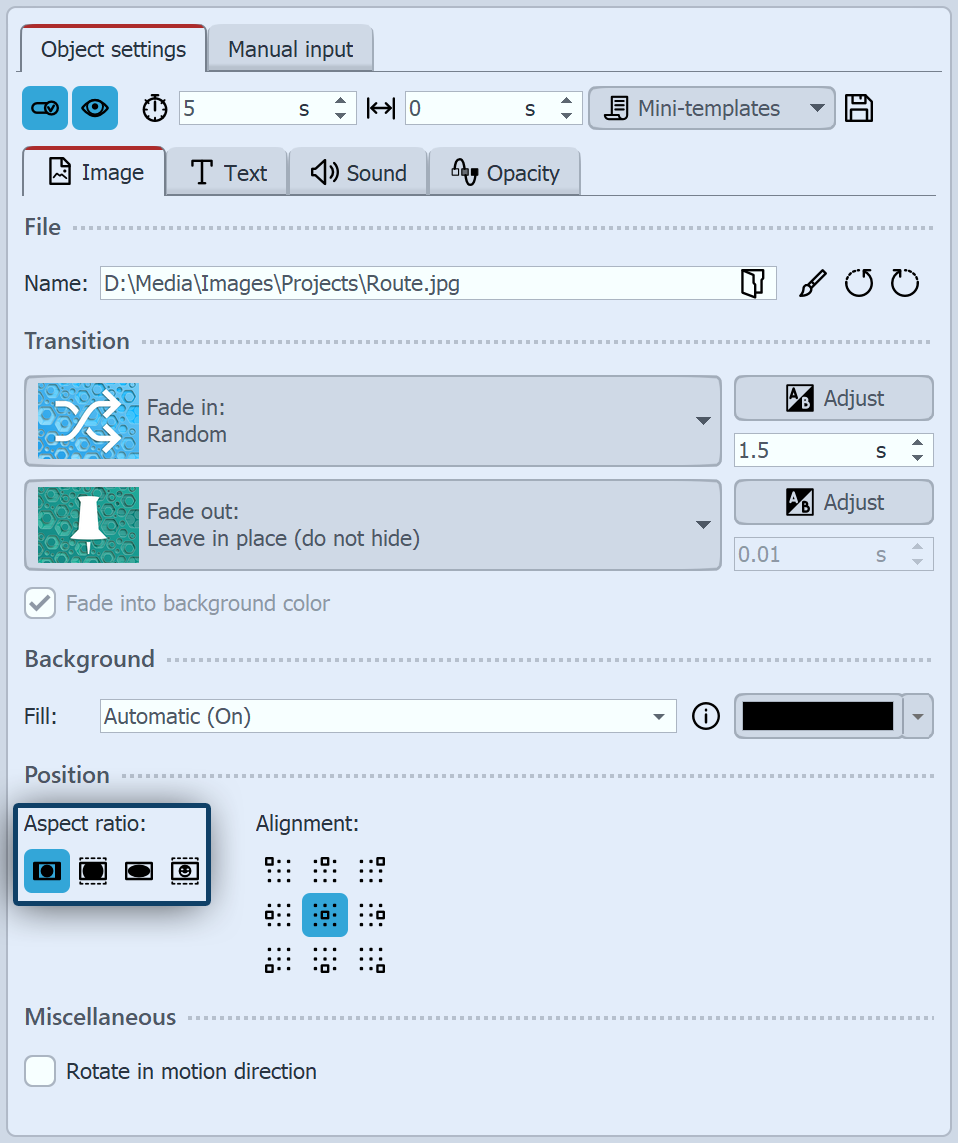 Adjustment via image properties In the Properties window, under Position / Aspect ratio, you can make various settings to automatically adjust the aspect ratio of your photo to the aspect ratio of the project. |
The following options are available for an image or video:
|
Keep - The image keeps its aspect ratio. If it is different from that of the project, black borders will be displayed. |
|
Crop - the image is cropped at the edges so that it has the same aspect ratio as the project (the original file is not changed, only the display of the image in the project is cropped). |
|
Stretch - The image is compressed or stretched to fit the aspect ratio of the project. This is not suitable for images of people, as they may acquire an unnatural or unflattering figure. |
|
Center faces - the image is cropped at the edges so that it has the same aspect ratio as the project (the original file is not changed, only the display of the image is cropped). Faces are taken into account when cropping (face detection) so that they can be seen as completely as possible. |
You can use the Alignment buttons to influence the position of the image on the screen or to specify the area of the image to be cropped when "Crop" is selected. The center position corresponds to "Centered".
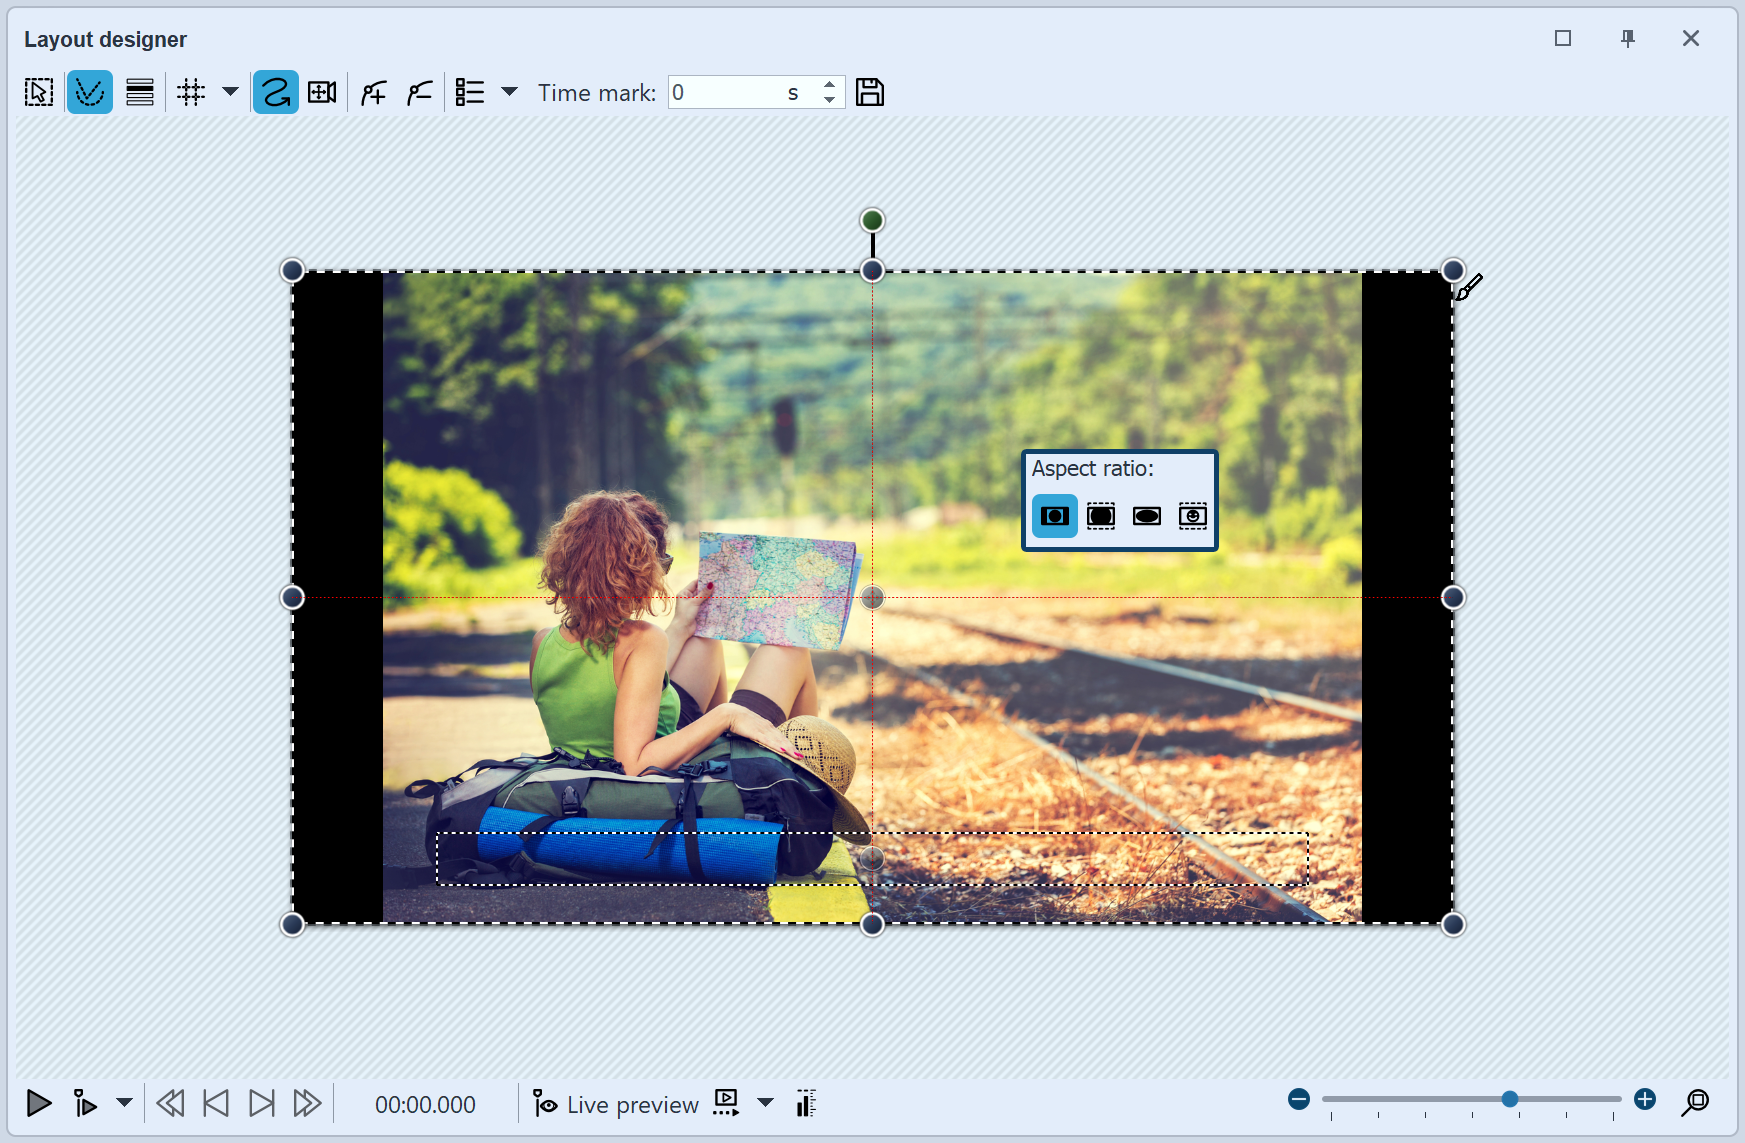 Image in 16:9 project with "Keep" aspect ratio
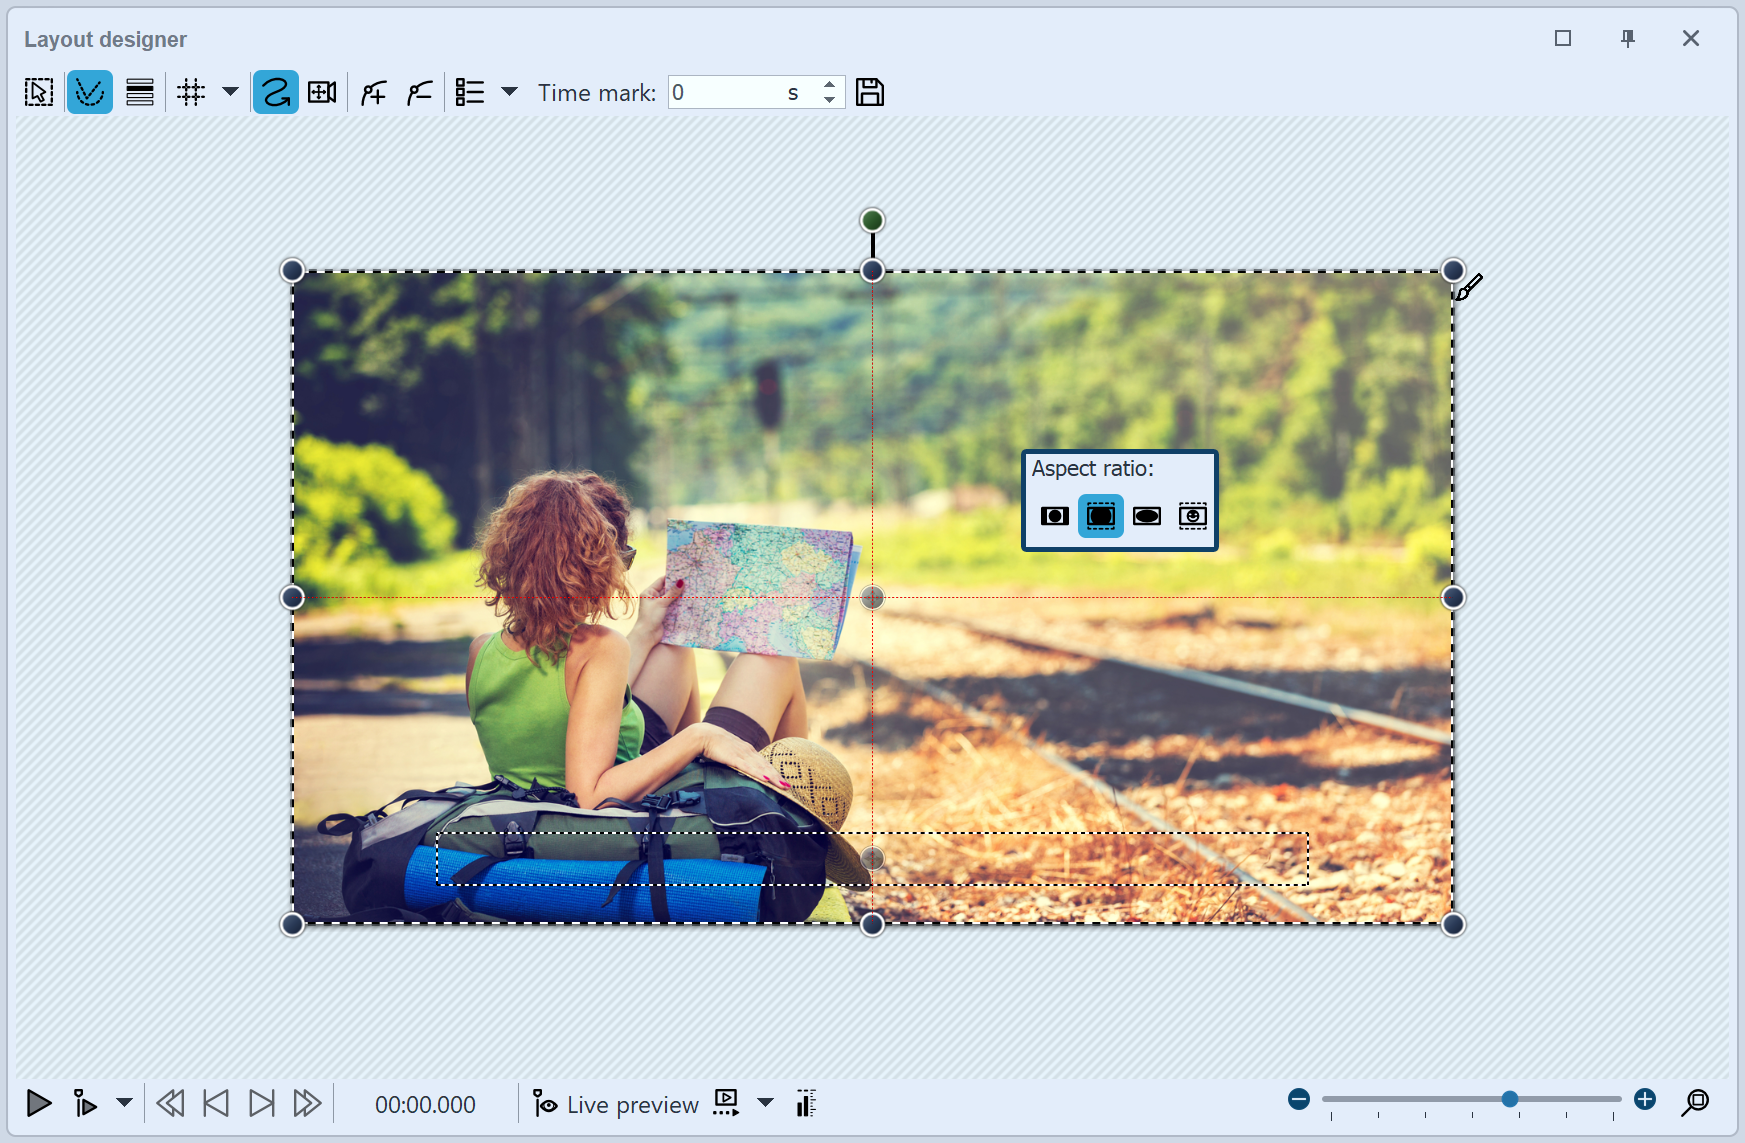 Image in 16:9 project with "Crop" aspect ratio |
|
If you want to edit all the images in the same way, it is enough to select them by pressing the Ctrl + A keys. Now you just need to select the desired option, it will be applied to all the selected images. |
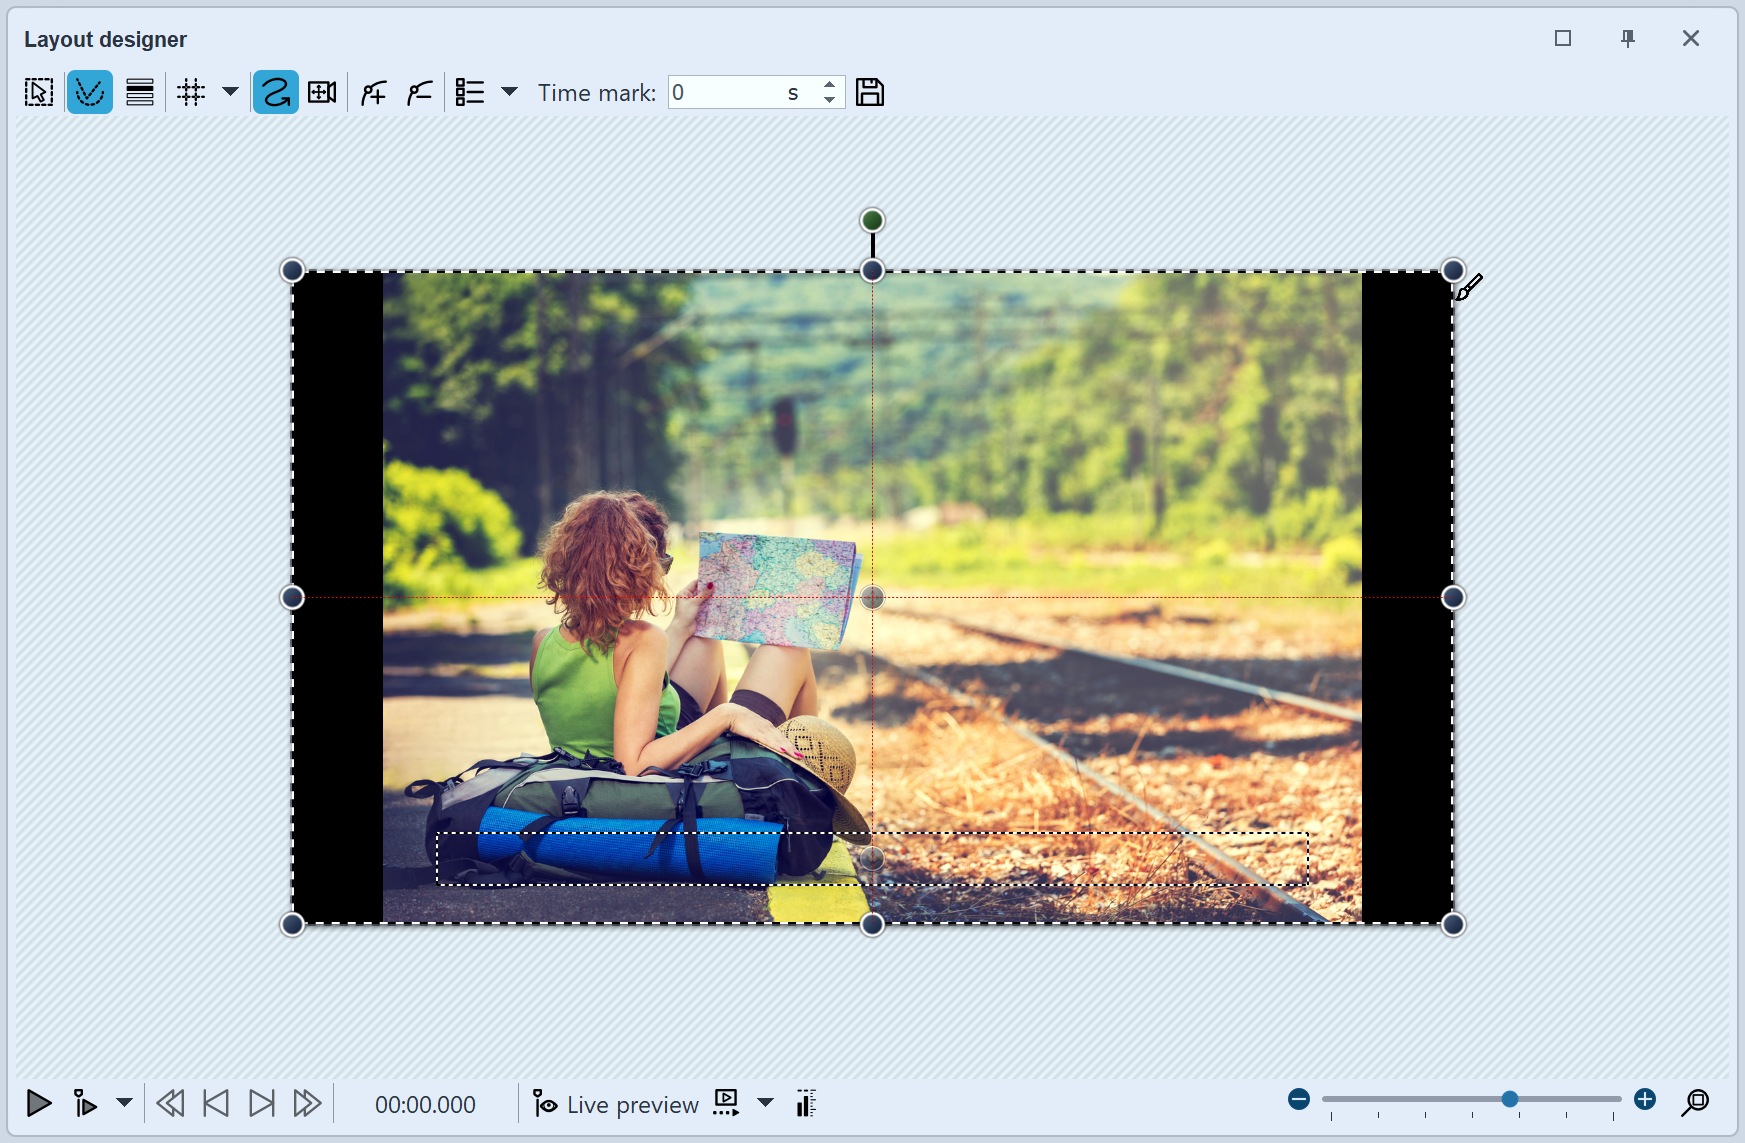 Image with black borders left and right In the following example you will learn how to adjust the images to the aspect ratio of the project according to your own ideas.Create a new project in 16:9 aspect ratio via New I New project in 16:9 format. Add an image that does not match the 16:9 aspect ratio. The aspect ratio is set to Keep in the properties. |
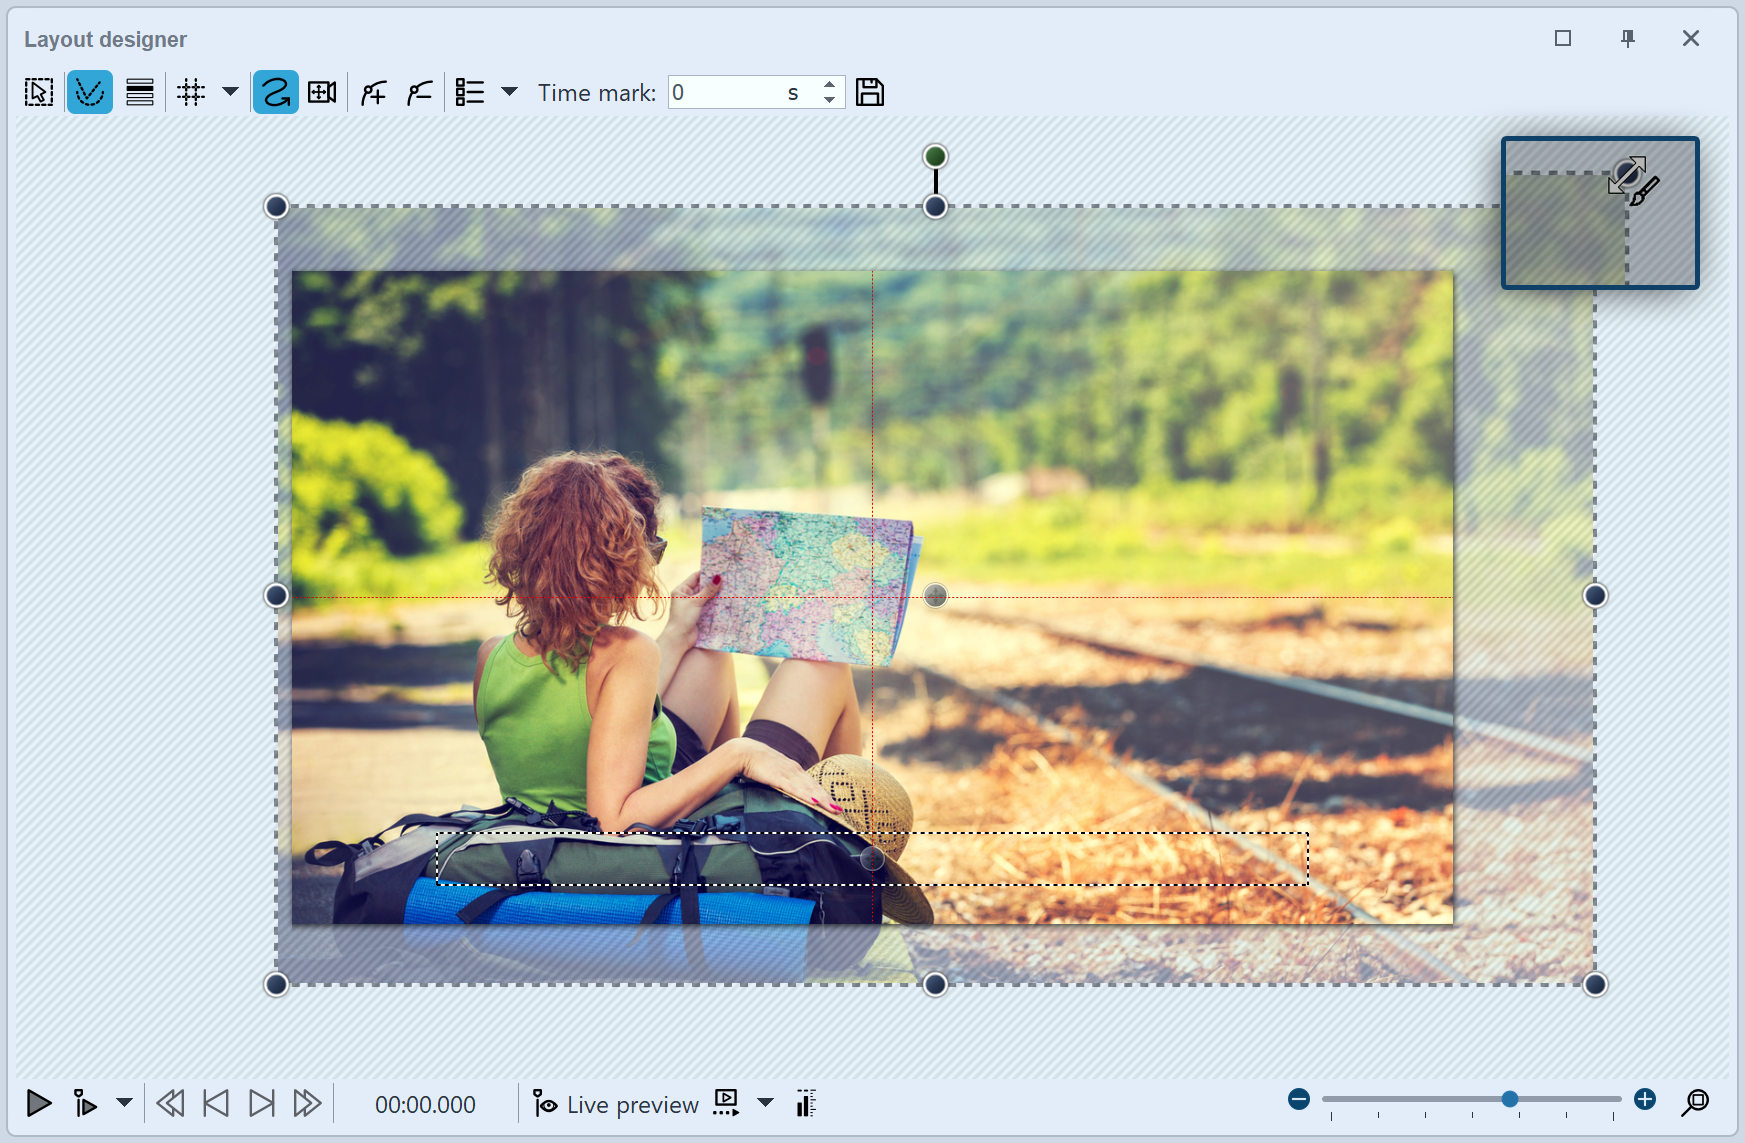 Enlarge image in Layout designer Reduce the size of the section in the Layout designer by clicking the Minus symbol Drag the image larger using the corner points of the Position frame until the black borders have disappeared. Then position the desired image section in the visible area. Alternatively, you can also Define a section of the image with a camera pan. |
Save as template (optional) If several images are to be inserted into the project with a specific setting, it is worth saving the setting you have made as a separate template in the Toolbox. You can then use the template to have the following images inserted automatically with the desired settings. You will learn how to save your own template in the chapter Saving your own objects. |
|
Learn how to include portrait and other photos into your project without black borders in the blog article with video "Hochformat-Fotos gut präsentieren". |