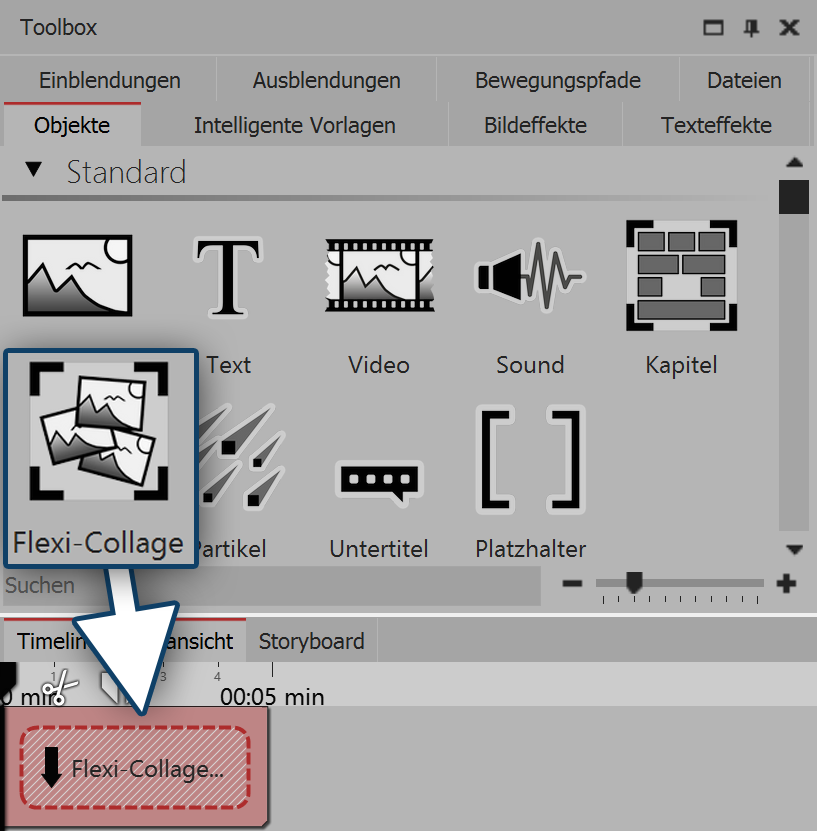
 Flexi-collage The flexi-collage can be found in the Toolbox under the tab objects.
Grouping objects within a flexi-collage. You can then animate this group and apply effects. In this way you can, for example, combine multiple transitions or create animations with multiple concurrent movement paths movement paths. Just as with the chapter object, inside the flexi-collages tracks can be created. You can also nest several flexi-collages inside one another.
|
1. Inserting a flexi-collage
 Dragging a flexi-collage from the toolbox into the timeline Drag the flexi-collage from the Toolbox into the Timeline. After that, in the Timeline you will find an empty red box into which you can drag items.
|
2. Inserting objects into a flexi-collage
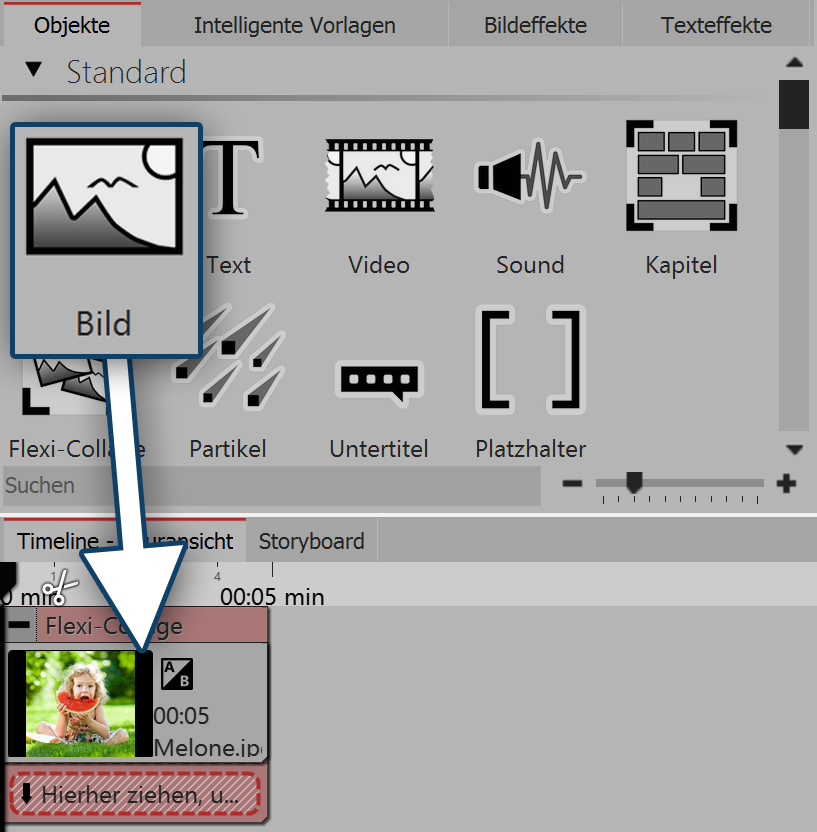
 Dragging picture objects into a flexi-collage Now drag all the objects that you wish to combine together into the flexi-collage. In the following example, an image will be inserted into the flexi-collage. The image is displayed afterwards in the Timeline and is surrounded by the red frame of the flexi-collage.
As with the chapter object, you can work with tracks. To create a new track, drag a further image object into the flexi-collage, onto the text “drag here to create a new track.".
|
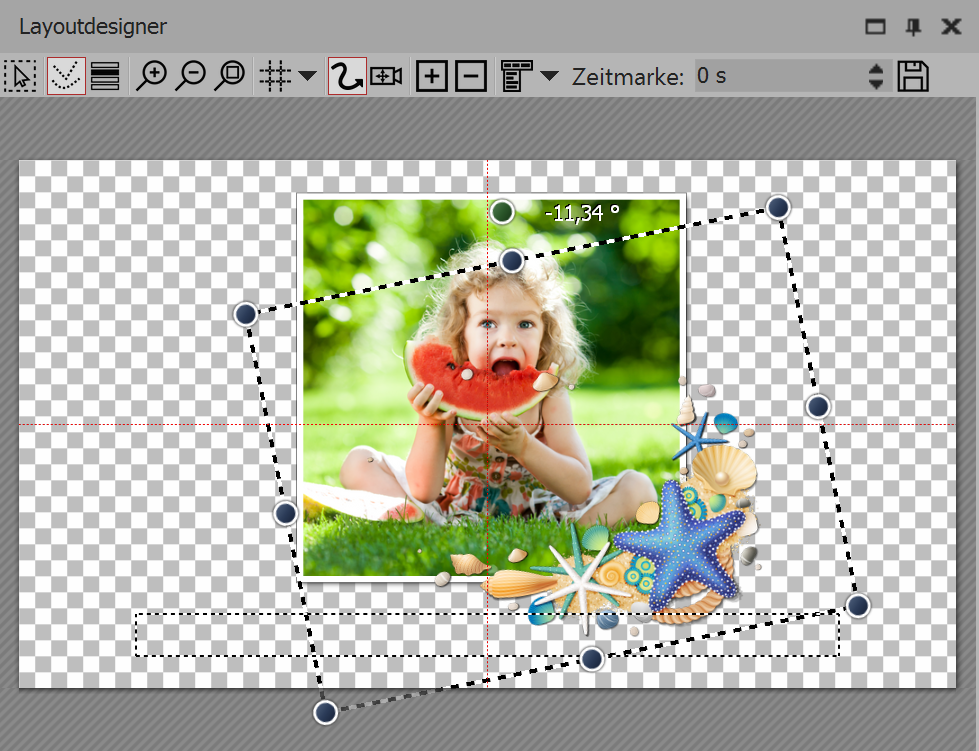
There are now two images in the flexi-collage. Position the images in the Layout designer and change their size using the dark blue drag points.

Positioning images in the layout designer
After you have individually positioned the images, click on the red border of the flexi-collage in the Timeline. Now you can animate the inserted images as a group with a movement path and assign an effect to the image group.
3. Settings for the flexi-collage
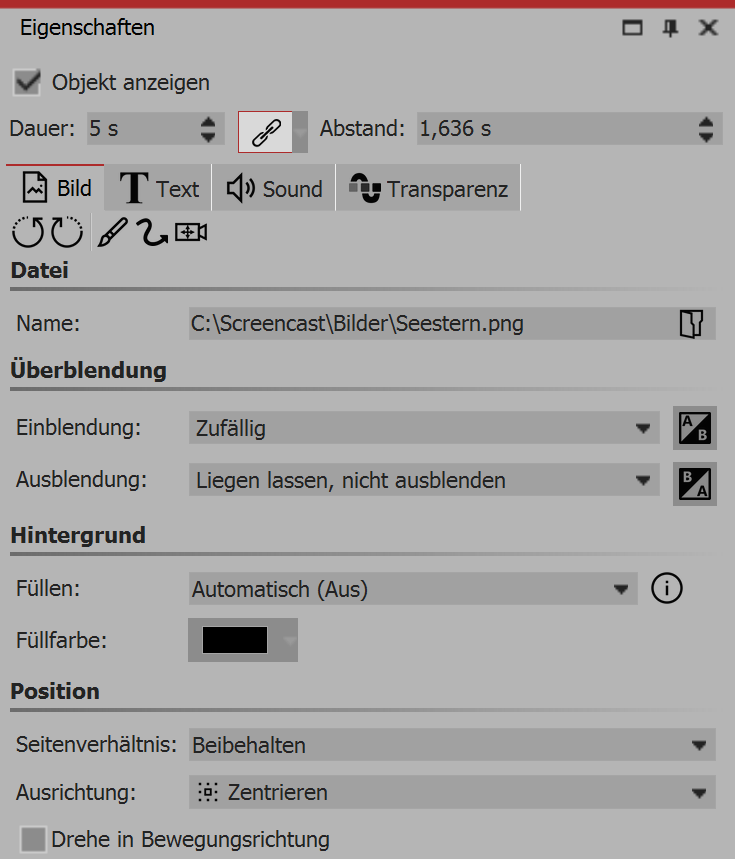
 Settings for the flexi-collage If you click on the red border of the flexi-collage (not on one of the objects already in the collage) in the Timeline, you can assign transitions and adjust the other settings in the properties window.
|
3.1. The “flexi-collage” tab
Title
|
Here you can enter the title for the flexi-collage object. For large projects with several flexi-collages, you get a good overview.
|
Cutting content
|
If you activate this content, the parts of the flexi-collage, which are beyond the visible range in the Layout designer, are cut off.
The setting is useful when the college needs to be rectangular and the elements within it ought not to stray beyond the edges.
|
Fading in or out
|
Here the desired fade in or out is set for the entire flexi-collage. The objects which are inside the flexi-collage can also crossfade.
With the switch adjust the fading in or out can be configured. You will also get a preview of all the fades in and out.
|
Filling the background
|
On = background is filled in with color when the collage is made smaller.
Off = background is not filled and the previous item “shines through”.
Automatic = the program is automatically set to on with regard to objects (image, video, flexi-collage) in the first track. If you move an object to the second track, or lower, it is set to off. This means that you can create image-in-image effects more quickly.
|
Aspect Ratio
|
Images have an aspect ratio, which is composed of height and width of the image. If a flexi-collage which has been created differes from the selected aspect ratio of the project is different, you can decide here how the flexi-collage is to be displayed.
Maintaining:: The flexi-collage gets edges when playing.
Cropping: From the edge of the flexi-collage parts are “cut off” until the flexi-collage fits into the correct aspect ratio, without this, borders result.
Distorting: The flexi-collage is inserted into the aspect ratio of the project, where a distortion of the image takes place.
|
Alignment
|
Determines the position of the collage on the screen.
|
Rotate in the direction of movement
|
If you have assigned a motion path to a collage, you can get the collage to rotate along the path automatically.
|
3.2. “Transparency” tab
The animated transparency is described in the chapter "animated transparency”.
|


