16:9 or 4:3?


16:9 or 4:3? |
|
|
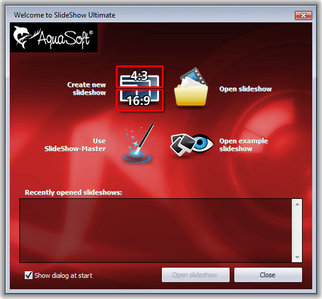
At first you have to specify the aspect ratio you want to create your slideshow in. The aspect ratio defines the ratio between image width and image height.
If you want to show your slideshow on TV later the aspect ratios of 4:3 and 16:9 come in handy. Older CRT-TVs only support the ratio of 4:3, while modern flat-panel TVs support both 4:3 and 16:9.
If your images are in format 4:3 or 3:2 (digital single-lens reflex cameras) select 4:3 as aspect ratio. If they are in 16:9 format select this format respectively. In case you want to use the format 16:9 even though your images don't have this format, the images need to be adjusted into the 16:9 format. This is not possible without "cropping" the images a little at the top and bottom. Without this cropping it is technically impossible to display a distortion-free image. 
 Adjusted by  Adjusted by
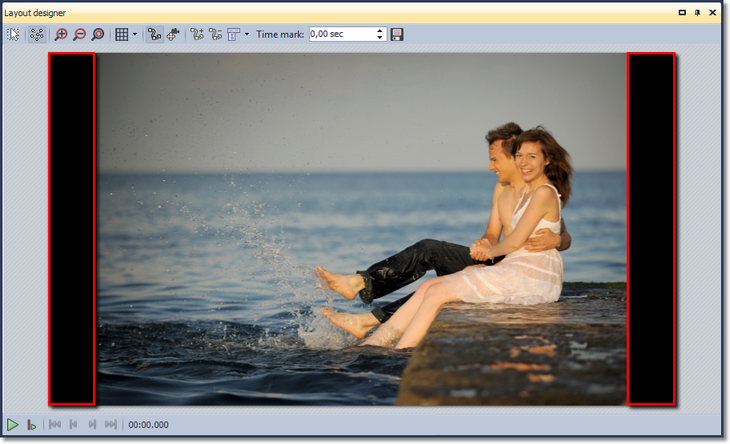
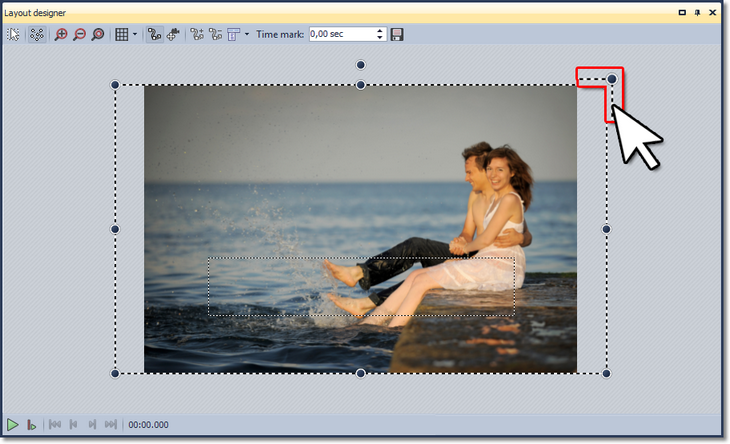
What do you have to do now? Insert an image into an empty 16:9 slideshow.
You see the black borders left and right of the image. Decrease the size of the visible area in Layout Designer by clicking on the Now it should look similar to the next graphic:
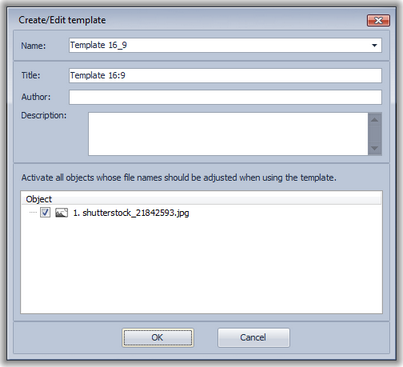
You can save this positioning to a template so that you don't have to repeat this process for every single image. To do this simply drag the image from the Image list to the Toolbox and specify a name for the template in the now opening dialog.
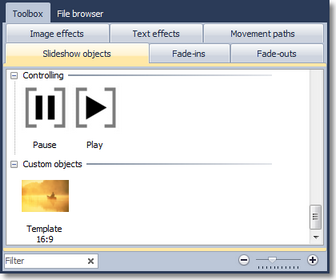
After clicking OK you can find the template in the Toolbox under Slideshow objects -> Custom objects.
To add additional images in 16:9 format, simply drag the saved template with pressed mouse button onto the Timeline or the Image list. The dialog to add images appears. Now select the images you want to add, and they will be inserted with the settings of your custom template.
|
| Copyright © AquaSoft GmbH 1999-2018 www.aquasoft.net |