Text to images


|
Text to images |
|
|
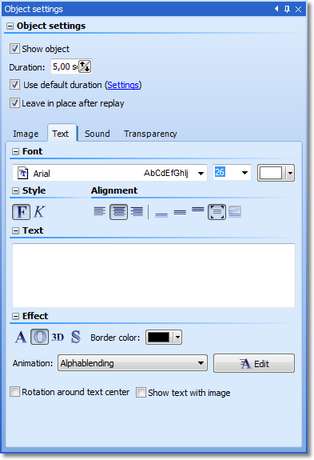
In the "Object settings" of an image there is a "Text" -tab. The "Object settings" will be displayed when you select an image in the "Image list/Storyboard/Timeline" via mouse click.
Here you can enter text to an image and assign formatting like font, font size and font color. The available formatting options are almost self-explaining due to their icons, and you probably know them already from word processing applications. The "Alignment" has a small peculiarity, however.
Enter the desired image caption into the text field. Specify font and font size. If you want colored text you can change the font color. Select the position of the text. If you want a customized text position click the
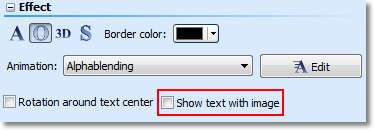
In AquaSoft ® SlideShow you can decide if you want the text to be separately animated or to be part of the transition effect of the image it accompanies .
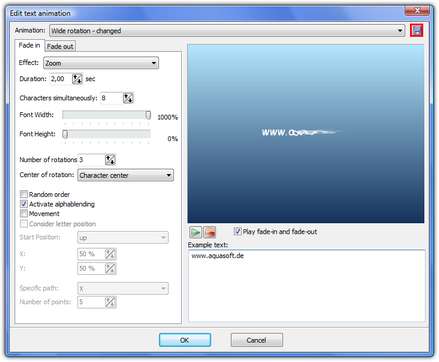
If you don't want a separate text animation please activate the option "Show text with image". For text that you want to be animated you can choose from a list of pre-defined animations. Click the "Edit" -button to adjust the settings for the animation. You can also see a preview of the animation in this dialog.
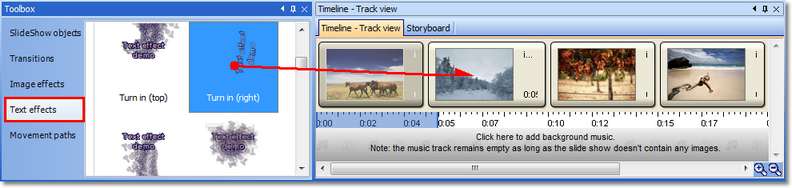
Under "Fade out" you can specify if you want the text to stay visible until the end of the image duration and to be included into the transition to the next image or if the text fades out at the end of the image. The duration of the animation specifies when the fade-out is to be started. If you set 3 seconds then the fade-out starts 3 seconds before the end of the image display. By clicking the After you finished all the adjustments you can then replay the image together with the text by clicking on You can find all pre-defined "Text effects" in the "Toolbox" as well. Sie können diese einfach per Drag&Drop, als durch Ziehen mit gedrückter Maustaste, auf ein Bild anwenden. Klicken Sie einen Texteffekt an, so erhalten Sie eine Vorschau.
As described above, you can enter and format text on the "Text" -tab in the "Object settings".
|
| Copyright © AquaSoft ® 1999-2009 www.dvd-photoshow.com |