 Texts play an important role in the appearance of your slideshow. Today, you get to learn how to quickly turn your photos into words. This is one way to create great looking introductions for your vacation photos.
Does this work with any photo?
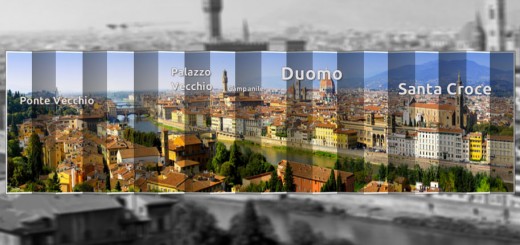
 Yes, it does. However, it doesn’t look good with any motive. Landscape photos or city skylines are well-suited for this because distinct small motives are visible within the letters. In the screenshot beside this paragraph, you can see a lighthouse in the “O.” Close-ups usually don’t work well for short words.
This is why letter image masks work best for introducing vacation or travelling slideshows. If the photo background is calm enough, you also can spice up an image with lower thirds and a letter image mask.
It couldn’t be easier

Your SlideShow offers you a text mask feature, which normally is only available in highly specialized image editing software. You can use any generic text as an image mask, which you can use to easily punch out words.
Start your SlideShow Ultimate and simply follow the step-by-step guide. Aside from your image, you can find any ingredient in the SlideShow Object Tab of the toolbox.
That’s how it works
- Start the AquaSoft SlideShow and drag a chapter into the timeline.
- Add a background by dragging an image into the chapter.
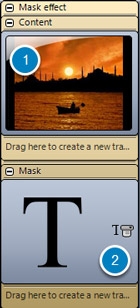
- Add a mask object onto your image (1) in the upper track and (2) the mask object in the lower one.
- Type any title you want into the object settings.
Done 🙂
Now think of zooming into a single letter and then zooming out again, showing the whole image instead of the image letters. There are plenty of options you have from here. Or create lower thirds by taking a colored background instead of your image, which can easily be adjusted in size and position. Have fun creating your vacation slideshow.

