There are a multitude of frame themed photos available on the internet and in SlideShow it’s very easy to add self-made frames to your show. Here are the two most common types, frames with a black background and frames with a photo inside of them, we’ll show you how to fix both using Photoshop. Alternatively, the steps are quite similar in programs such as GIMP (freeware).
Background eraser tool:
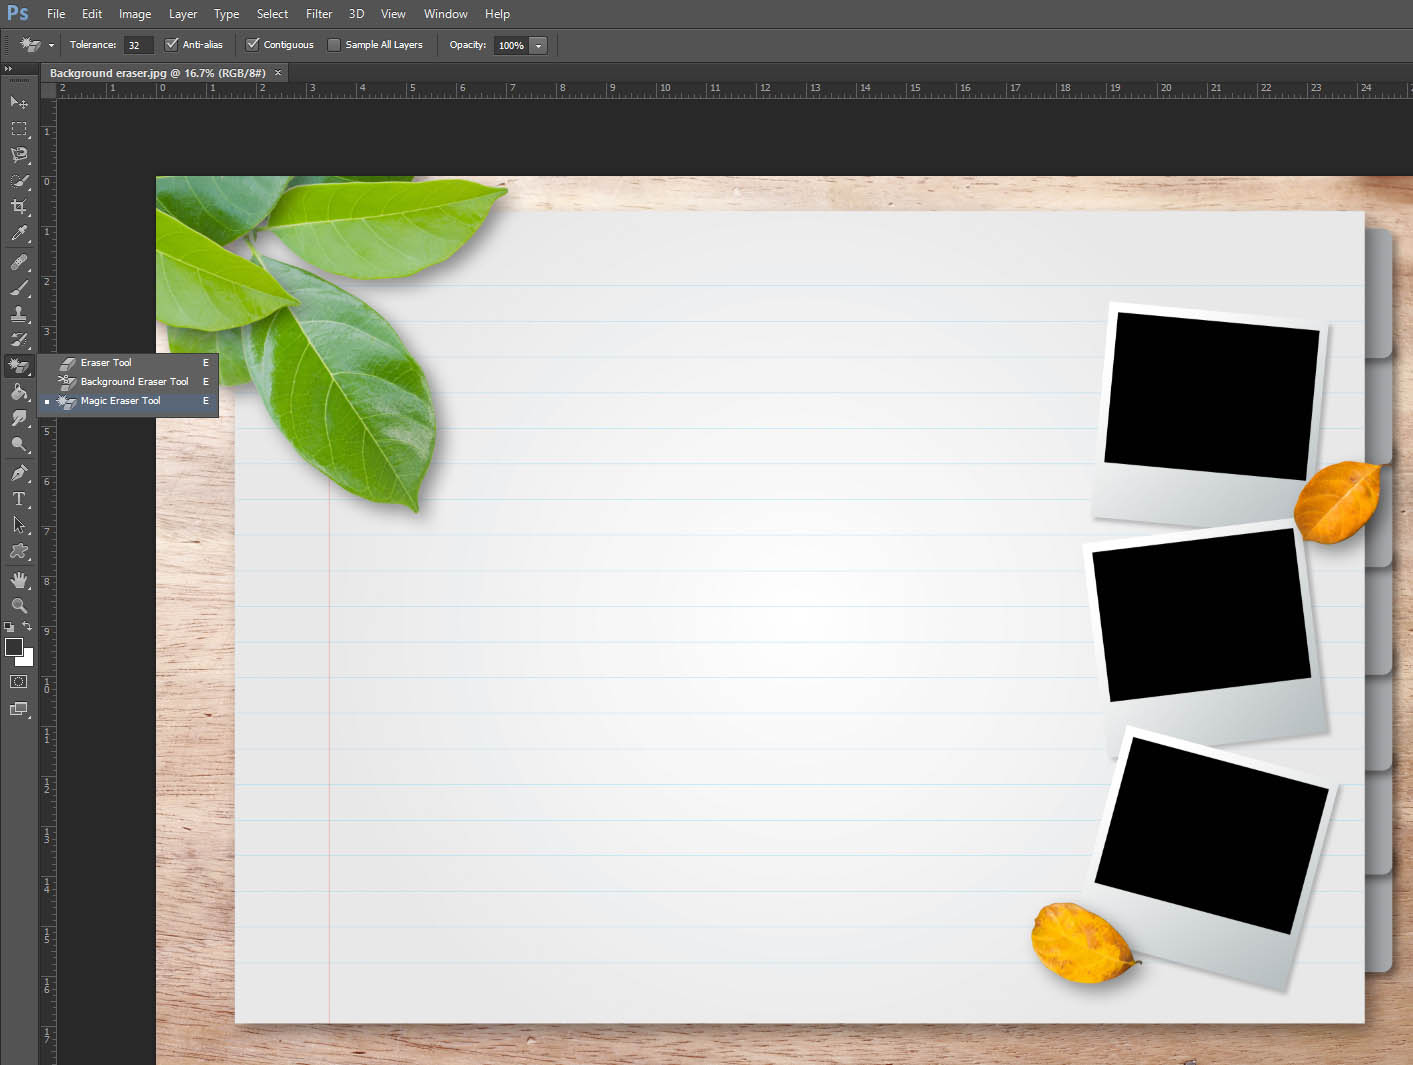
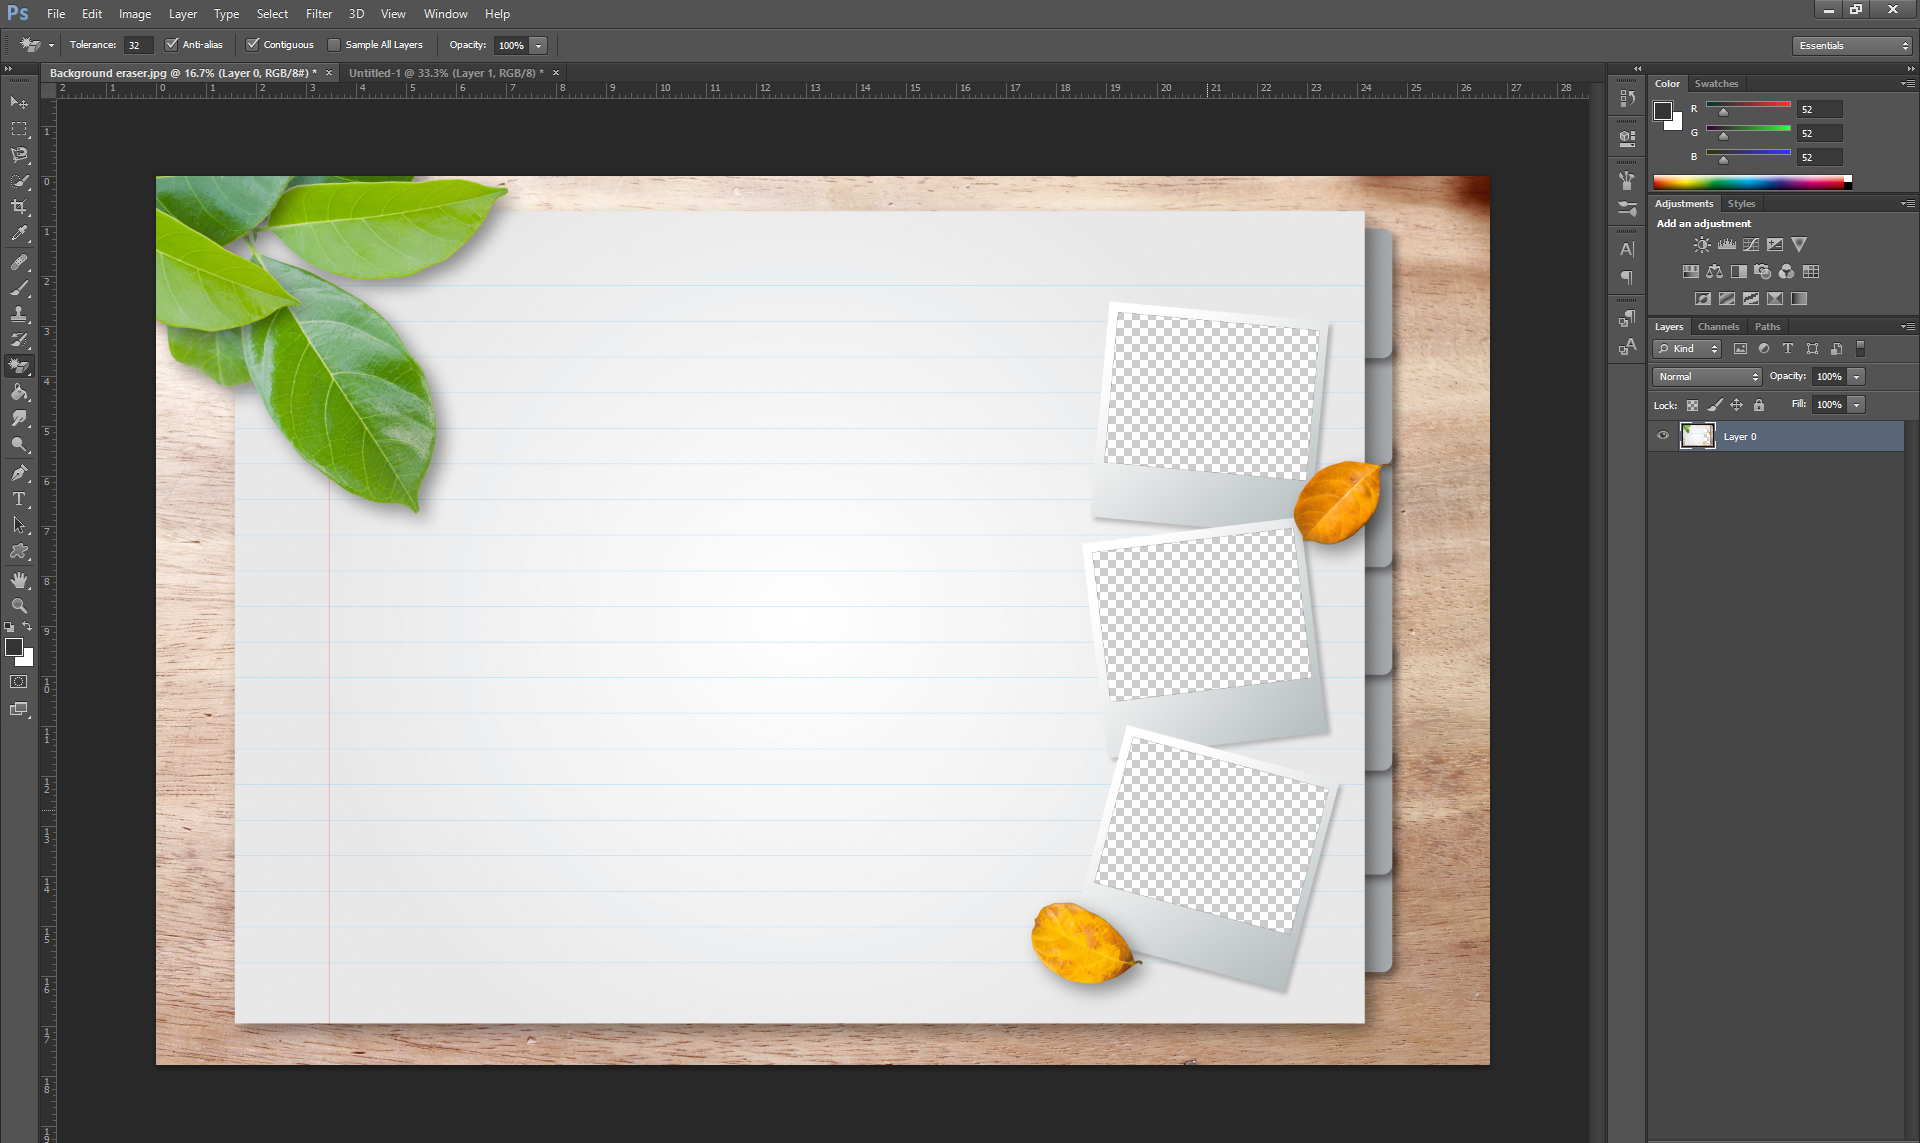
The easiest is when you have a photo that has black boxes, circles, etc, because they are more place holders, the person who made it is expecting you to insert your own photos. The contrast as shown above between white and black makes it super simple to erase the black. Activate the “Magic Eraser tool” and then click on each black square. Then you will see the white and grey checkered background which means that there is a cut out.
Finally, and this is the most important, you have to save your new frame as PNG. If you save it as JPEG or anything else the frame cut outs will be filled with white and you won’t be able to use it over your photos. Saving in PNG makes sure you preserve the frame.
Magnetic Lasso tool:
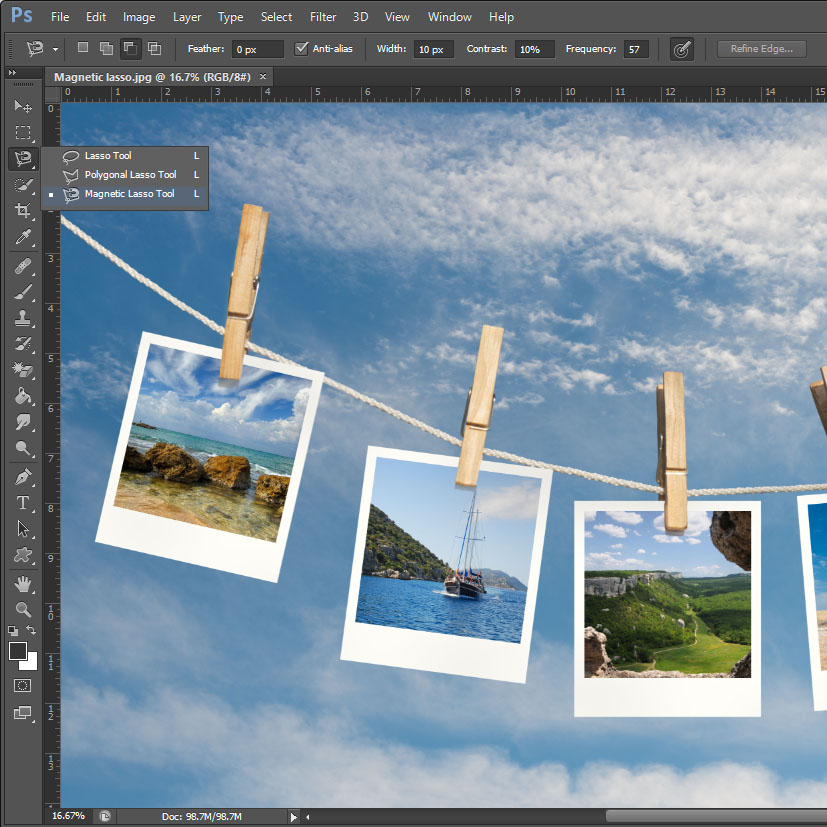
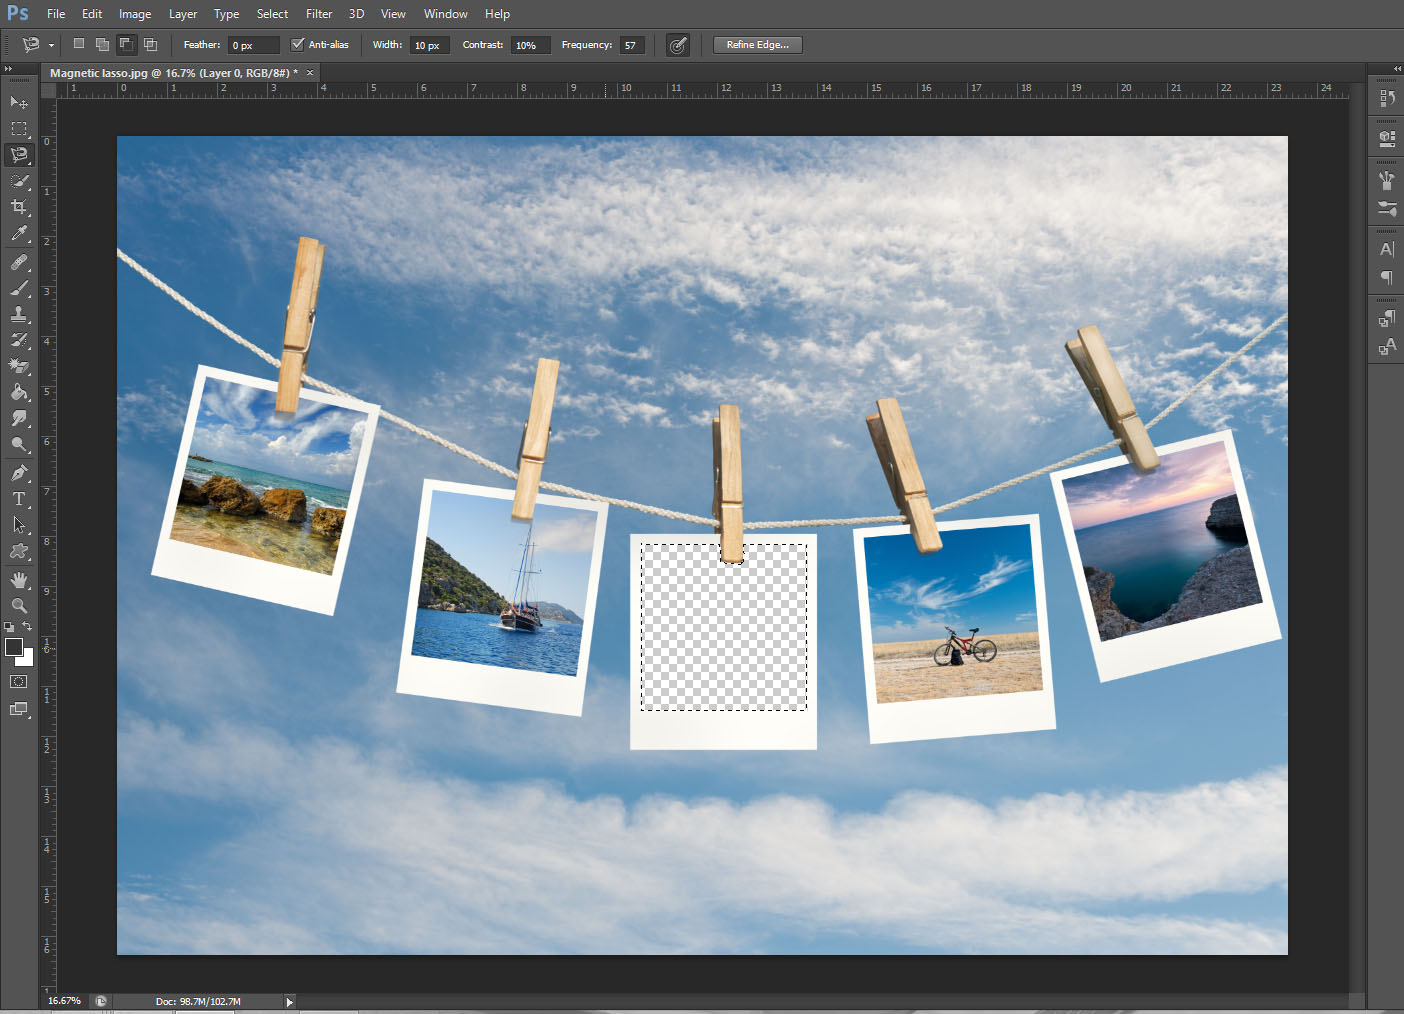
This tool is useful when you don’t have just a single color to cut out. If you tried to use the magic eraser on a photo like the one above you would have to click on each color tone individually, and you would end up with a very messy photo. Select the “magnetic lasso tool” and go along the edges that you want to cut out, imagine that you have a pair of scissors and want to cut out the photo, and be sure to cut around the clothes pin.
If there are pieces that weren’t so smooth you can always make corrections by using the “add to selection” or “subtract from selection” buttons at the top. They will keep the cut out highlighted and then give you another lasso tool to draw the area that you would like to add or subtract.
- Note: in some versions of Photoshop hitting the delete key will not delete but bring up the “fill” menu. If that is the case for you, first double click on the layer “background” in the layers section to the right. It will rename itself layer 0, and then the delete key will work again.
Finally as with the tool above, you have to save your new frame as PNG. If you save it as JPEG or anything else the frame cut outs will be filled with white and you won’t be able to use it over your photos. Saving in PNG makes sure you preserve the frame.






I see lots of backgrounds on the net and in my own files I would like to add to the backgrounds in Slideshow 8. I have added a couple in the backgrounds folder at C:/Program Files (x86)/Aquasoft/SlideShow 8 Premium/Presets/Toolbox/Backgrounds but when I start the program my backgrounds don’t show. Only the ones that are with the program. Help please.