It’s all about the aspect ratio
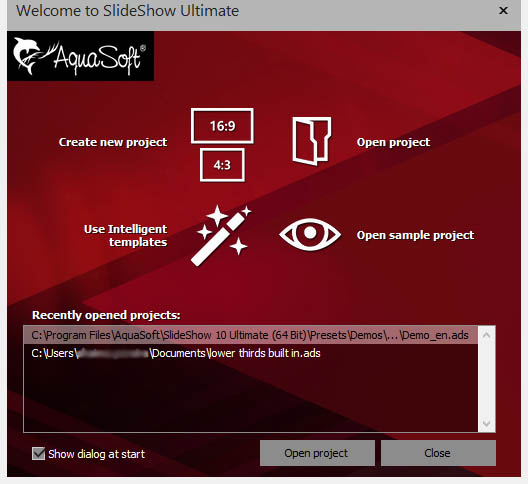
Aspect ratio, black bars, and distortion, are all topics that come up often in customer questions. Especially since the first decision you have to make when starting up the program is whether to create your project in 16:9 or 4:3 format. For those who aren’t familiar with these two formats, the difference between them is whether you need your project/video in Full screen (4:3) or Widescreen (16:9).
The playback device determines the aspect ratio

The format you will need to use for your video is dependent on your playback device; type of TV, DVD player, or computer/beamer. For example, modern HD Tvs usually require an aspect ratio of 16:9, so if you know that you plan to play your video on it then you will want to use the 16:9 format. Older TVs tend to be in 4:3 format, especially those in the US or on NTSC format, to be sure check your TVs user manual to know what aspect ratios it accepts.
The photos don’t fit the aspect ratio
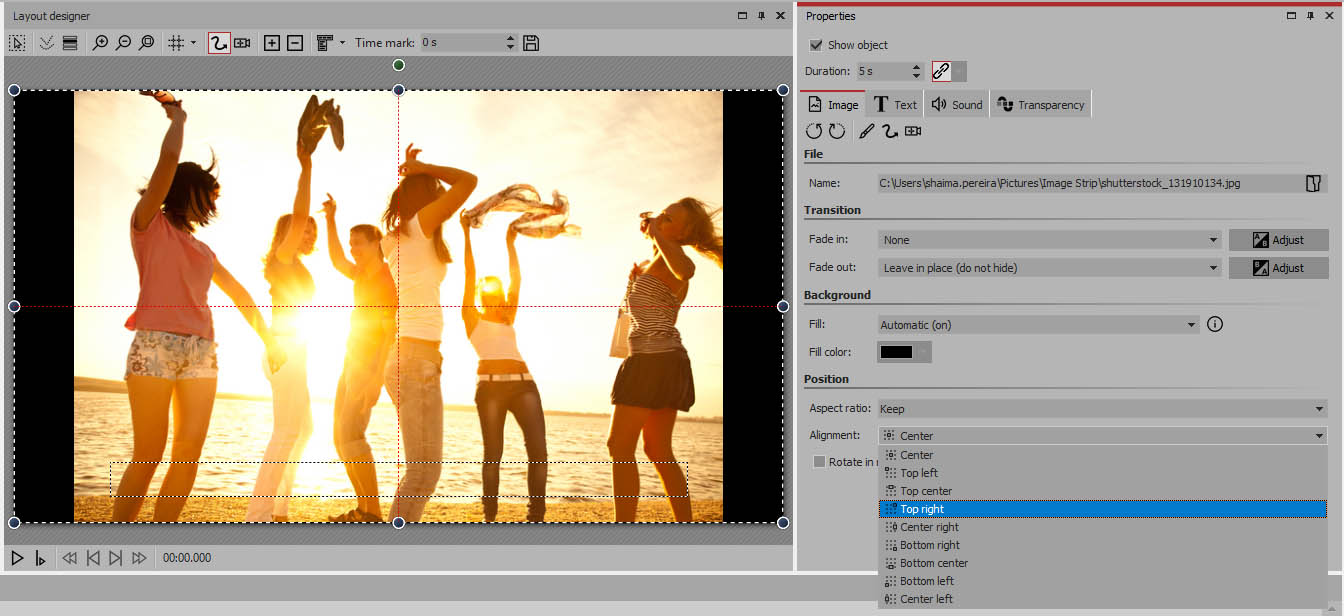
After you’ve determined the right format for your project/video you will start adding your photos, music, and text; and you may find that there are black side bars (for portrait photos) or black bars over and under your photo (for landscape photos). This happens when the aspect ratio of your photos don’t match those of your project.
An easy way to picture this is to think of when you play a DVD; it often gives you the option at the beginning to choose between widescreen and full screen. If your TV is formatted for full screen and you choose the widescreen option then you will see two black bars/strips on the top and bottom of the screen surrounding your video. The same applies in SlideShow and Stages when the aspect ratio of your photos do not match those of your project.
Tip: Avoid the mistake of determining your project’s aspect ratio based on your photo’s aspect ratio.
Easily adjustable and customized

Adjusting the aspect ratio is easy, there are four main options available in SlideShow and Stages:
- Keep: leave the photos as is.
- Crop: cut parts of the photo to make them fit your screen.
- Distort: stretches the photo out to fit the screen.
- Crop Intelligently: does the same thing as the normal crop but it accounts for where faces/ the focus of photos are to try to avoid cutting them out.
* Crop/ Crop Intelligently, are both individually adjustable, either by dragging the frame around within the Layout designer or by adjusting the crop from the alignment menu where you can select the focus of your crop.

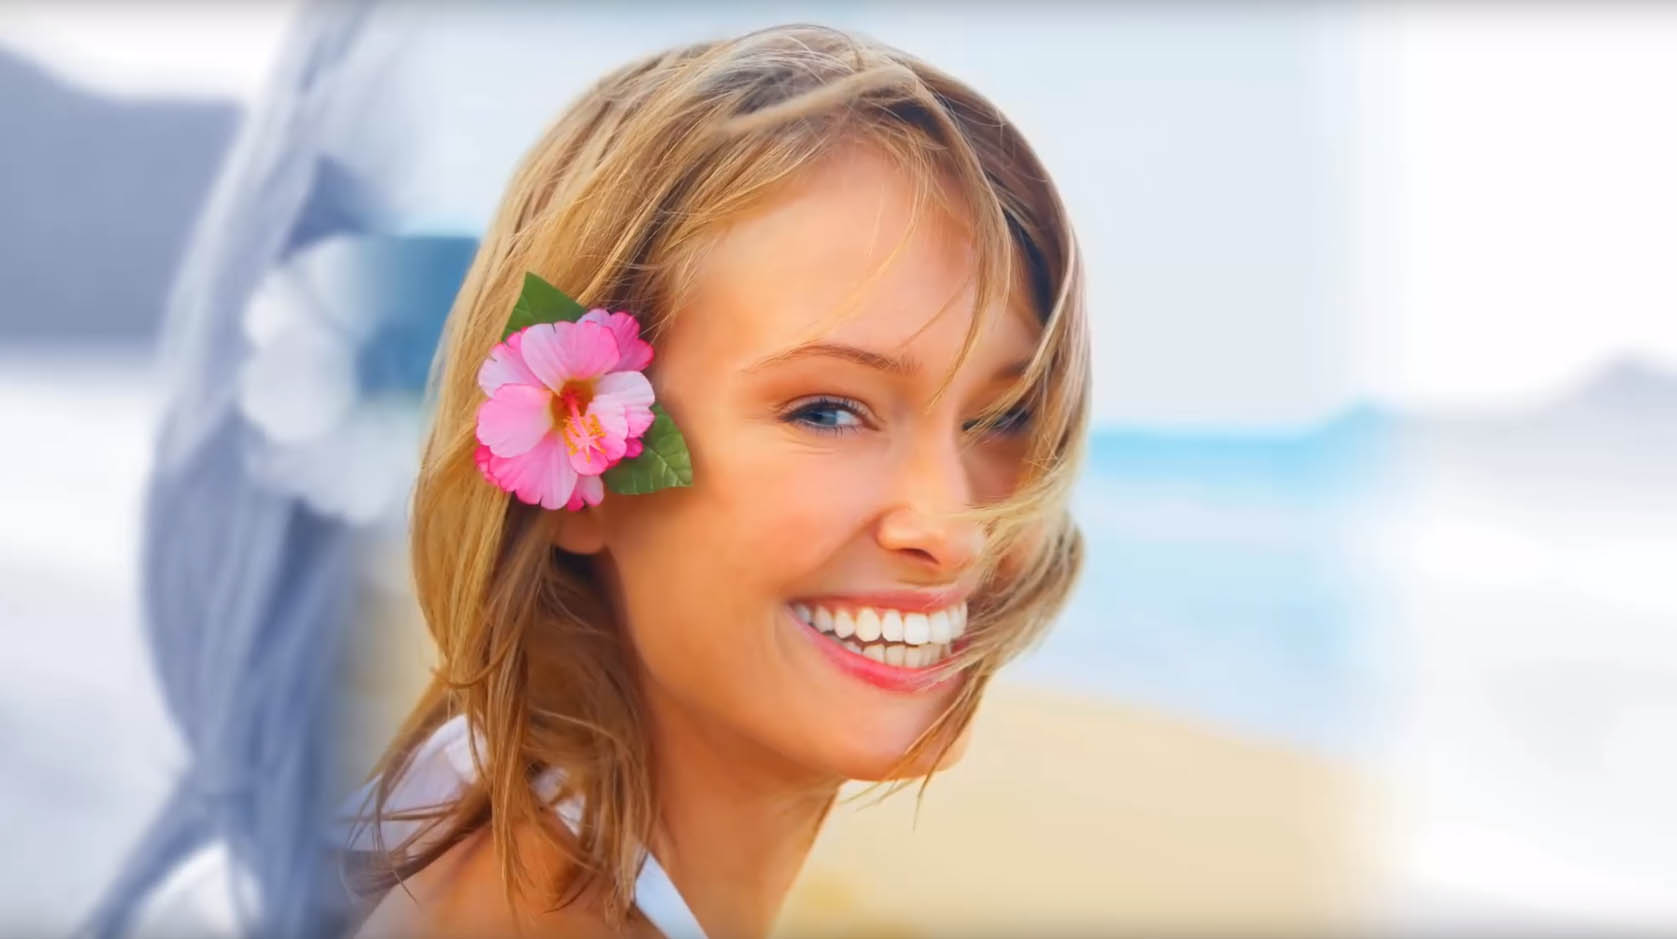
You can also use Image effects to adjust your photos as we show in the following tutorial. Instead of cropping or distorting the photos that don’t fit the aspect ratio, we create a blurred background using the same photo. It solves the aspect ratio issue and makes photos more lively.


