Most of the photography ideas in this post require nothing more than an amateur’s camera, a tripod, and a pinch of creativity. It’s all about choosing the right timing, the right angles, and interesting subjects for your shots.
Reflections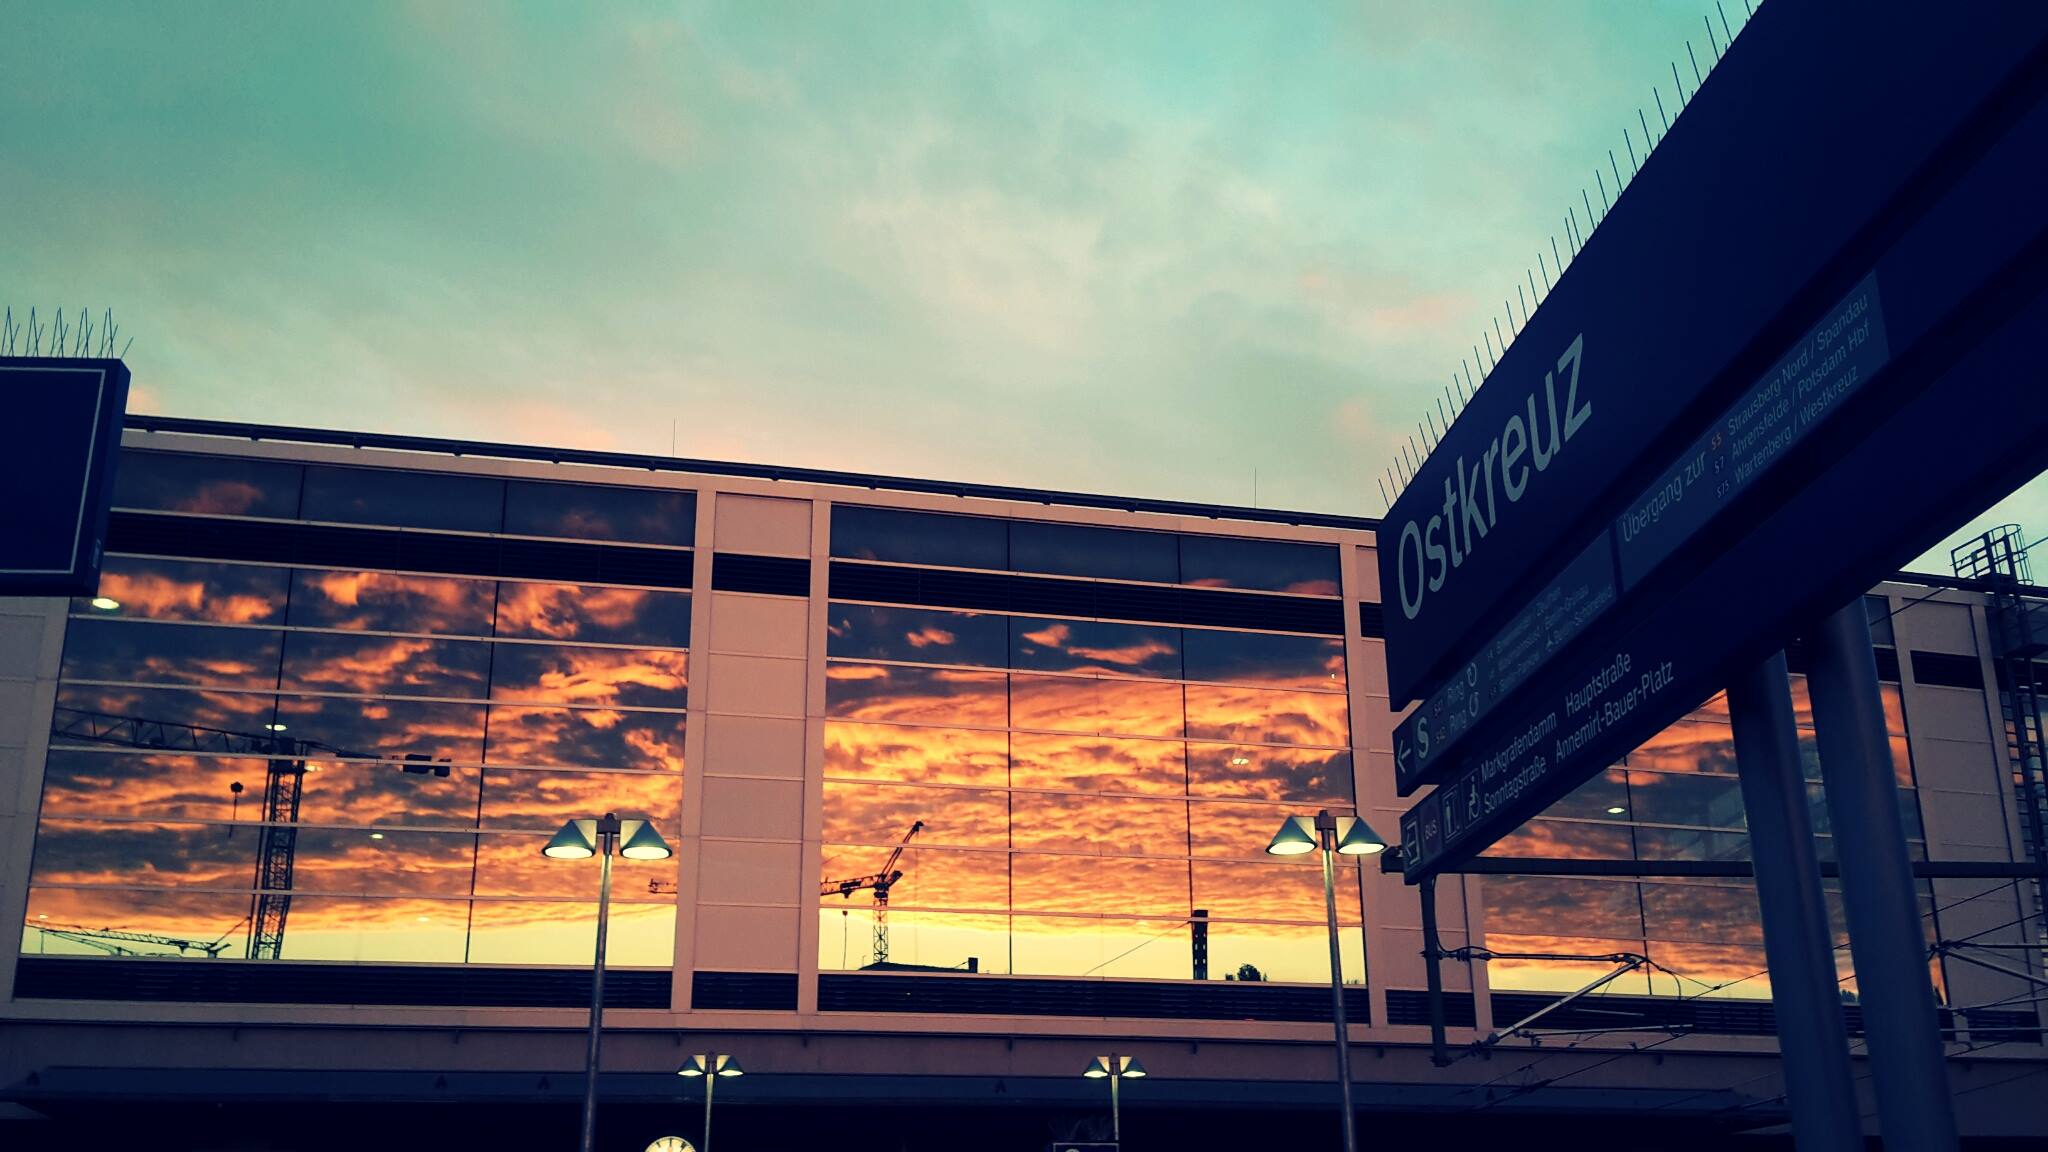
Reflection photos can be as simple as taking a photo of your friend with mirrored sunglasses and show the city reflected in the lens or a photo of a landscape on side of the shore, showing the mountains and forest area reflected in the water. Many surfaces can give you a stunning photograph; the easiest is water, but you could also use glass (a storefront or wine glass) or metal (car hubcaps or sunglasses). The most important things to remember are getting the right angle and choosing the right time of day.
Get the right angle
Getting the right angle is very important with reflections shots, so it’s important to try out different viewpoints to get the best reflection possible. If you choose to take a shot straight ahead, (especially when photographing reflections on glass and metal surfaces) you will most likely get your own reflection. Even worse, when photographing reflections on water, putting the farther shoreline in the middle of your photo will give you a basic shot which is at eye level and frankly is quite boring as it’s a view that everyone sees. Instead, you should try to change your angle by sitting or lying down by the water’s edge. That way you can have truly stunning photos simply by including a bit of the foreground in the shot.
Time of day
Another important factor is the time of day. High noon, for example, is not a great time for reflections, you should try to take the shot when lighting is the best, utilize the early morning light and sunsets.
Choosing the surface
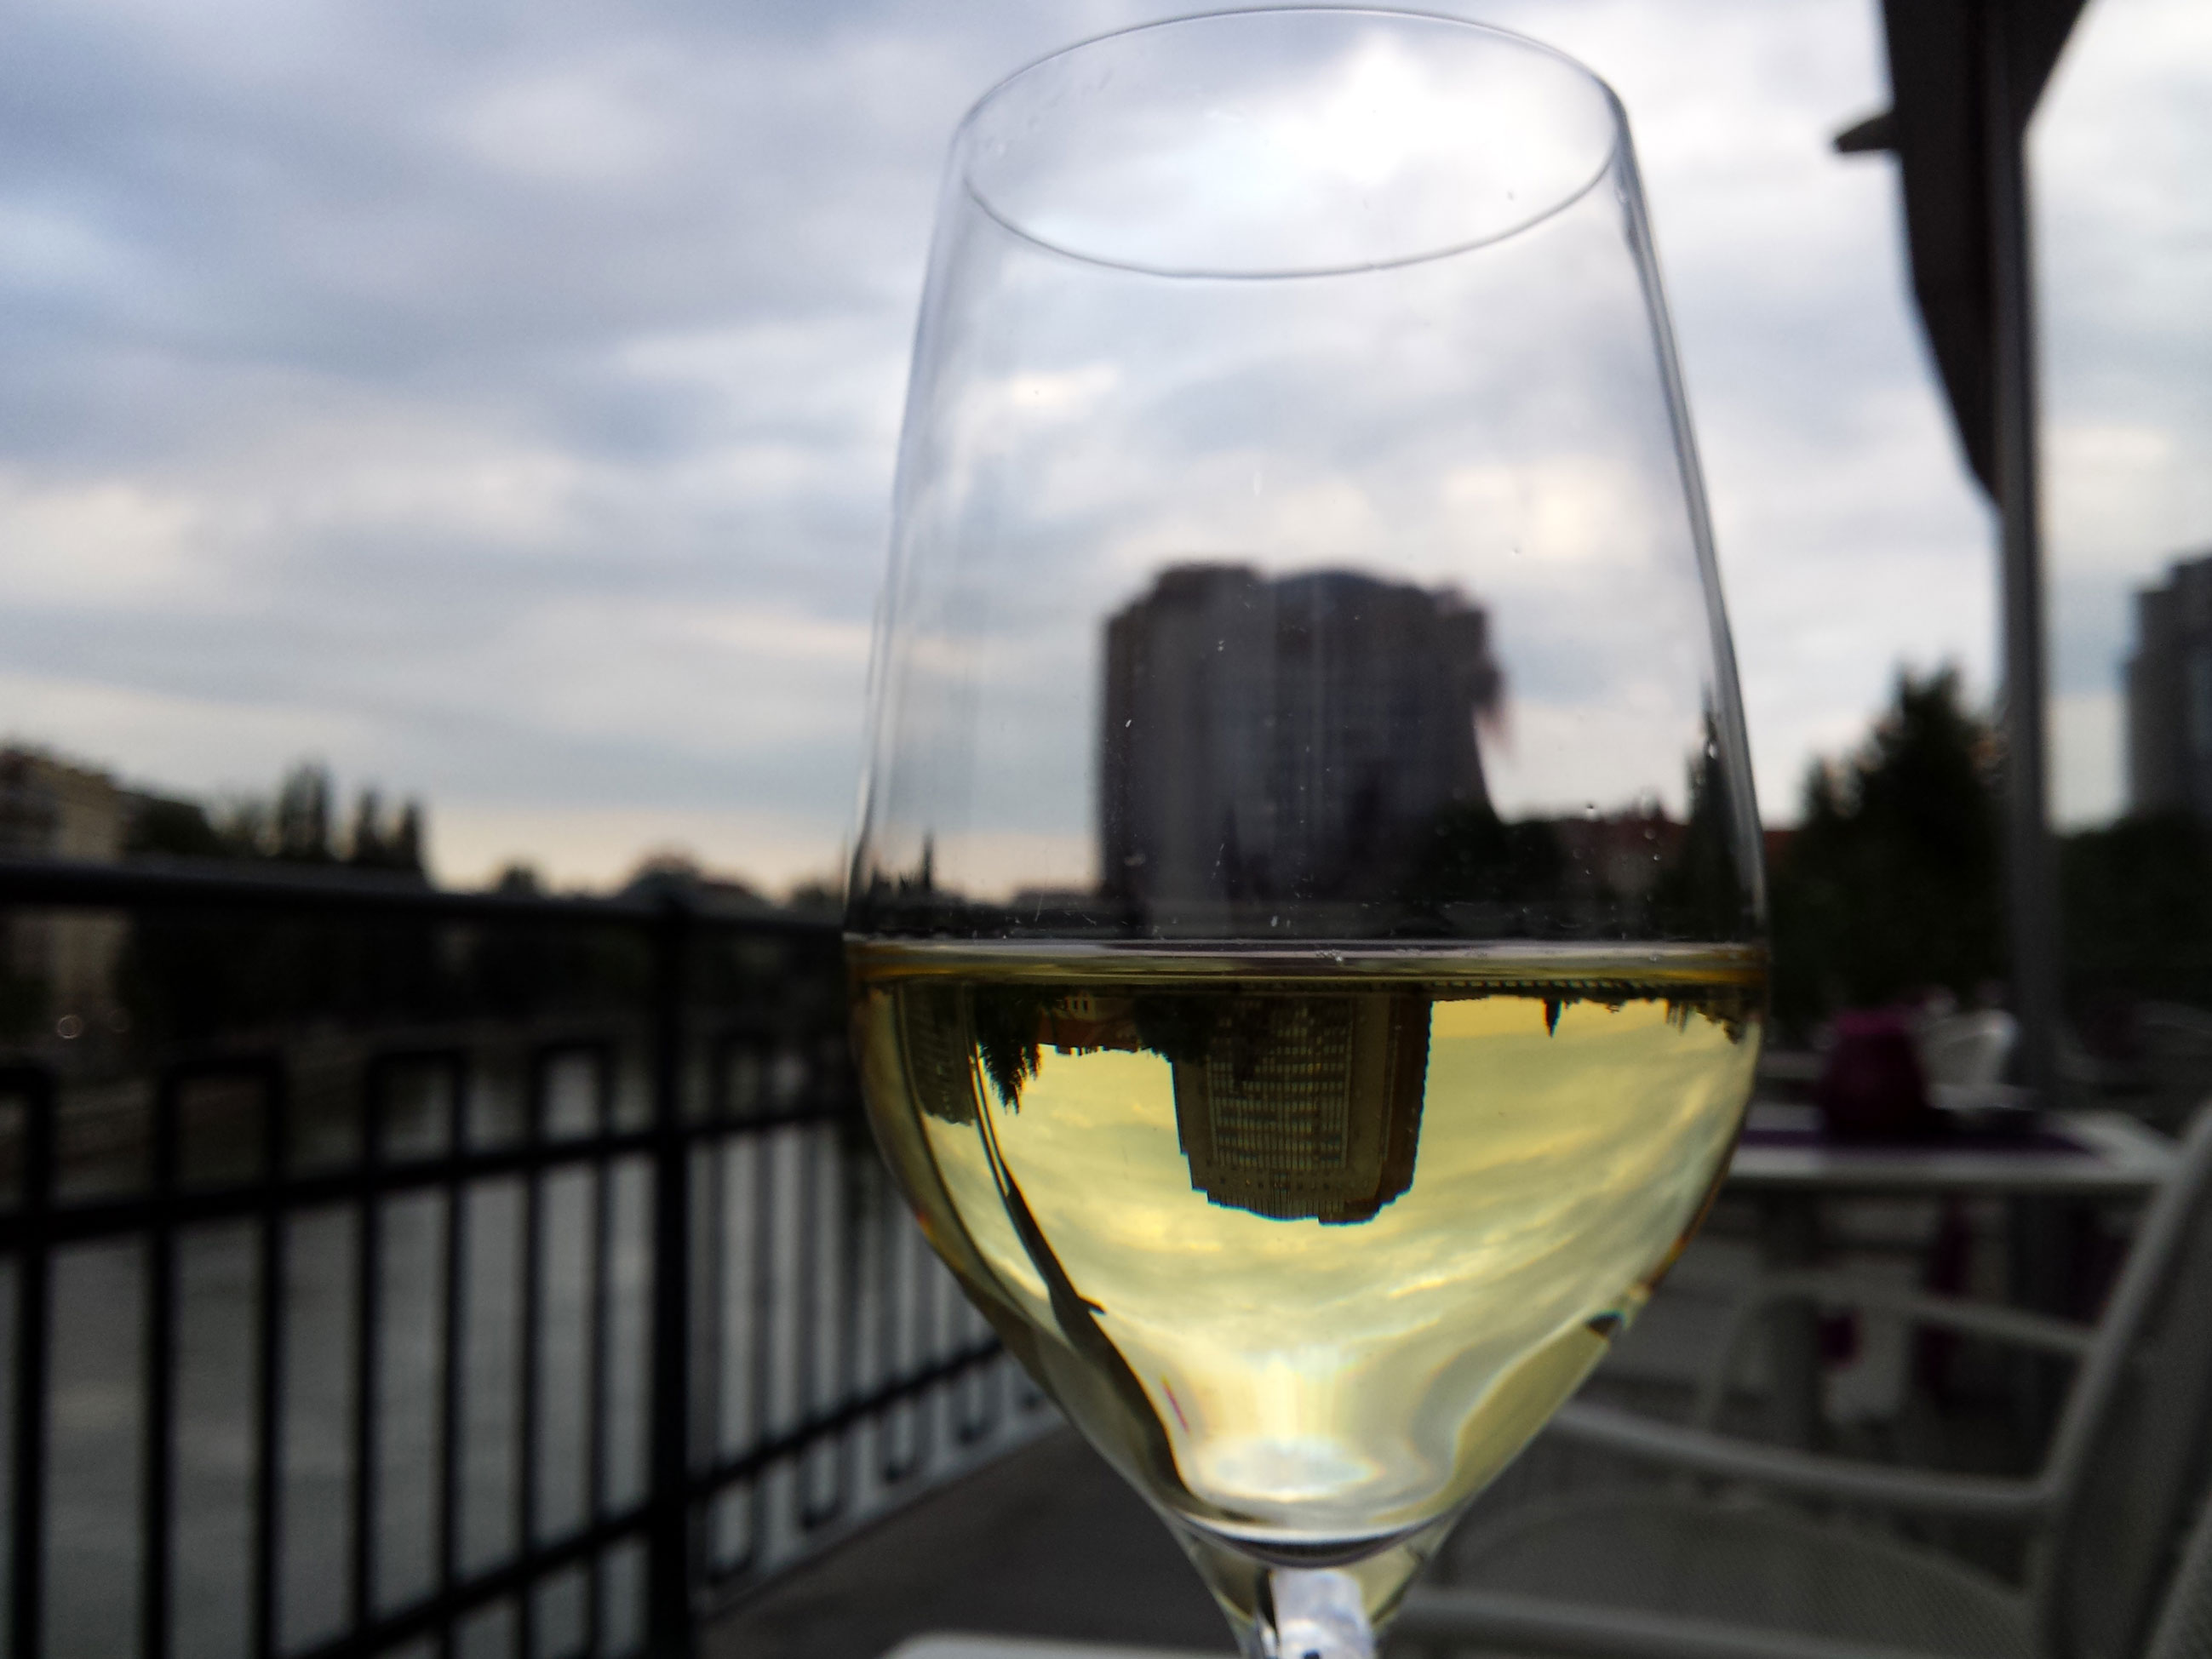
Choosing the right surface is important, as is understanding how the reflection plays on that surface. Wine glasses for example, unlike beer, or soda glasses– have a great shape that allows for nice reflection photos. It is the same effect as if you were to look at your reflection in a spoon on the rounded end, you will see that your reflection is upside down. To achieve the effect shown in the photo below make sure that the edge of your liquid (wine, water, or clear juice) lines up with the top of the building or object that you’d like to flip. Then set your camera’s focus on the glass and shoot away.
Light Painting/ Light graffiti
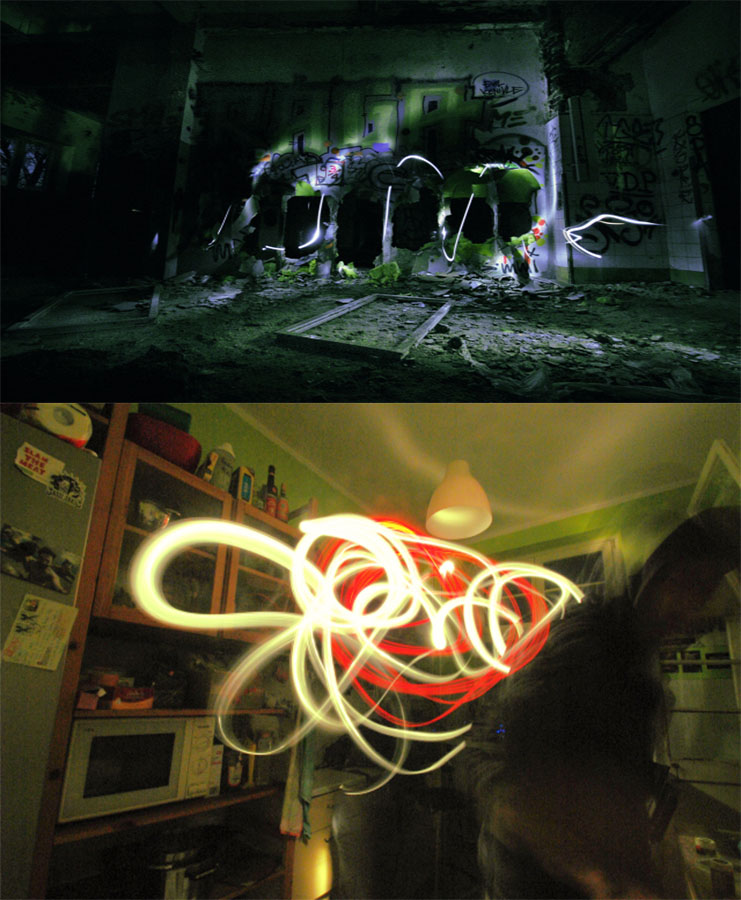
Light painting or light graffiti are very popular with night photographers. The tools you need are minimal (tripod and light source) and the results are intriguing. They can be made using 4th of July sparklers, colored LED lights, flashlight, black light, and even glow sticks. For a full tutorial on how to do it check out our article on light painting.
For some inspiration, this video has achieved some great light graffiti using a bike wheel to turn the sources of light quickly. This person in the video used their cell phone, which we wouldn’t personally do or recommend, but he also uses glow sticks attached to a bike wheel and then spins it and that produces a much cooler effect (at 55 seconds into the video).
Product / figurine photos
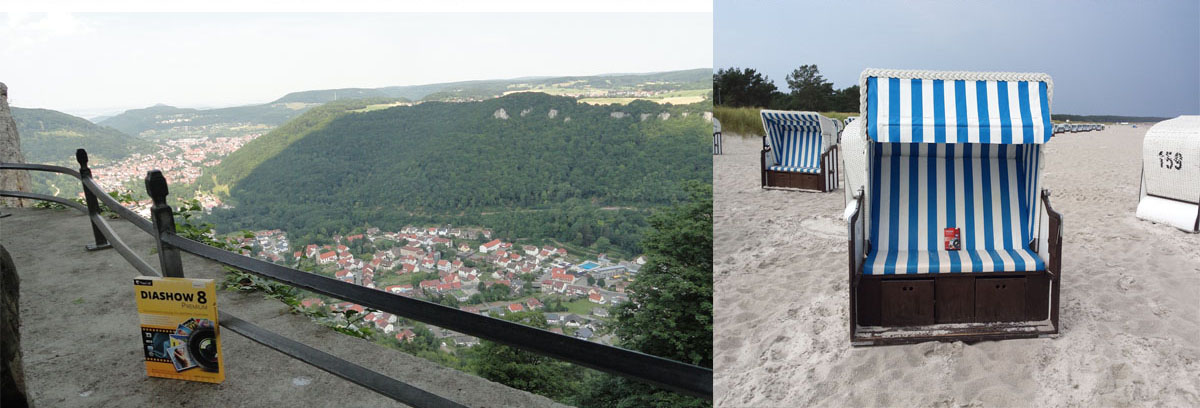
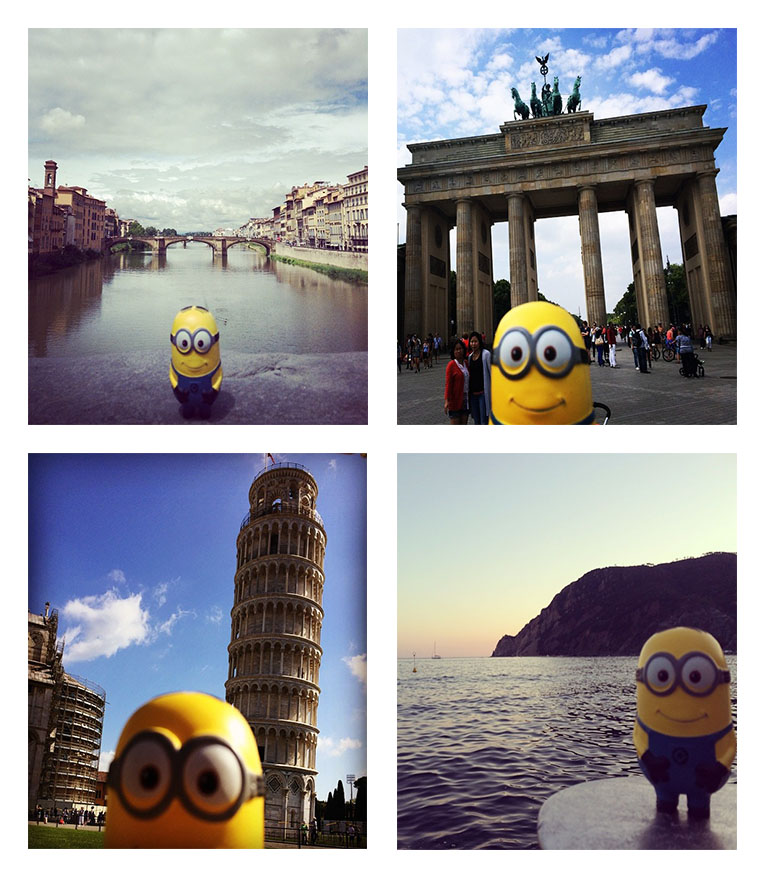
You don’t have to carry a product everywhere with you, but we can tell you that its great fun to imagine your product having a coffee with you, going up the escalator, or enjoying the beach. I took a product box on a journey through Southern Germany and it was entertaining to prop up the box in front of castles and monuments, in the empty seat on planes/ trains, and to have a drink with it. Alternatively, if you don’t want to use a product you could also choose a figurine that you like as in the photos below where some friends of mine took a Minion on their trip through Europe.
Forced perspective
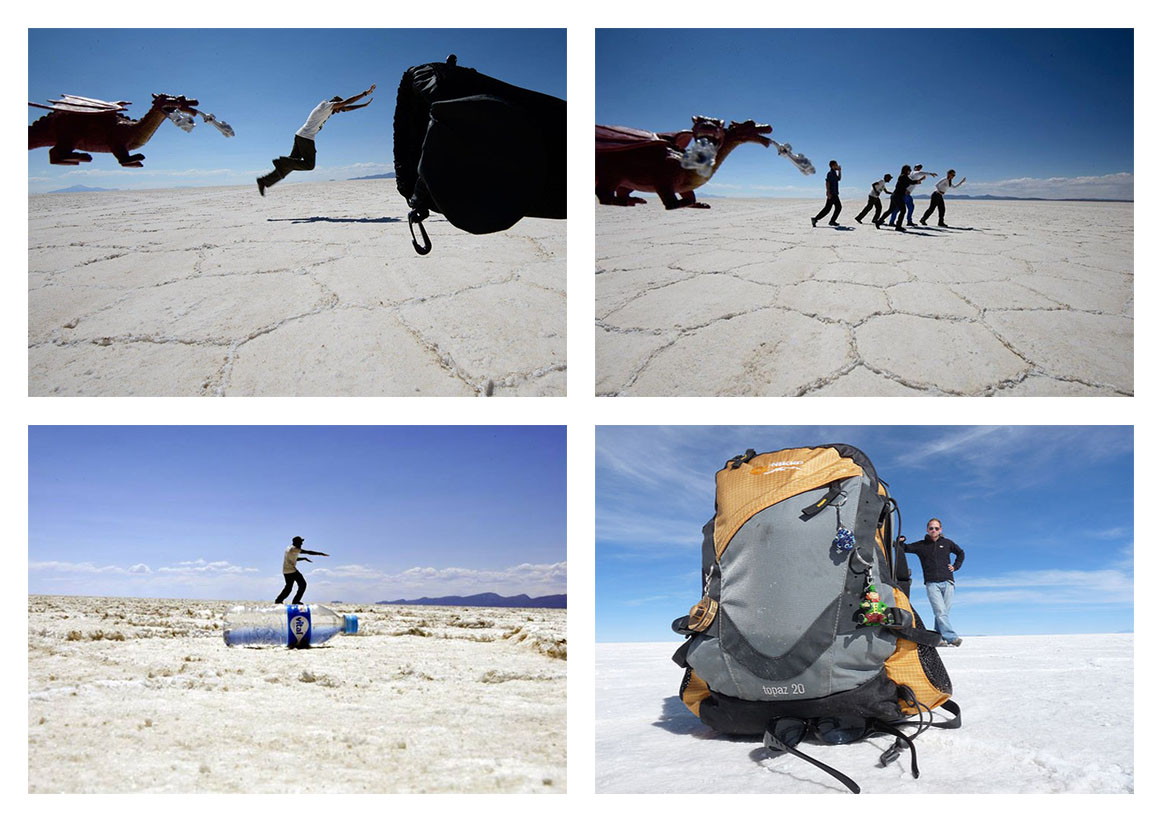
Almost everyone has one of the classic forced perspective photos, such as someone trying to hold up the tower of Pisa, kissing the Sphinx, or touching the tip of a skyscraper. This type of photography makes the massive objects appear tiny in relation to the people in the photos, and that is part of their appeal. You can take forced perspective a step further with some simple props, as in the photos above; photograph your friends jumping into a bag, being blown away by the force from a hairspray can, or one that has now become a classic bridal party shot—show yourself and guests running away from a dragon/ dinosaur/ or other scary creature. This is a great article with 99 examples of forced perspective photos that will spark you to create your own.
Light trails
Equipment
Tripod- this will help you to keep your camera still and reduce the chance of having blurry photos, it’s the best way to achieve crisp trails.
Camera with manual settings- you’ll need a camera that allows you to adjust how long you want the shutter open.
Moving light source- cars are great for light trails but you could also photograph trains, someone riding a bike, or even some friends running down the street waving glow sticks.
Taking the shot
On a basic level, you set the self-timer and manual controls, press the shutter, and back up. But let’s look at it in a little more detail.
Point and shoot: set the aperture higher than F8 and play around with shutter speeds. Not all light sources move at the same speed, so depending on what you’re shooting the necessary speed will differ. Usually it will be anywhere from 3 to 30 seconds. Alternatively, before taking your first shot you can time how long it takes a few cars to pass by and then set your camera to the same speed.
SLR: make use of the bulb mode, press the shutter when you see a car passing by and press it again when it has passed. It’s more efficient than the settings in manual mode because you don’t have to guess or estimate how long the car will take to travel across the screen.
Isolating the light
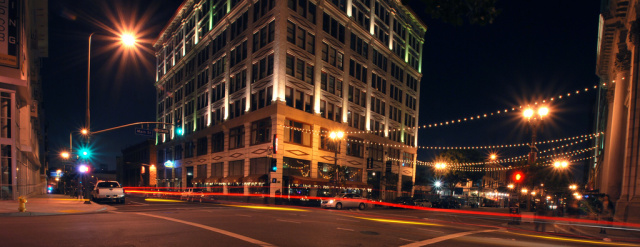
For a really cool effect you’ll want to make sure your trails are the only source of light. To achieve this, one of the best spots is on a highway/freeway overpass at night. Just remember that the longer you want your light trail to be, the longer you’ll want to keep your shutter open.
Timing
Deep night is not necessarily the best time, just before and after sunset is a great time to catch light trails because you will have a heavier flow of traffic as well as adding an extra element to your photos with the help of ambient light.
One subject photography:
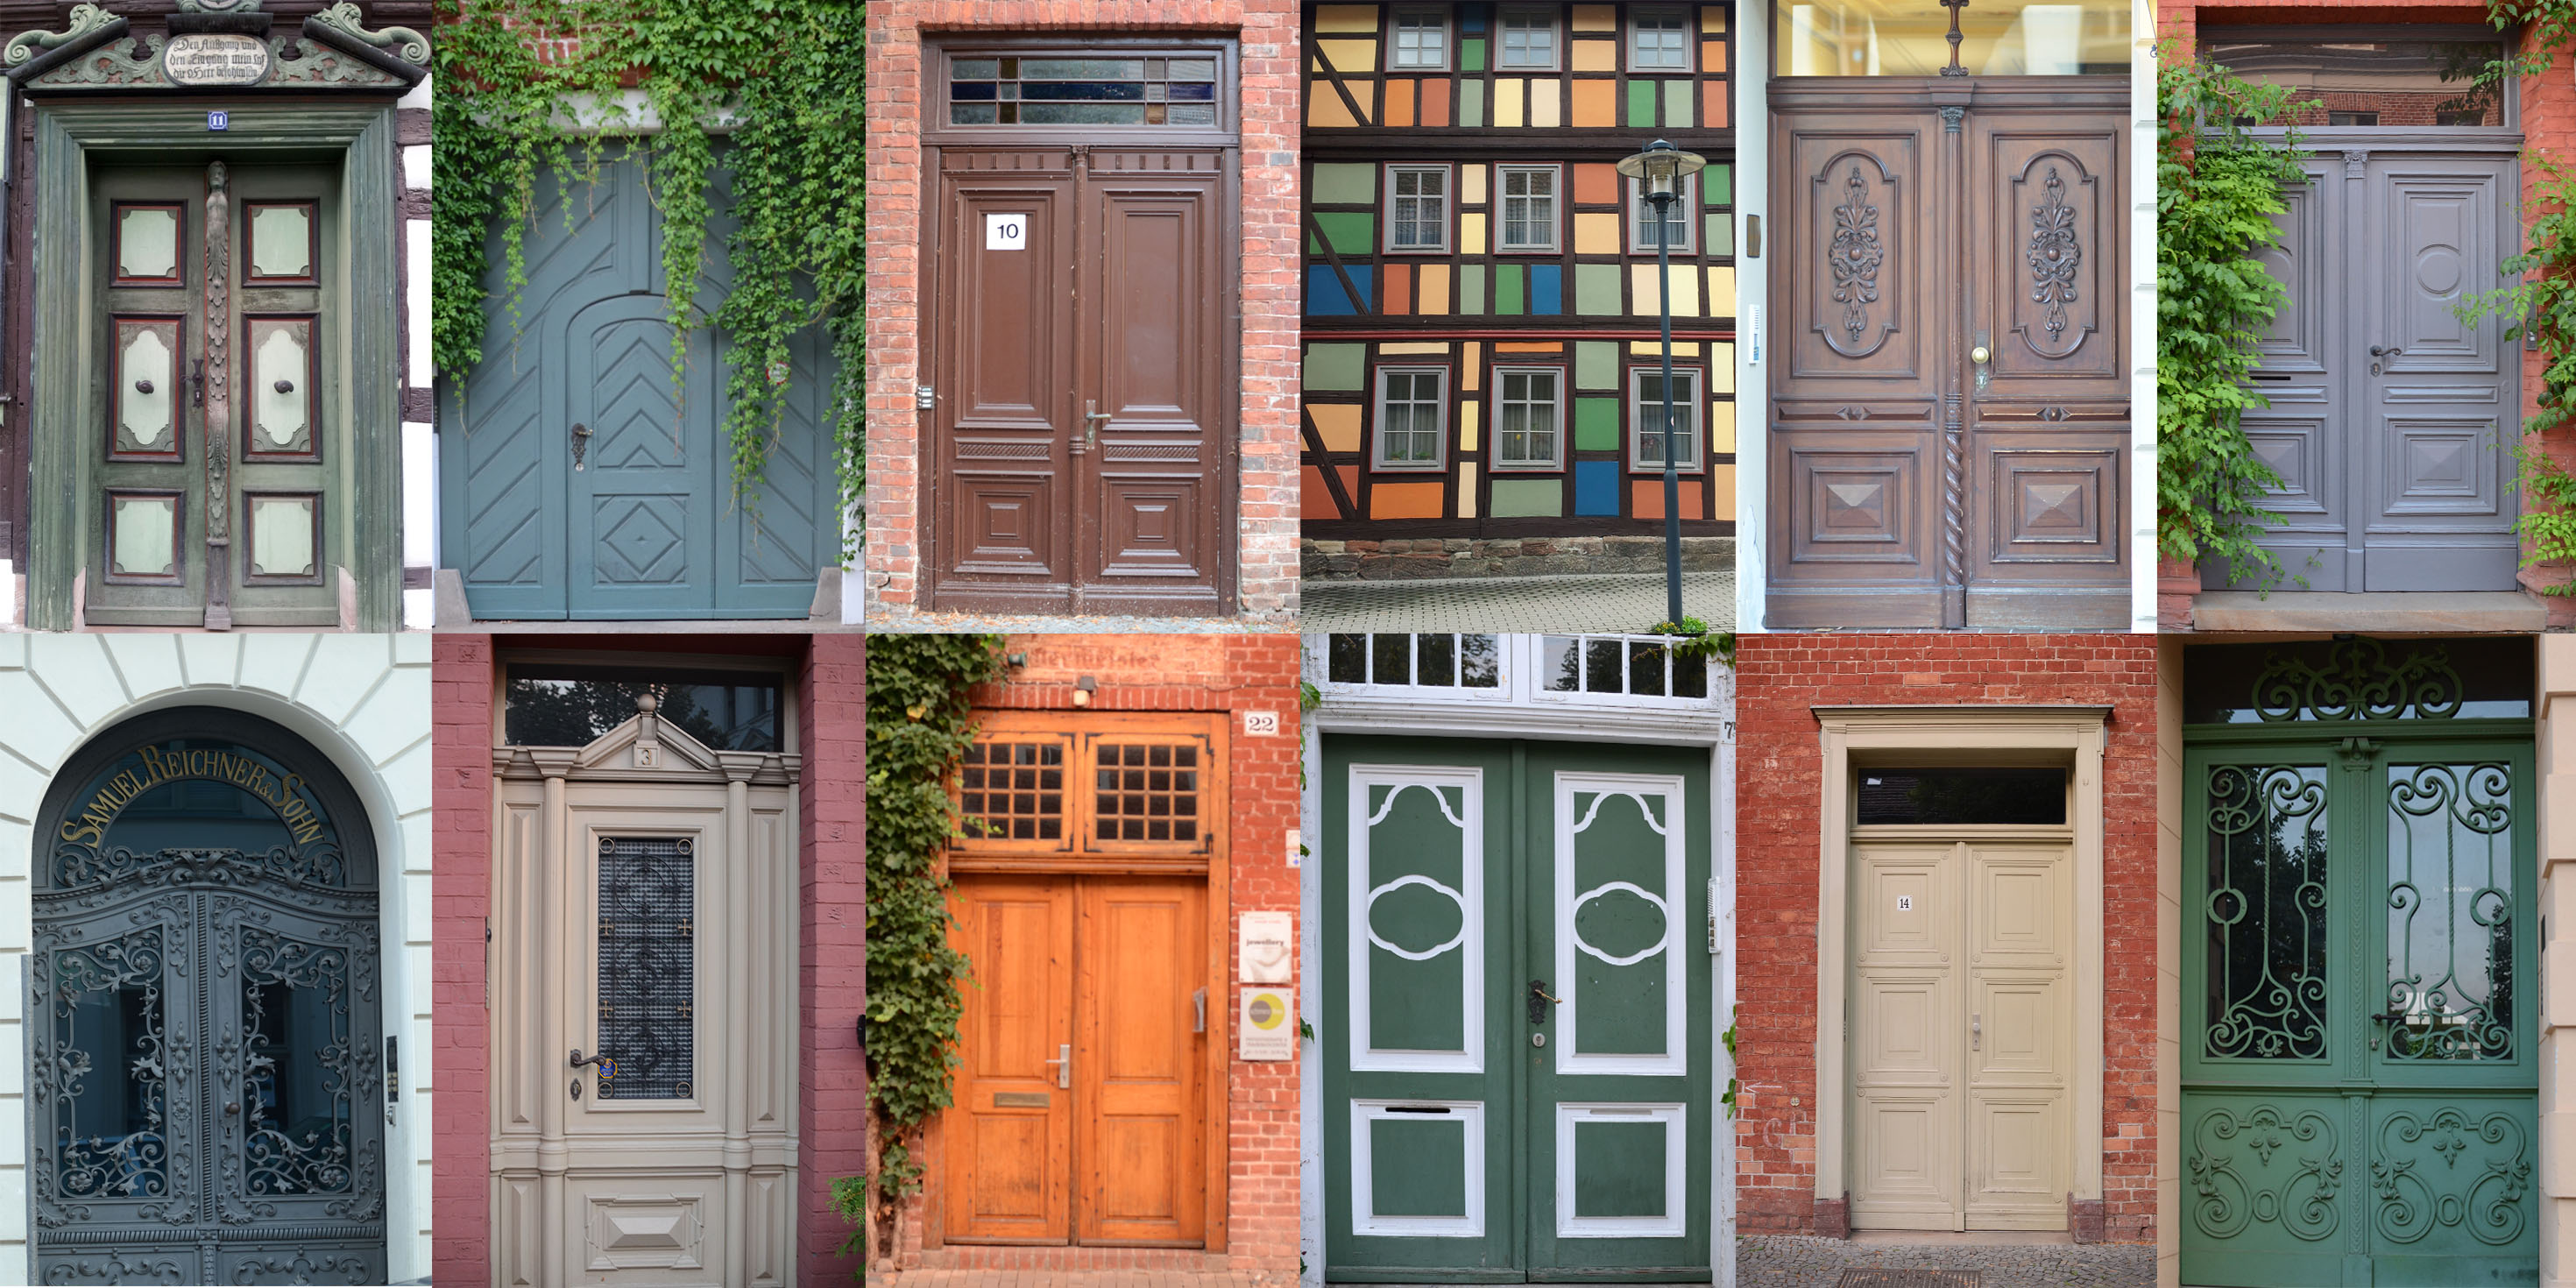
You’d be amazed at how many interesting doors and windows there are out there, and not just in historical city centers; all over cities like Boston, Philadelphia, Rome, or Berlin, there are hidden gems down side streets. This Portuguese photographer, who inspired me to create the collage above, turned his love of photographing windows into a profession, (Windows of the World) travelling the world and creating collages of windows to highlight each city’s unique culture. Don’t find doors, windows, or doorways all that interesting? No problem, the aim of this tip is to say, focus on one thing (street lamps, signs, oddly shaped buildings, etc) and seek it out, like on a treasure hunt. It’s fun to photograph and looks great as a collage on your wall afterwards.
Numbers and letters
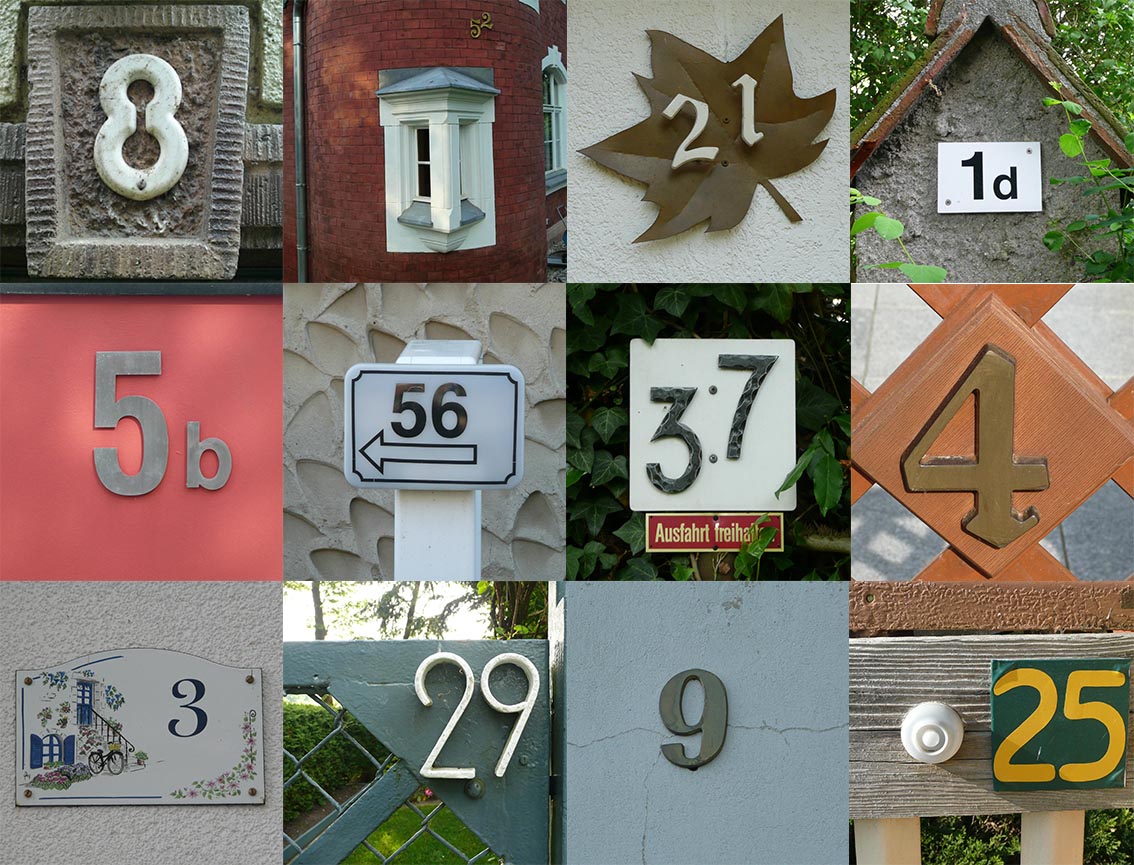
Looking for a unique birthday or anniversary gift this year? Then this project is perfect for you. Making a Happy birthday collage with letters taken from around your city or trips makes for a very unique and personal physical/e-card or facebook wall photo. With the numbers you can create something special for your parents or grandparents’ 50th anniversary or 70th birthday. Just select photos from important life moments such as sweet 16, buying their first house or car, and photos of them with the kids. Then go around photographing numbers that match up with the age they were in the photo. Finally, you can put this all together as a photo book with side by side photos of them and the numbers.
Lastly, don’t forget to take some test shots to make sure you’ve got the right settings and to share what you’ve created with us on facebook. Enjoy being creative!
Photo credit: Reflection- Delisa Szczepanski, Forced perspective- Pavan, Light graffiti and Light trails- Edward Ramirez, and Gio through Europe- Rhiza Dizon

